


TREZOR Model One Review 2026
TREZOR Model One (formerly just TREZOR) is probably the best known and also the first hardware wallet. It was invented by slush, who is still CEO and IT developer in his company SatoshiLabs.
Read the following test report to find out whether the hardware wallet lives up to its reputation.
First impression
The order
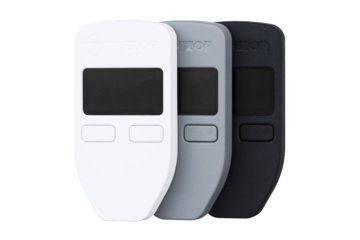
TREZOR offers its wallet in its own online shop for 69,00 $ (click here to check the current price). Shipping is possible to many countries and will be charged additionally. Depending on the inventory, the colours are available in white, grey and black.
In addition, you can also choose accessories:
- An OTG cable for Android smartphones to be able to use the Hardware Wallet on the go. This is to be selected in the shop’s shopping cart.
- Cryptosteel (for the test report), which allows you to keep your recovery seed safe from the elements instead of writing it down on paper.
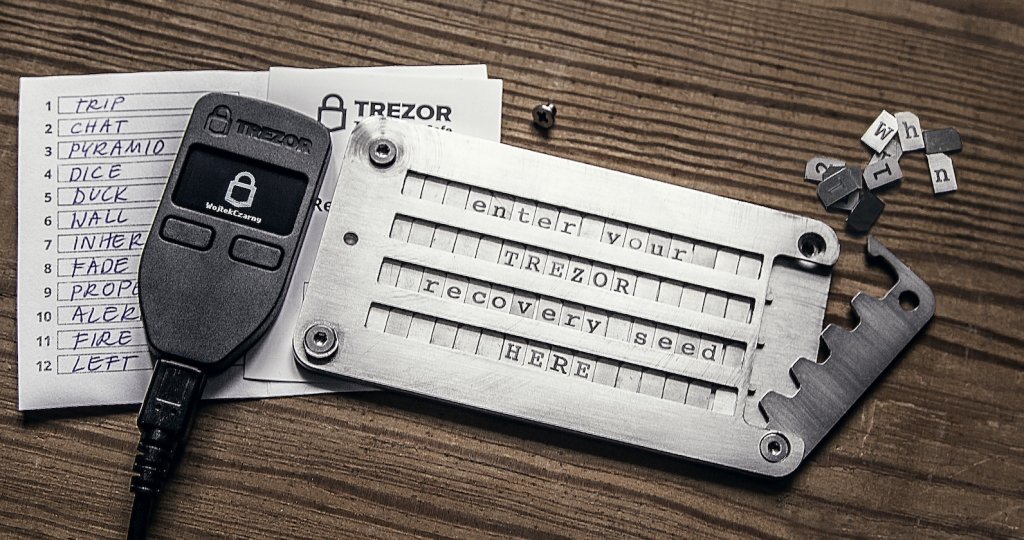
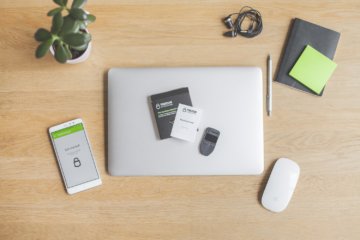
TREZOR and Cryptosteel are a good team
TREZOR also has a close network of resellers around the world. They purchase hardware wallets at better conditions and then distribute them in their respective countries. These are spread all over the world.
Hardware Wallets should preferably be ordered directly from the manufacturer or official resellers if possible. Dubious stores or private sellers on platforms like ebay or amazon could manipulate the devices for their own purposes or trick the buyer. This way, the thieves can steal all the coins from your hardware wallet at a later time. Unfortunately, there have already been such cases in the past.
For this test, TREZOR provided me with the Hardware Wallet in black including the OTG adapter for Android. After three days, the package sent from the Czech Republic has already arrived at my place.
Packaging and delivery
The small shipping envelope, which fits directly into the letterbox, contains the hardware wallet and the OTG adapter, which must be ordered separately.
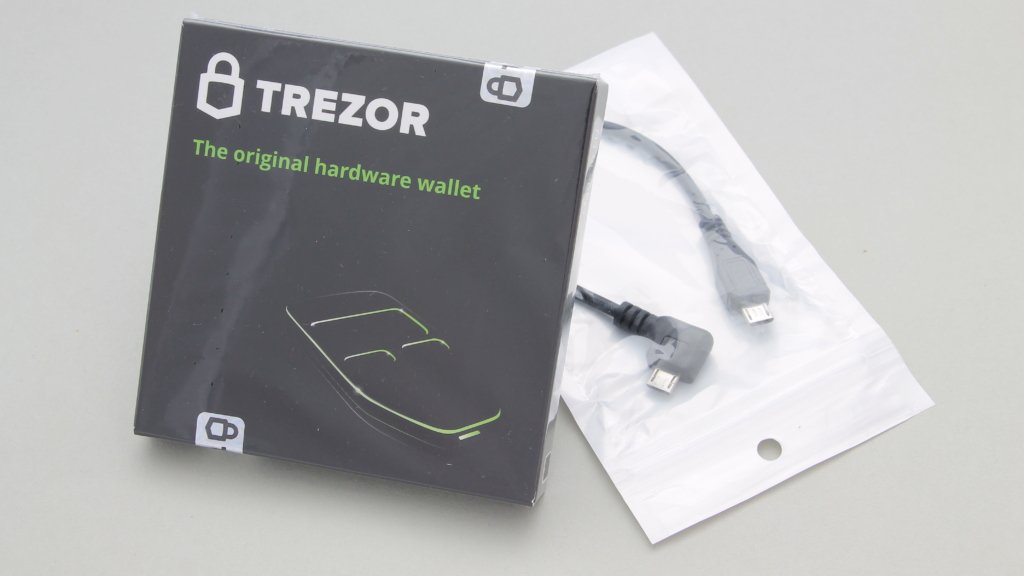
The contents of the shipping envelope: The hardware wallet and an Adroid OTG cable (must be ordered separately)
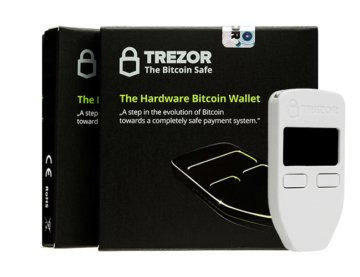
The TREZOR Hardware Wallet
The hardware wallet is packed in a plain cardboard box that is completely shrink-wrapped. The seals are located below the protective film.


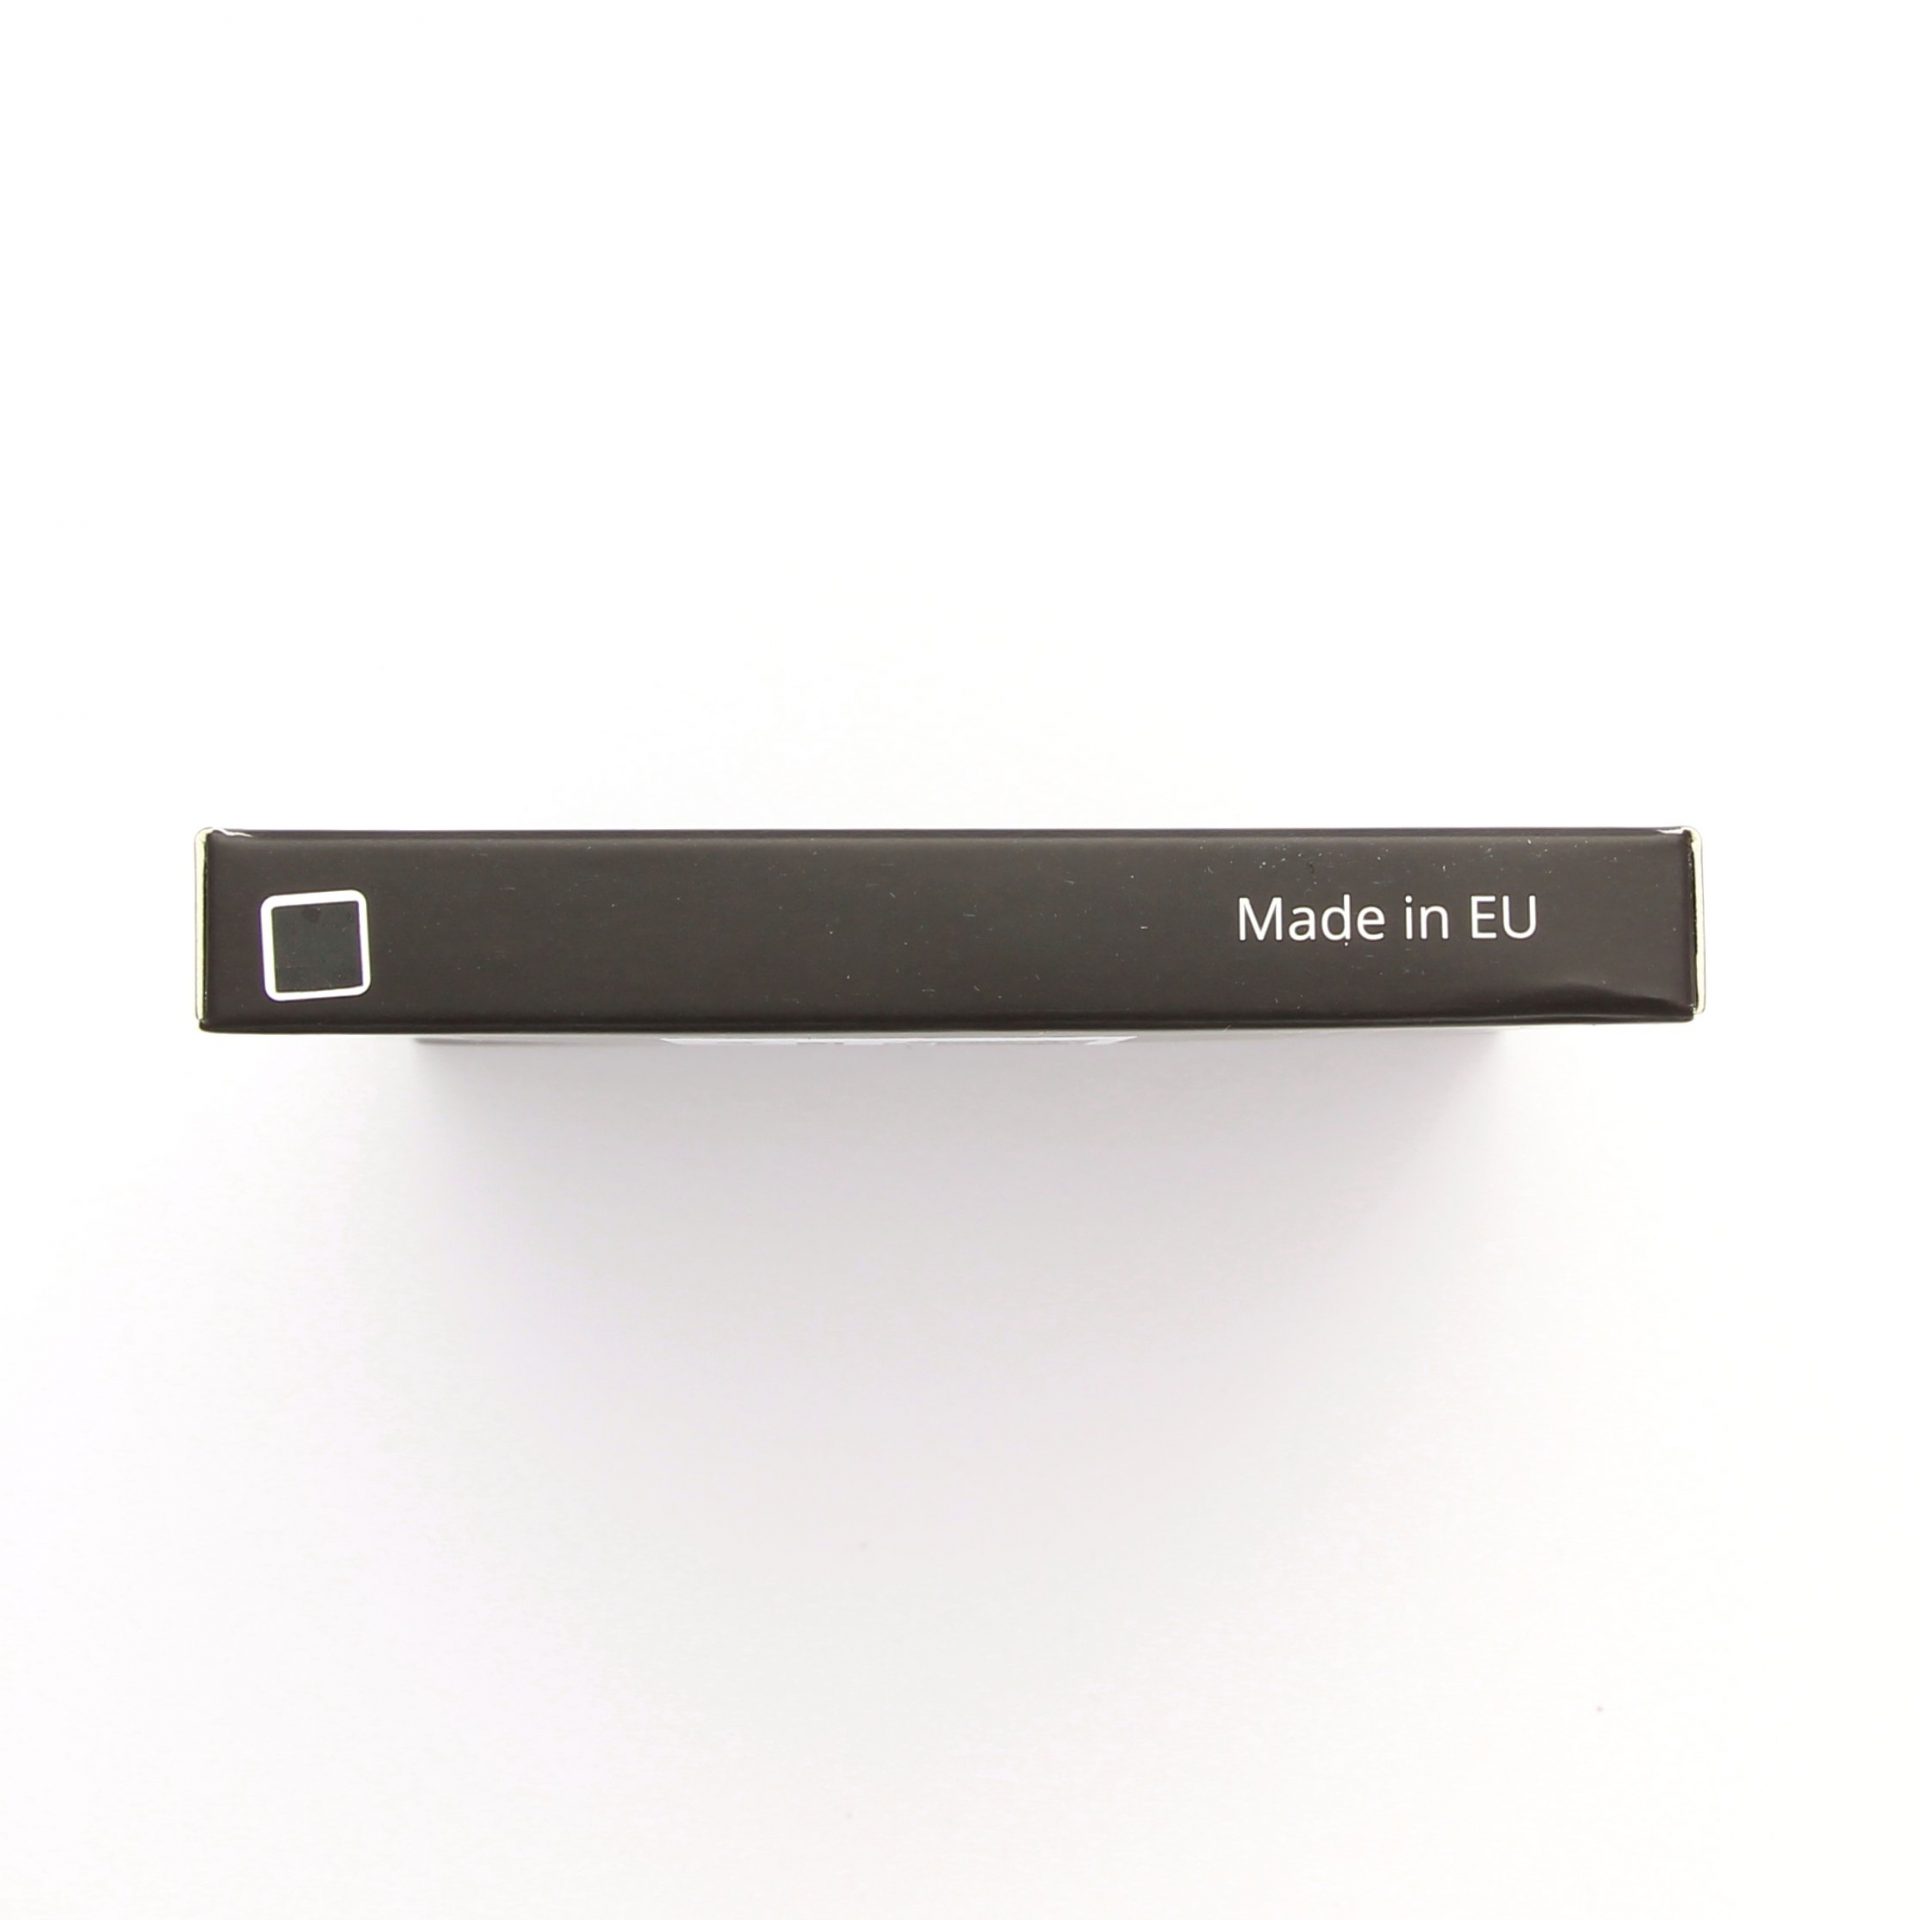
The note on the back of the packaging should be taken to heart and contact support if any of the seals are broken. In this case, the device may have been tampered with and TREZOR will take care of a solution to the problem.
The colour is also indicated on the page by a small sticker. This, too, should be controlled again before opening.
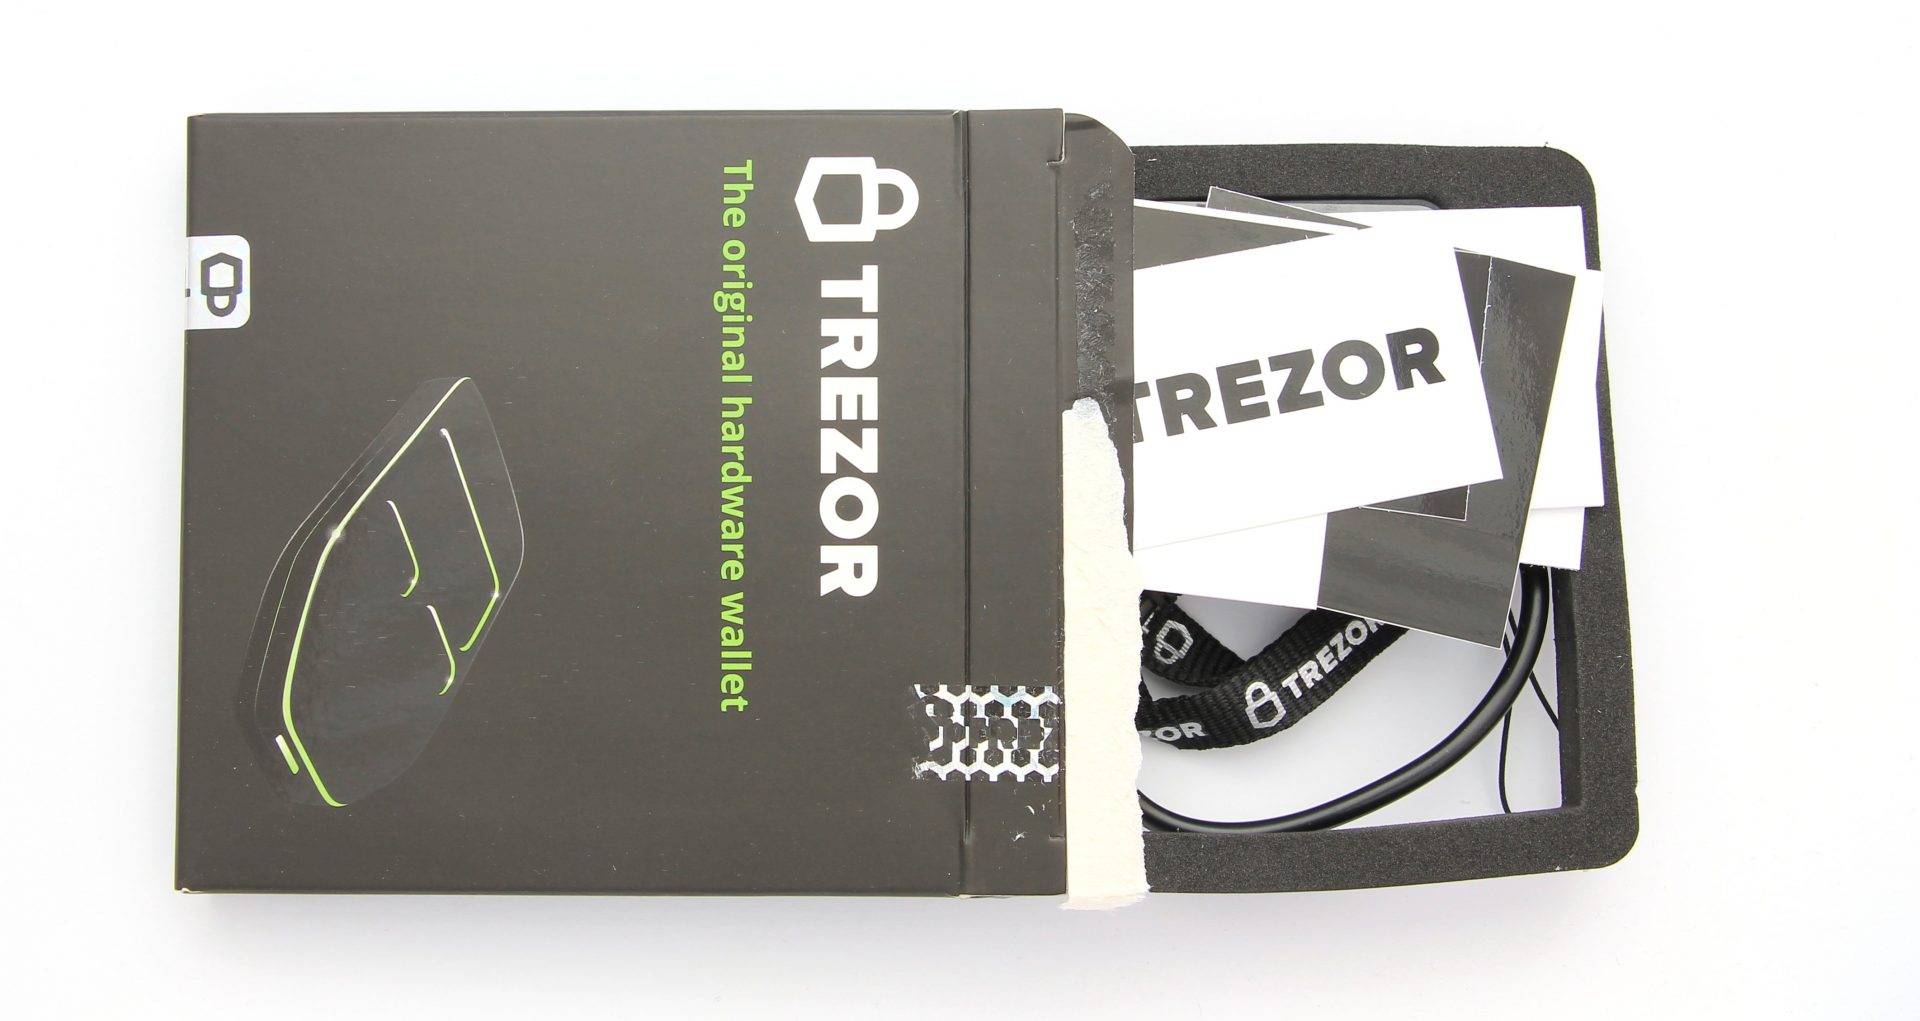
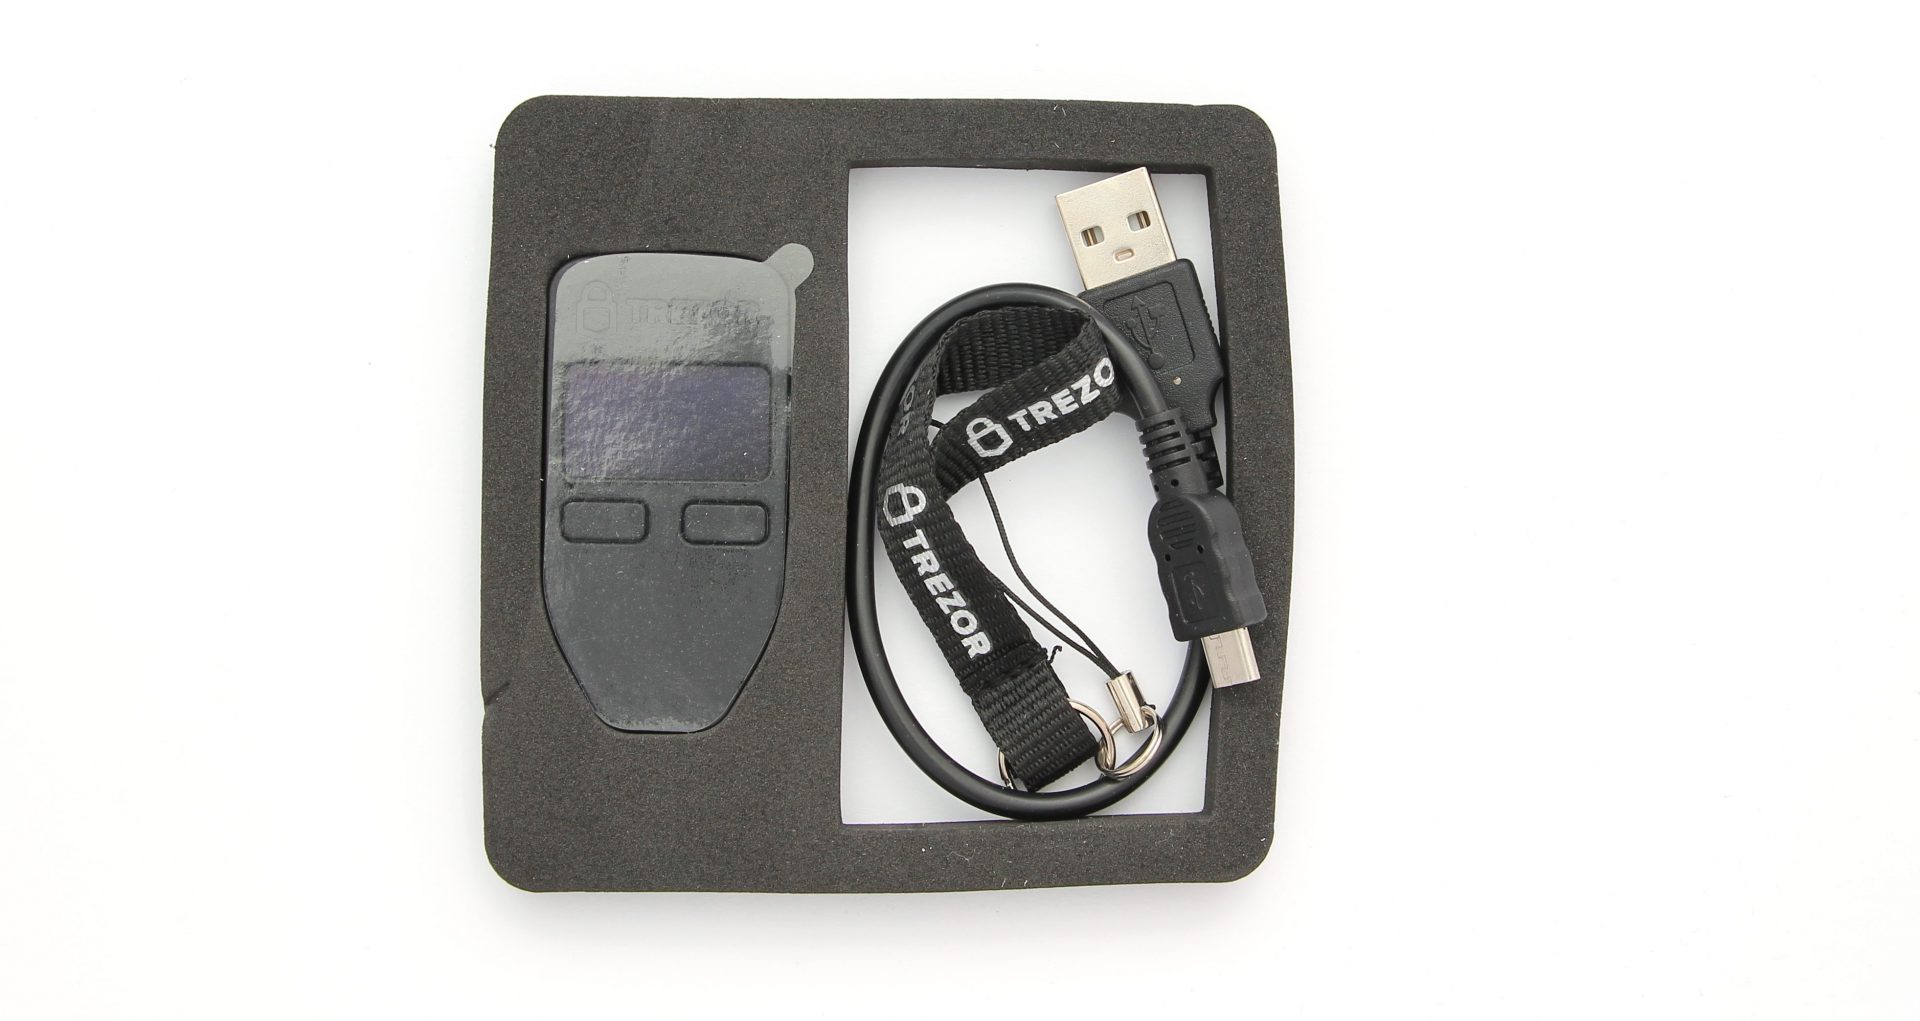
If you pay the seal and open the additional bondboard, you jump directly towards the entire scope of delivery. It is securely embedded in a foam sheath and so shock-proof packed.
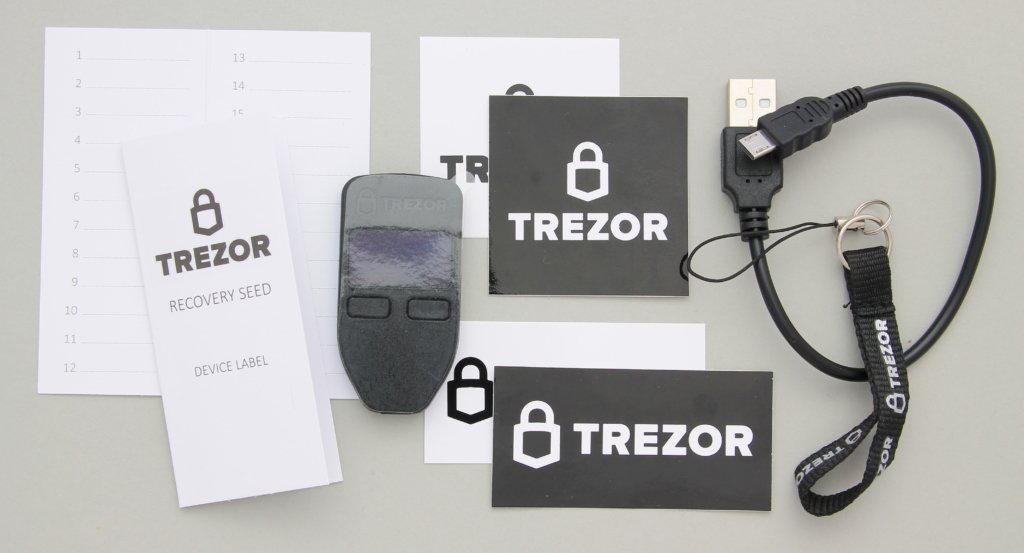
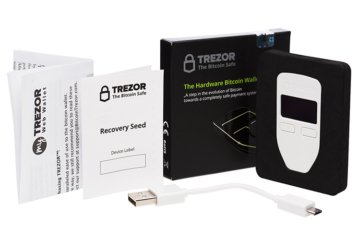
Complete contents: Two recovery slips, TREZOR hardware wallet, four stickers, a USB to micro USB cable and a ribbon
The scope of delivery naturally includes the hardware wallet itself, which is covered with a film to protect it from scratches. It also contains four stickers with the TREZOR logo, a USB-to-micro USB cable for connecting to the computer, two notes for noting the recovery seed and a small ribbon for attaching to the TREZOR.
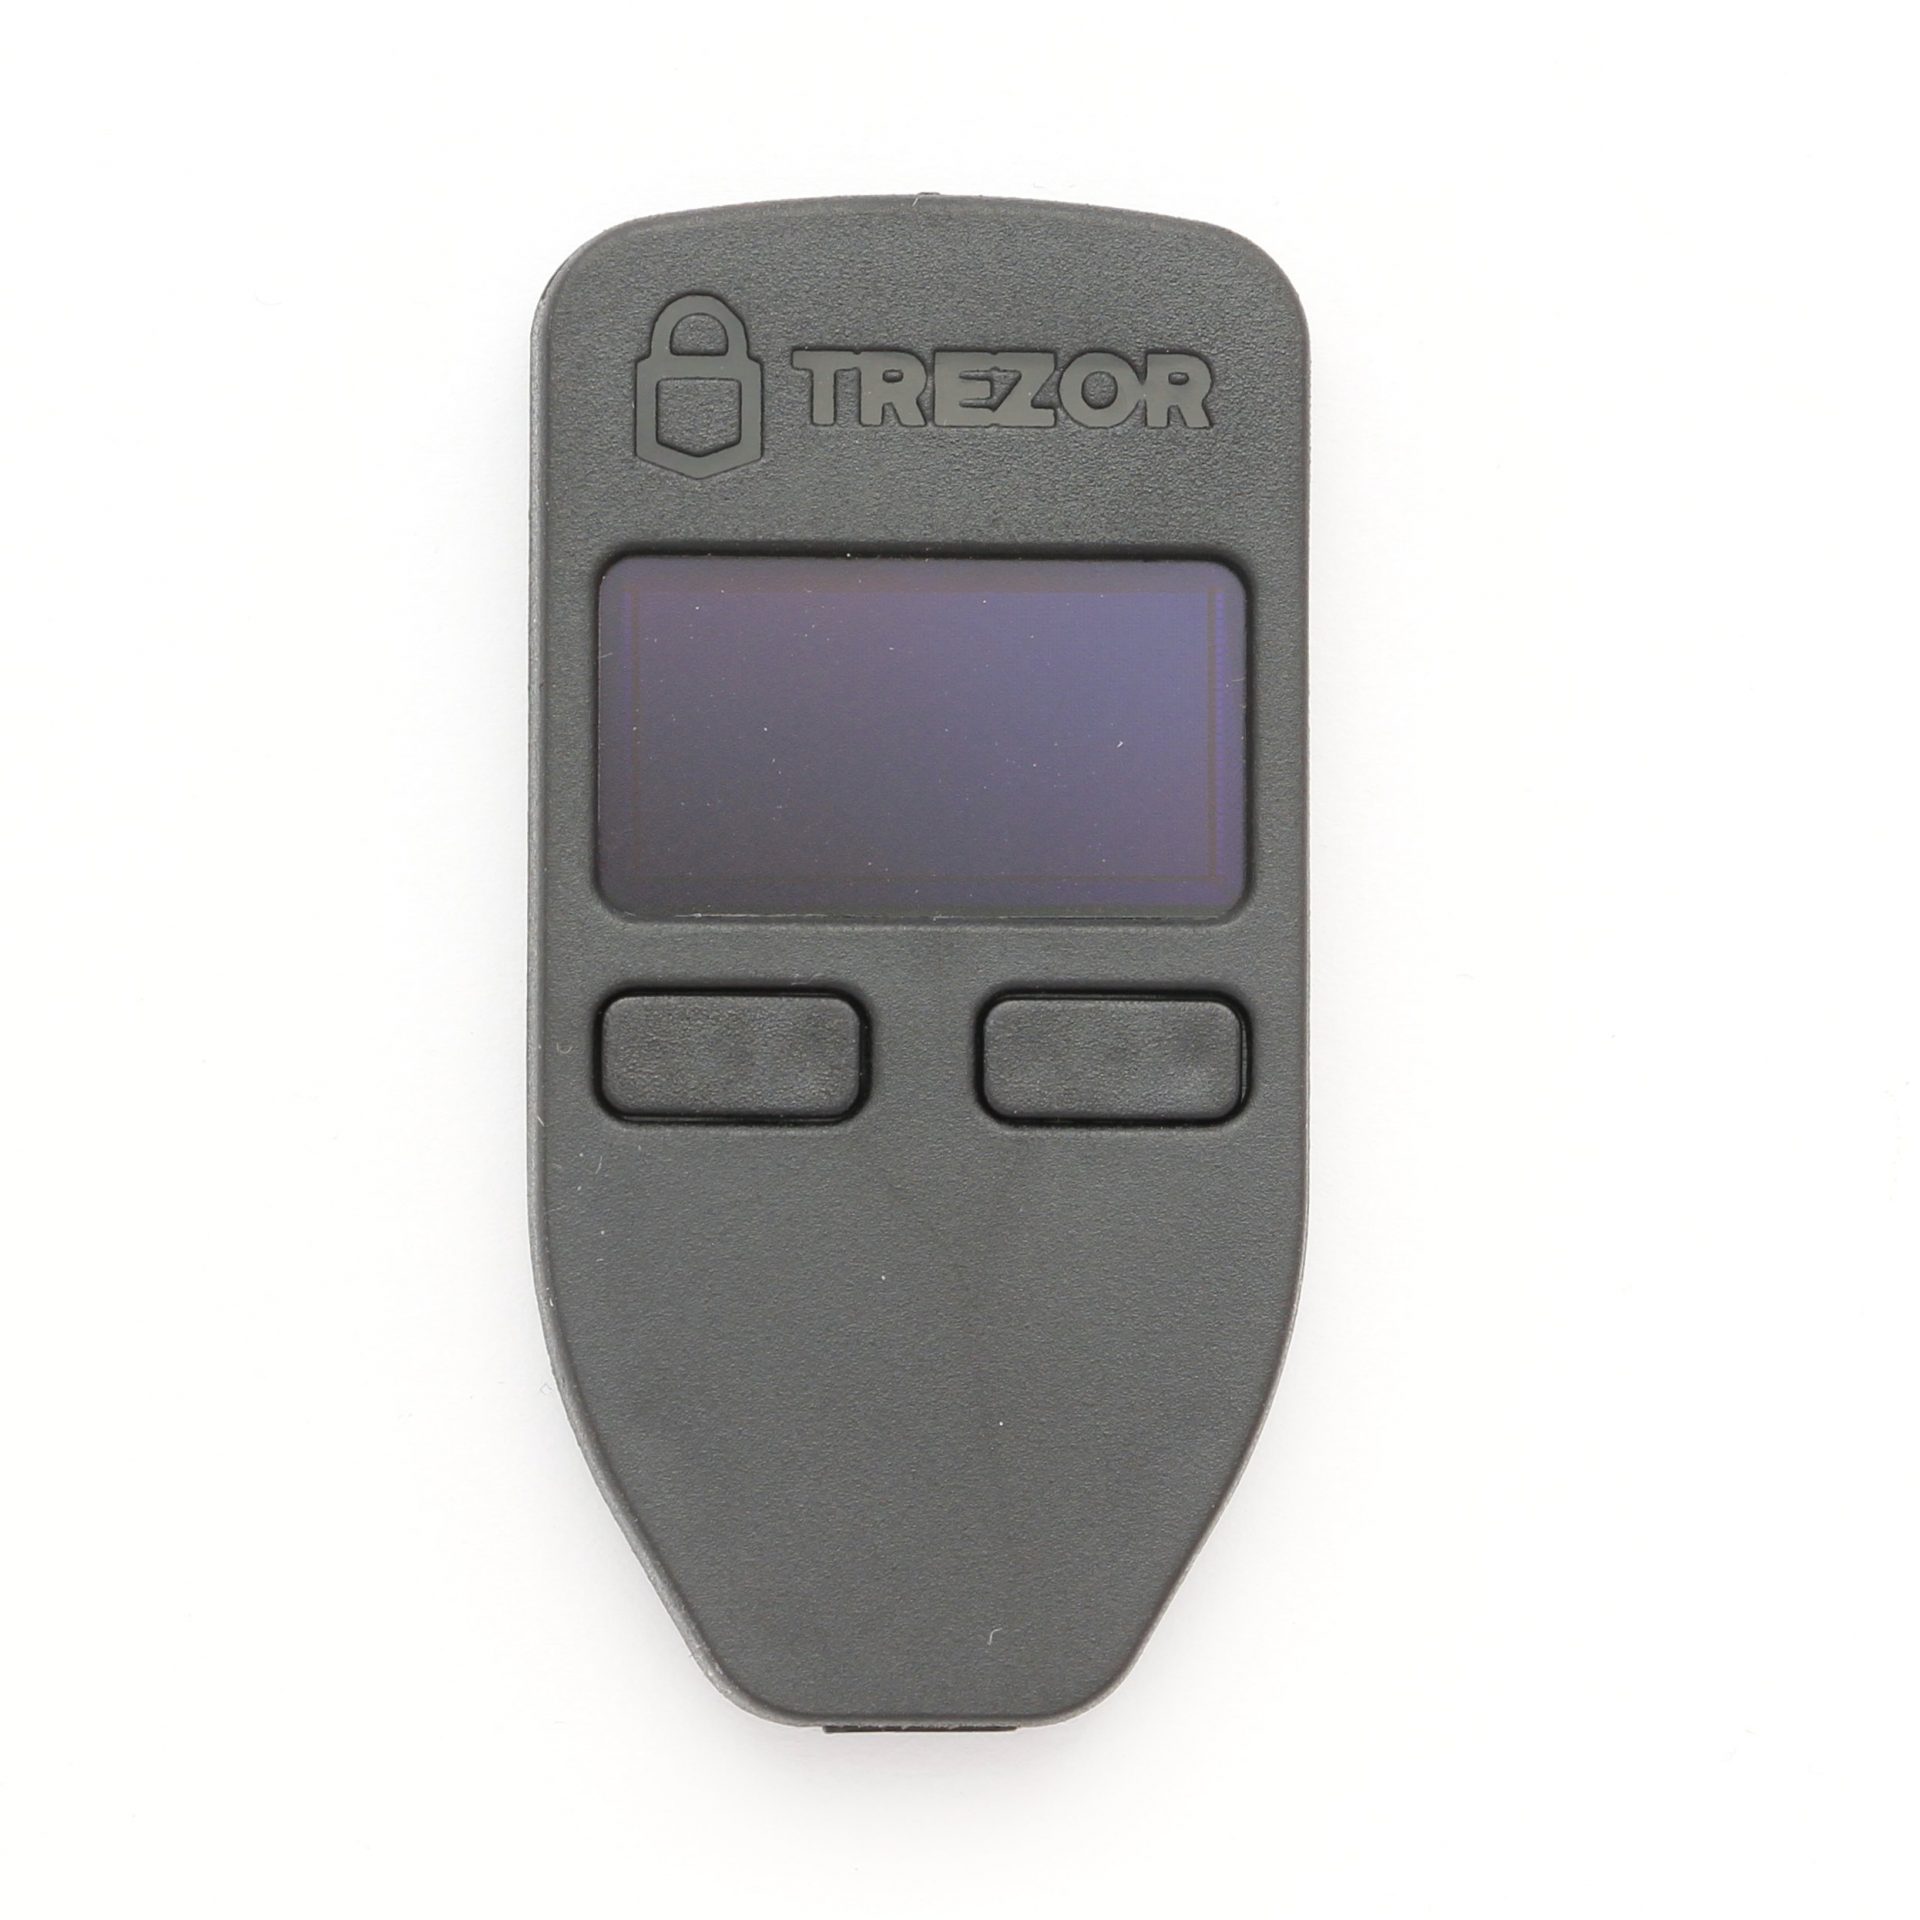
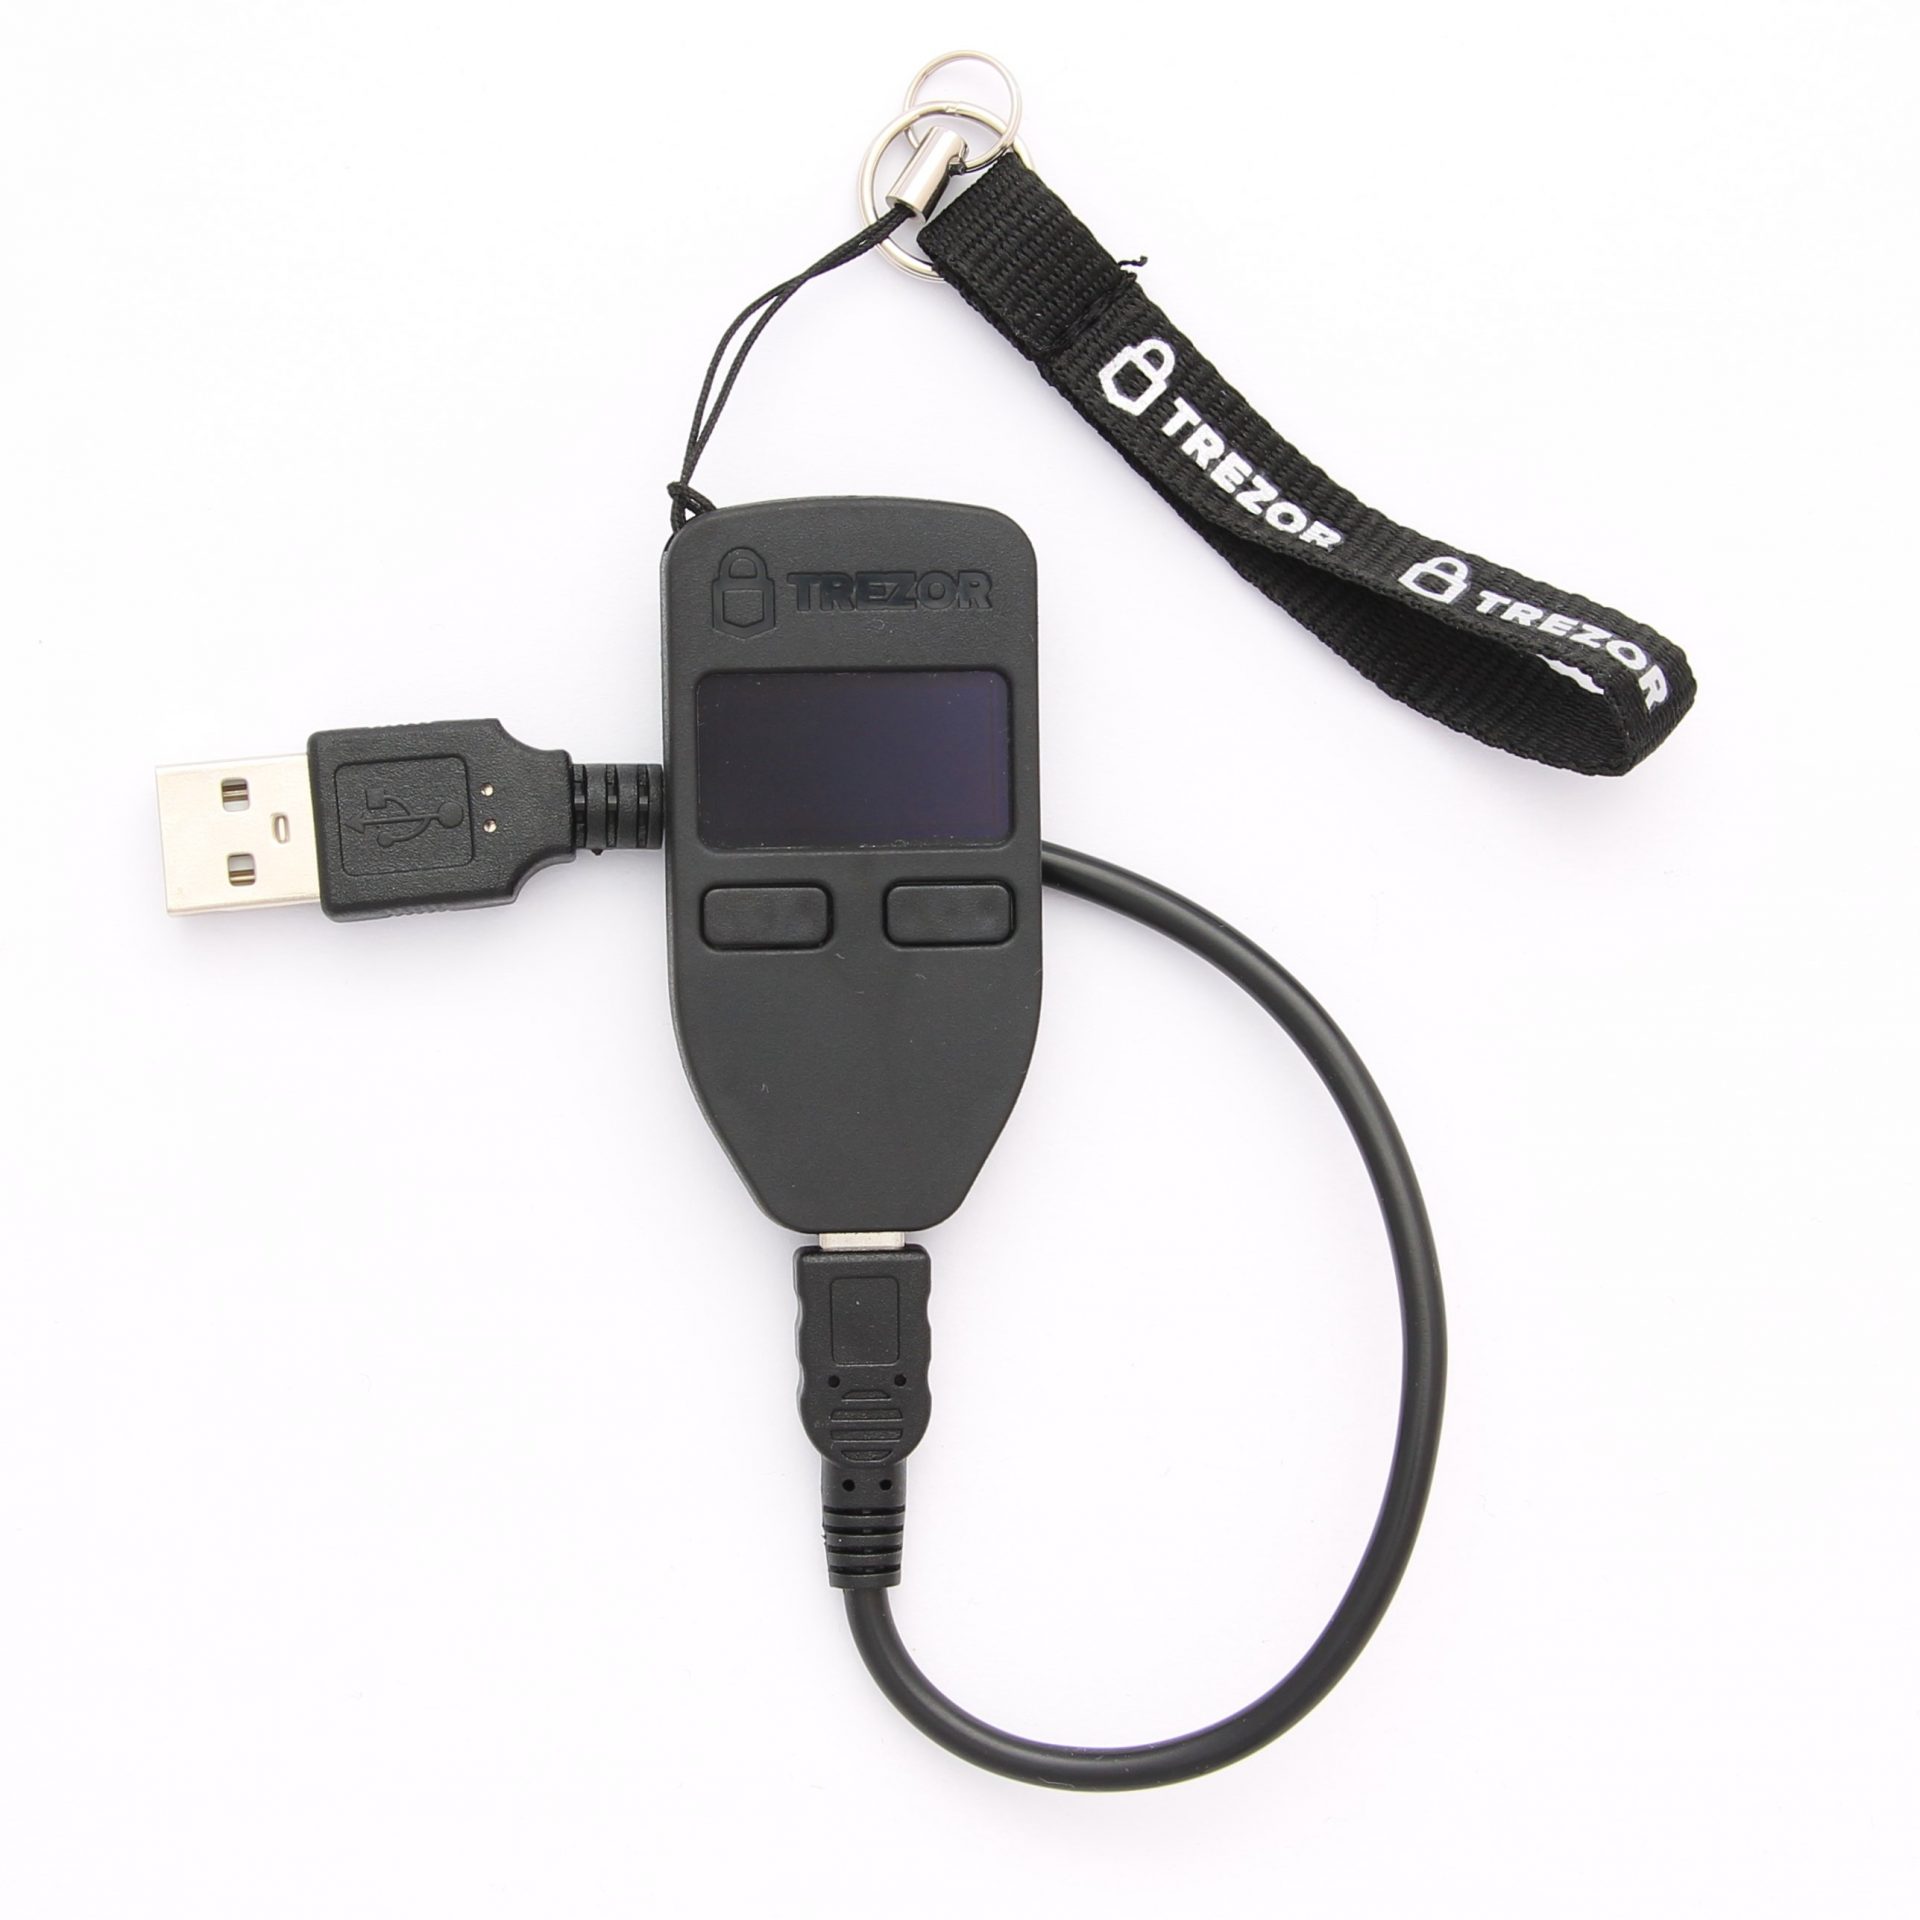
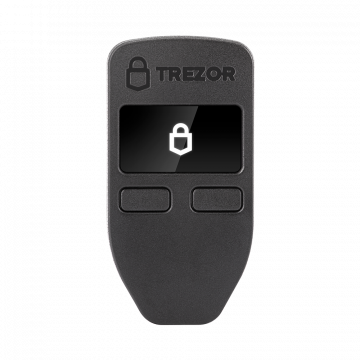
It is surprising how small the TREZOR ultimately is. It is 60mm x 30mm x 6mm tall and weighs only 12 grams. On the front is the TREZOR logo, including the OLED display with a resolution of 128×64 pixels and two buttons underneath, which provide a pleasant pressure point.
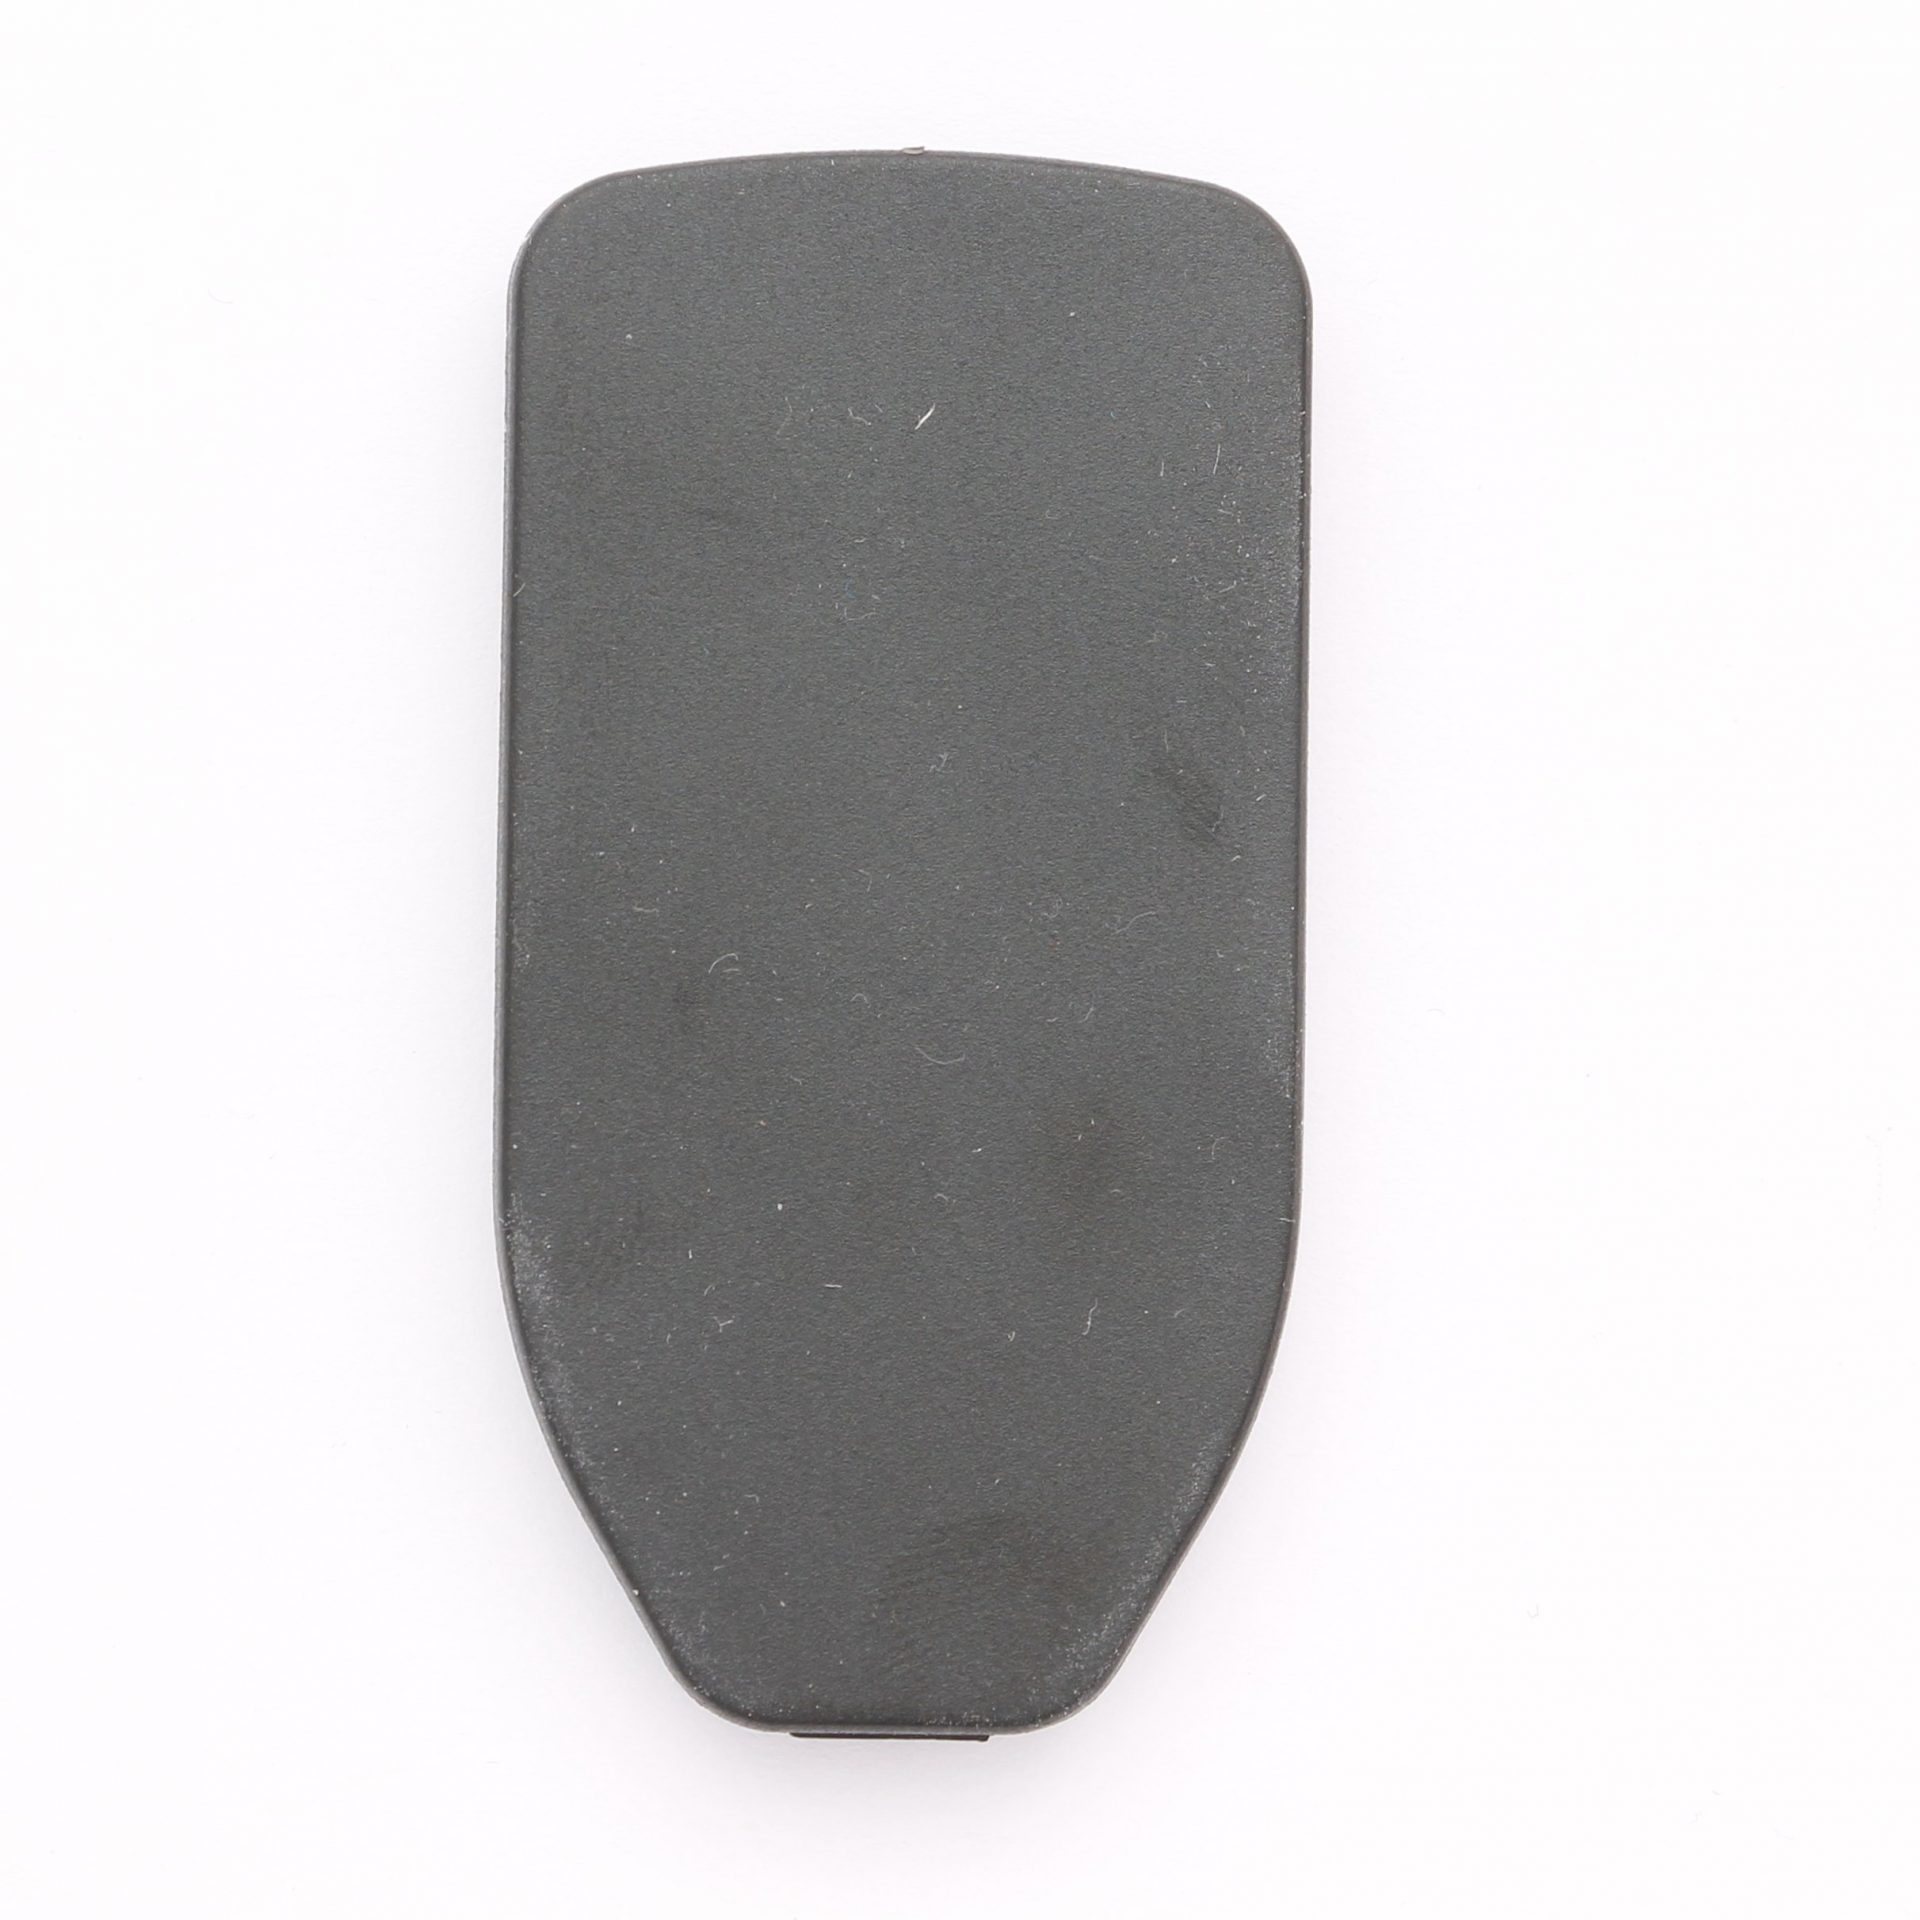
On the bottom is the MircoUSB port for connecting to the device and on the top is an eyelet for a trailer. The back is completely unused.
Cable for Android smartphones (accessories)
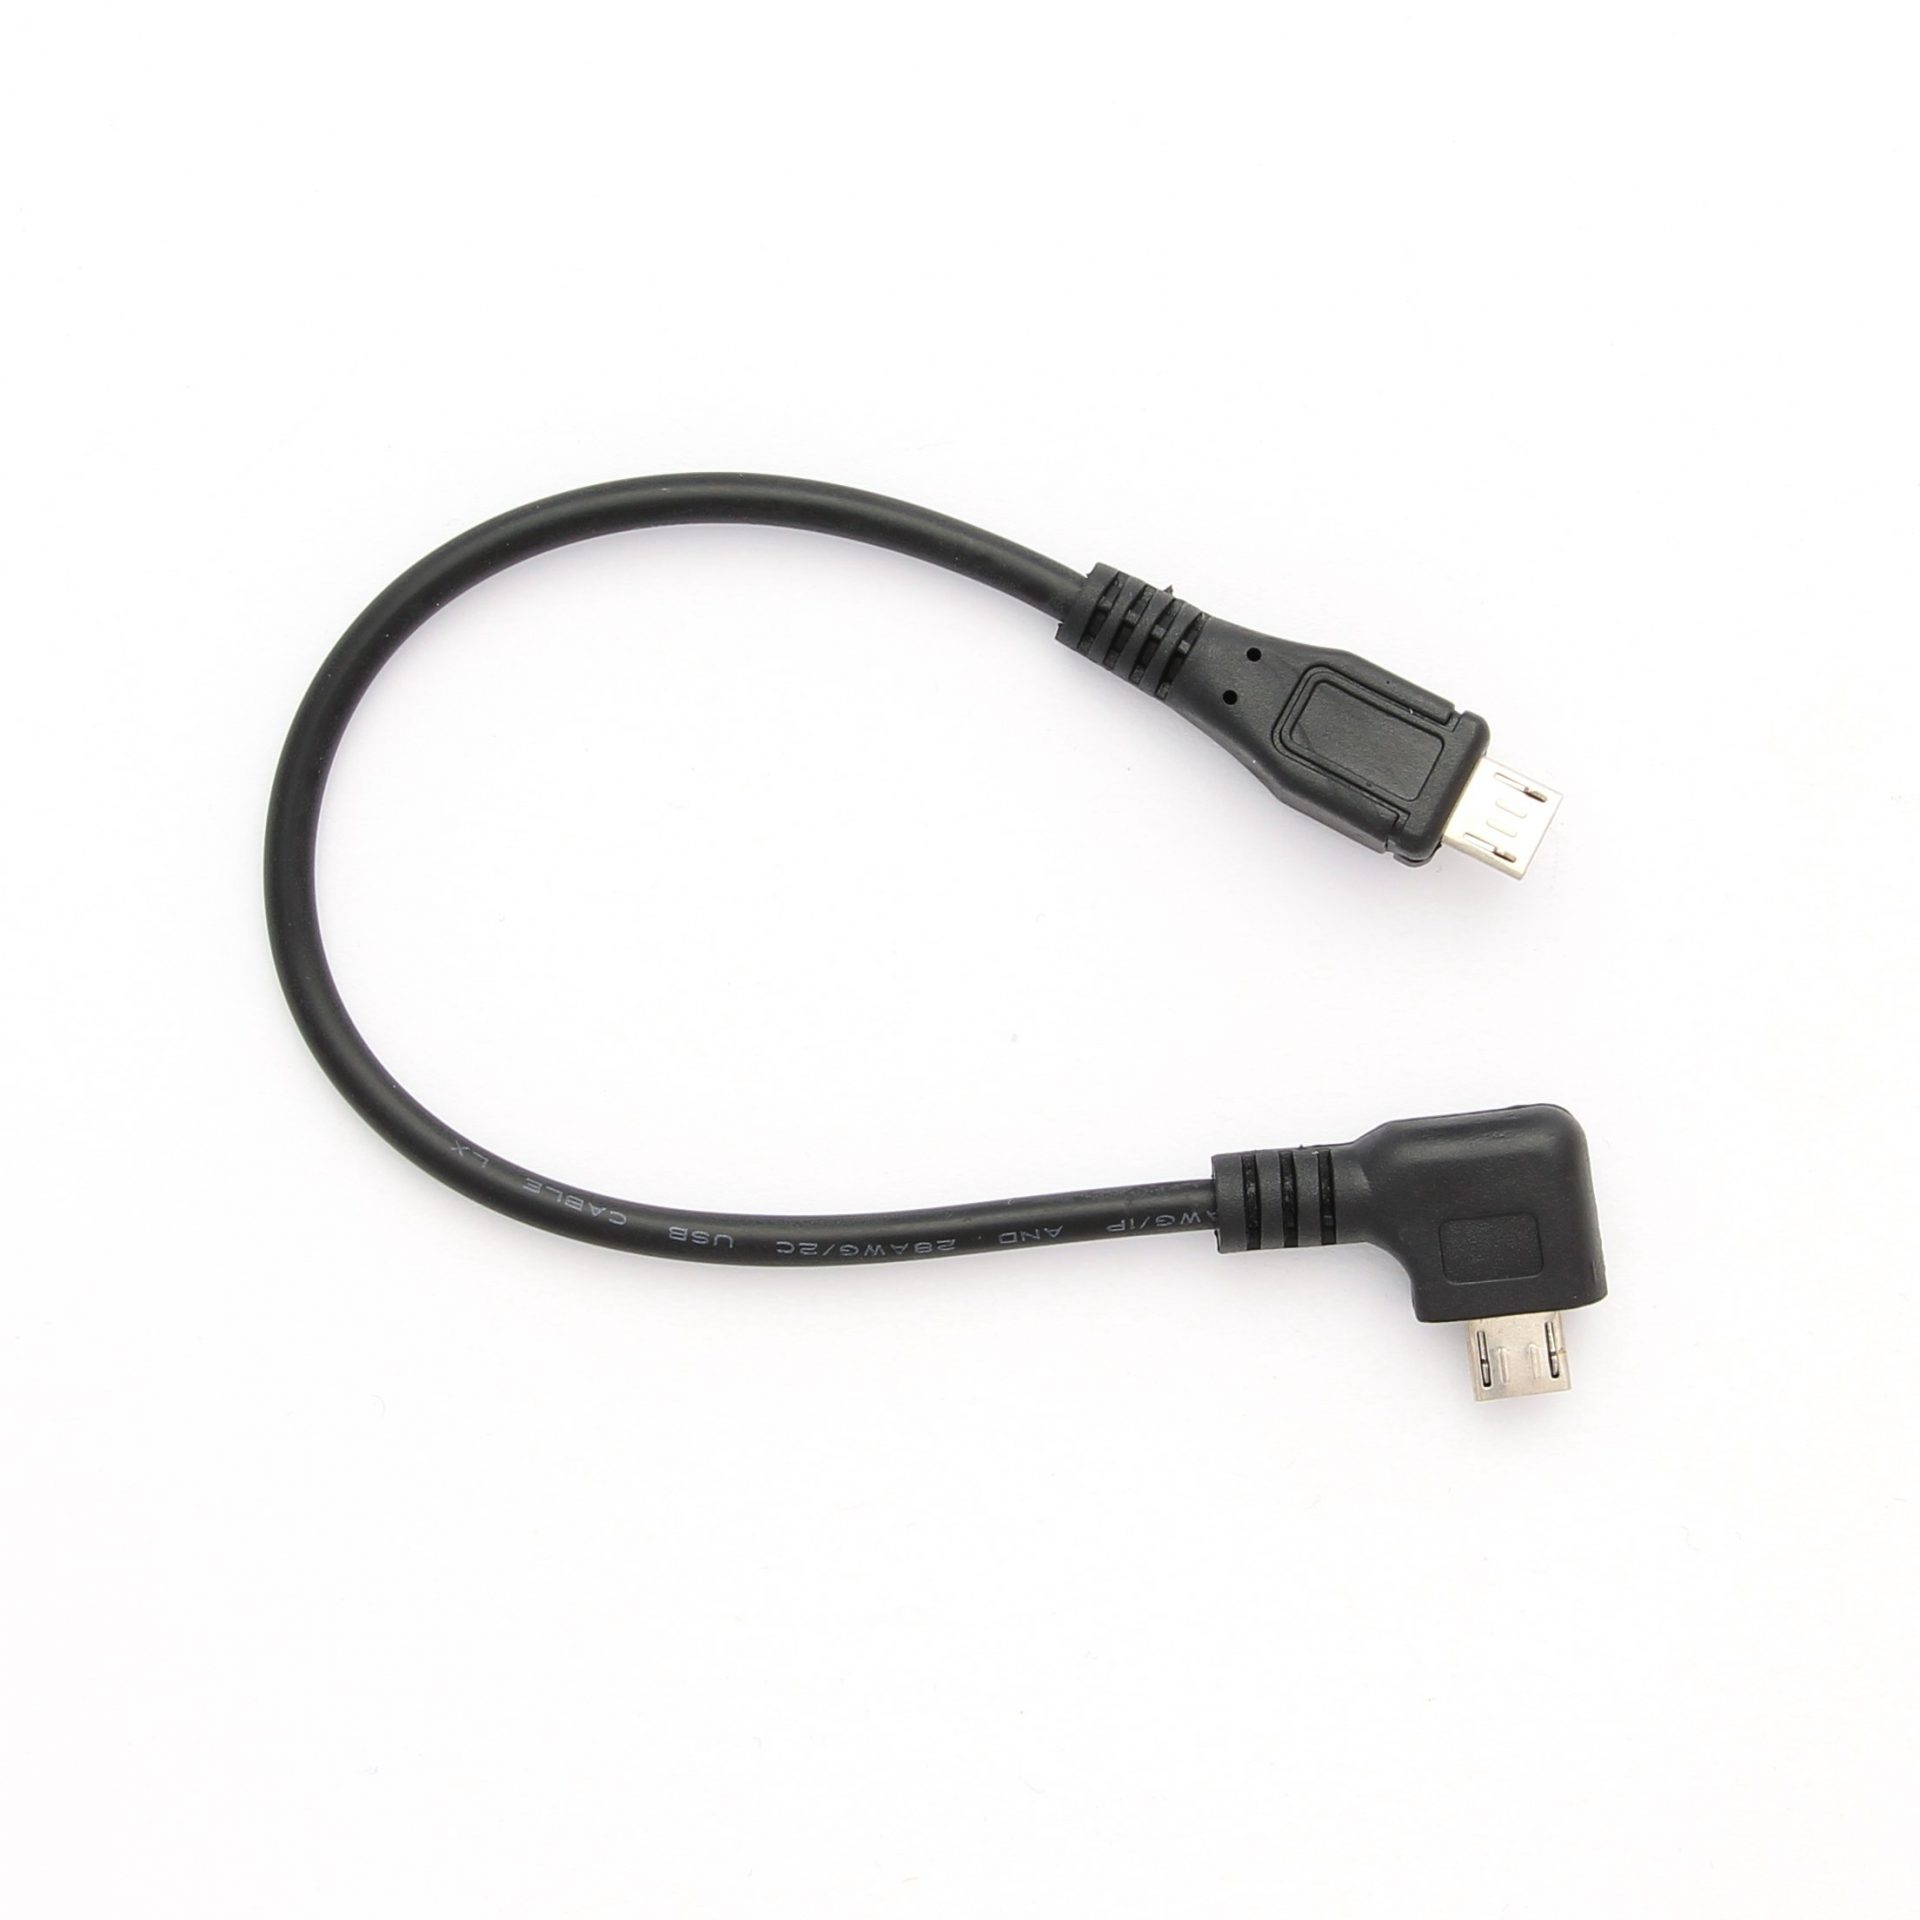
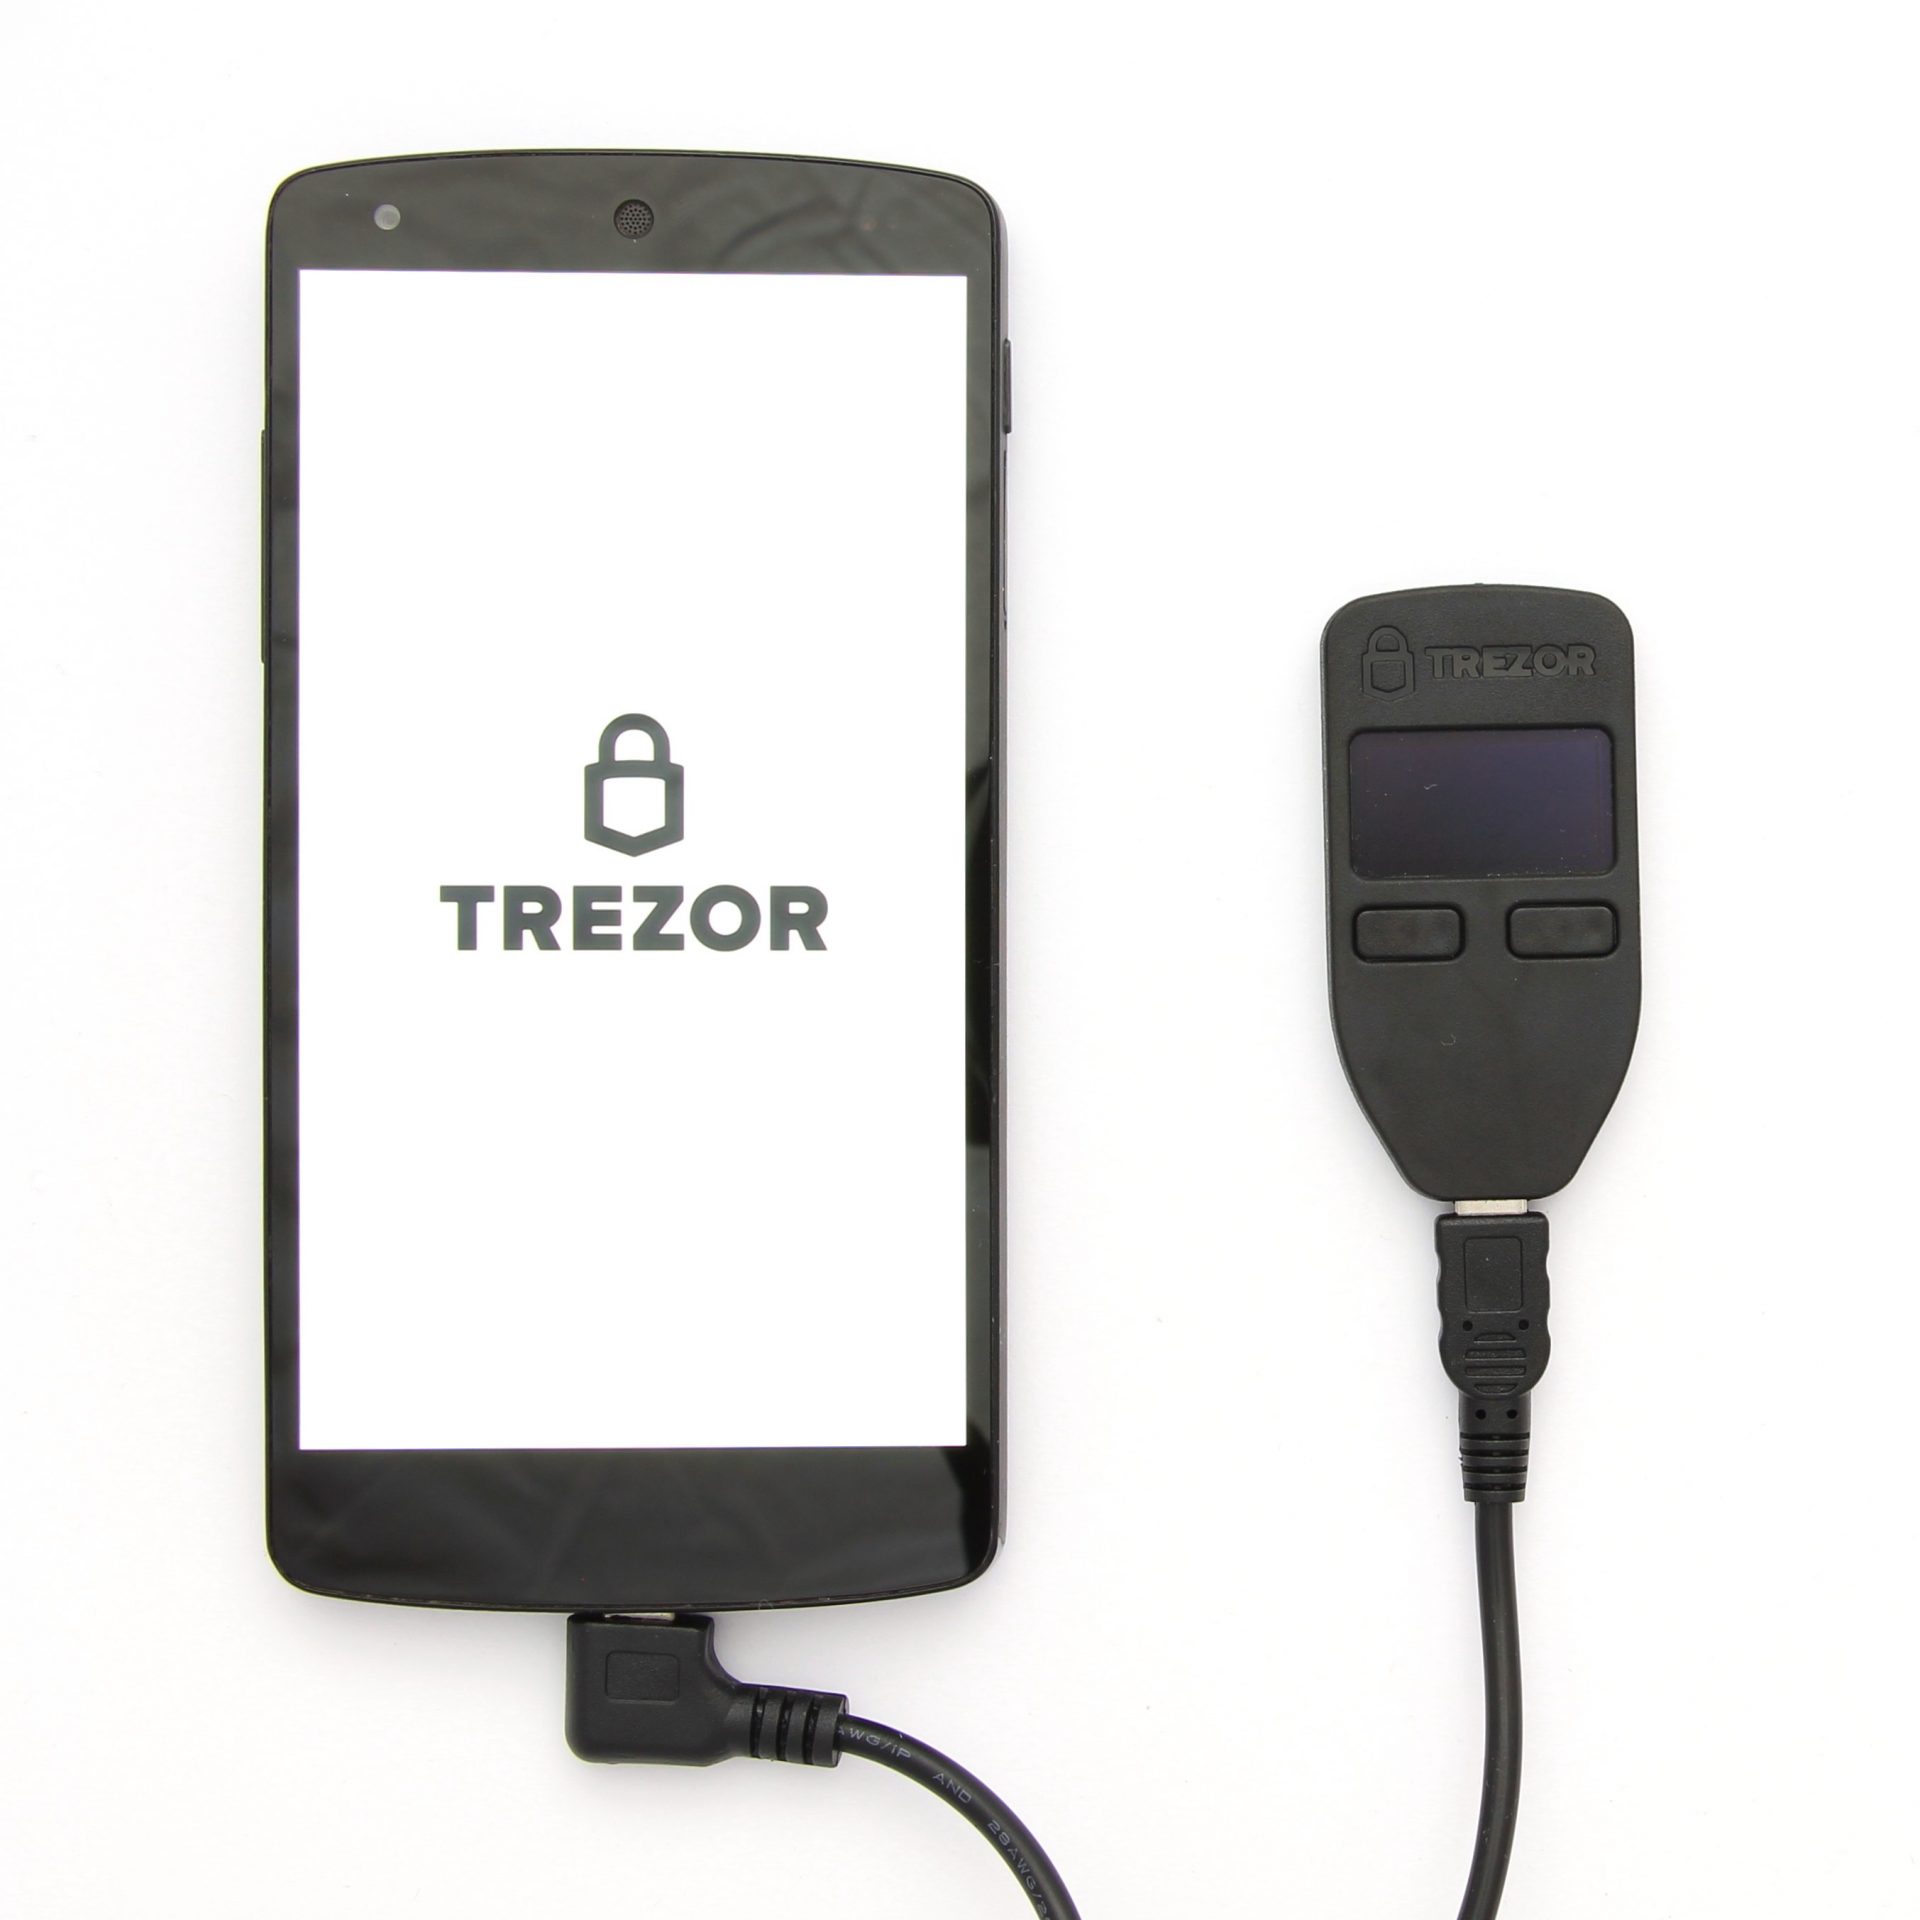
Android supports the USB OTG standard, which allows an Android smartphone from Android 3.1 to act as a host itself and thus, for example, to use a USB stick on the smartphone.
The TREZOR hardware wallet also uses this standard, so that you can also use the hardware wallet on the go with an Android smartphone using a corresponding app.
This cable is not included in the normal scope of delivery and must be ordered as an accessory.
First Impression: Conclusion
The order in TREZOR ‘s online shop seems to be straightforward, only the address details are to be provided and the payment is then made by Bitcoin or credit card.
Shipping proceeded very quickly and without any problems from Prague, Czech Republic.
The TREZOR Hardware Wallet can also be ordered from Amazon, but at the time of testing, hardly any retailers were delivering to Germany. I also think that third-party retailers should be treated with caution, as they could manipulate the device including the packaging.
Otherwise, the delivery can convince. I don’t miss anything and the device works very well processed. The extra stickers are a nice side dish.
Initial setup of the TREZOR hardware wallet
Never use a hardware wallet that is already set up. You must choose your own PIN code or password and do the backup yourself. This is not given by anyone!
As the back of the box reveals, you need to go to trezor.io/start to set up the TREZOR hardware wallet.
Here you first have to select the appropriate device-in this case, it is TREZOR One.
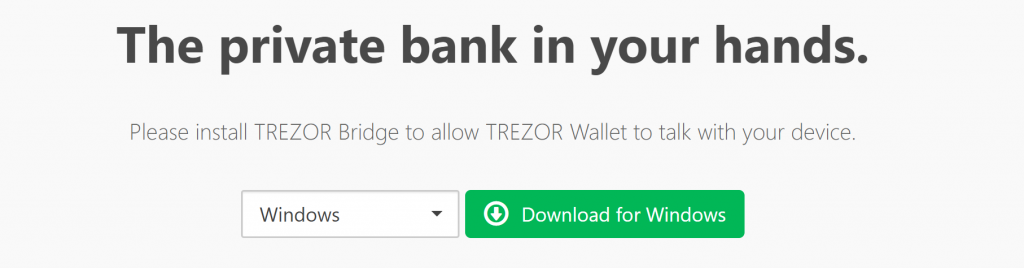
The TREZOR Bridge is available for Max OS, Linux and Windows
It is then necessary to install a TREZOR bridge depending on the operating system and browser. This is software that is the link between USB port and web wallet.
Then reload the page and connect the TREZOR Model One to a free USB port using the USB cable supplied.
First firmware to play
If you now add TREZOR to the computer as requested, the firmware must first be installed.
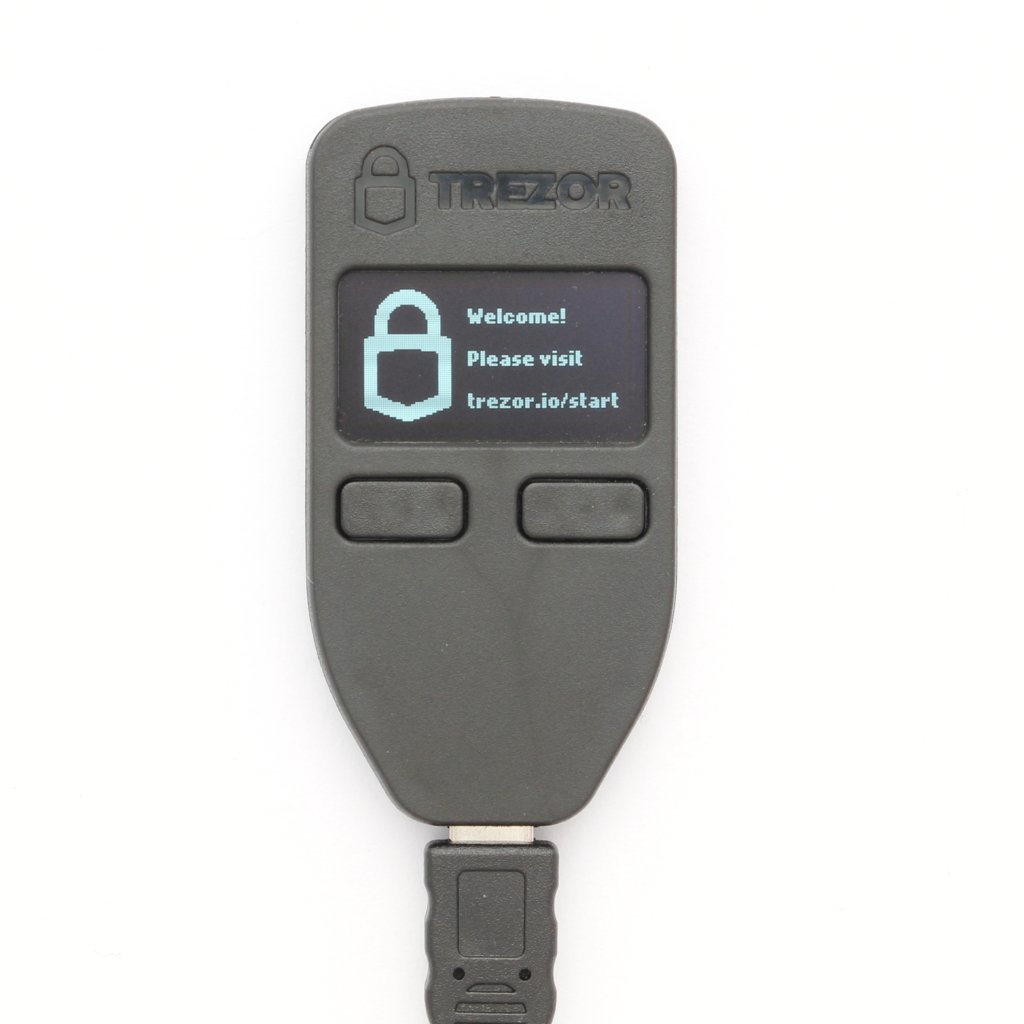
Screen after TREZOR first connected to the computer
This is not delivered from the factory, but only is loaded onto the device when it is set up. So you have the most up-to-date and therefore safest firmware on the device right at the start.
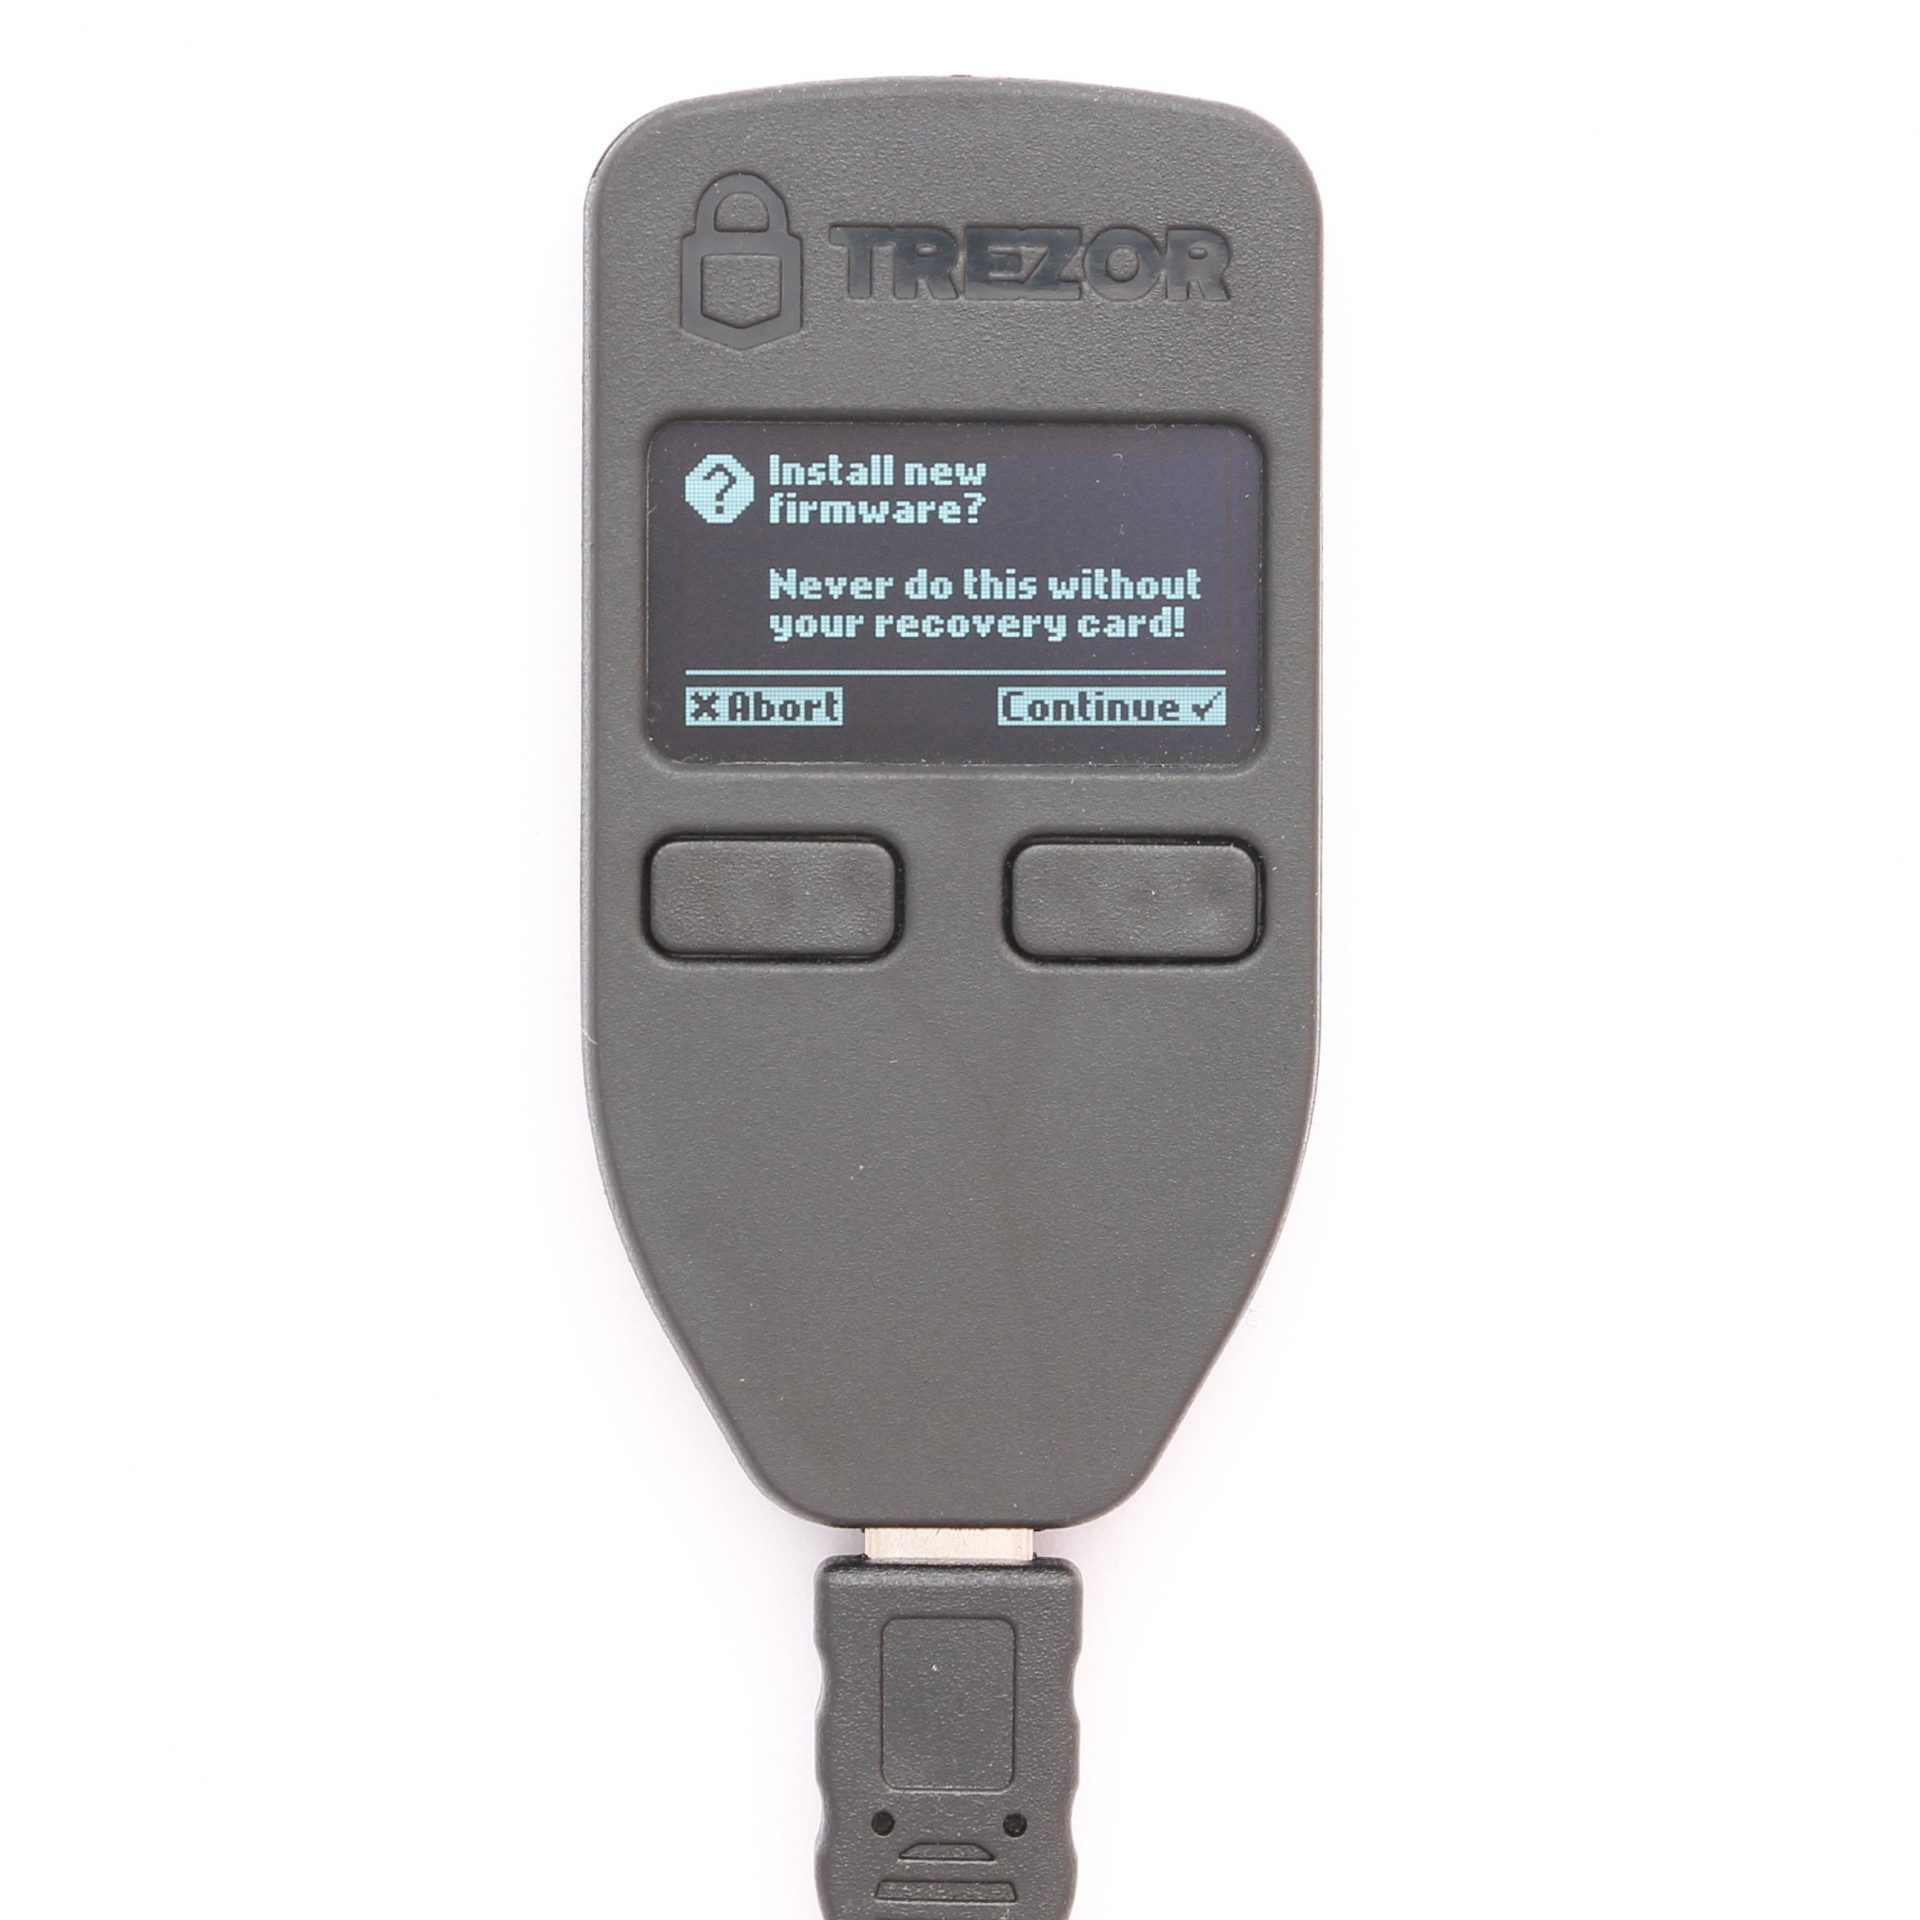
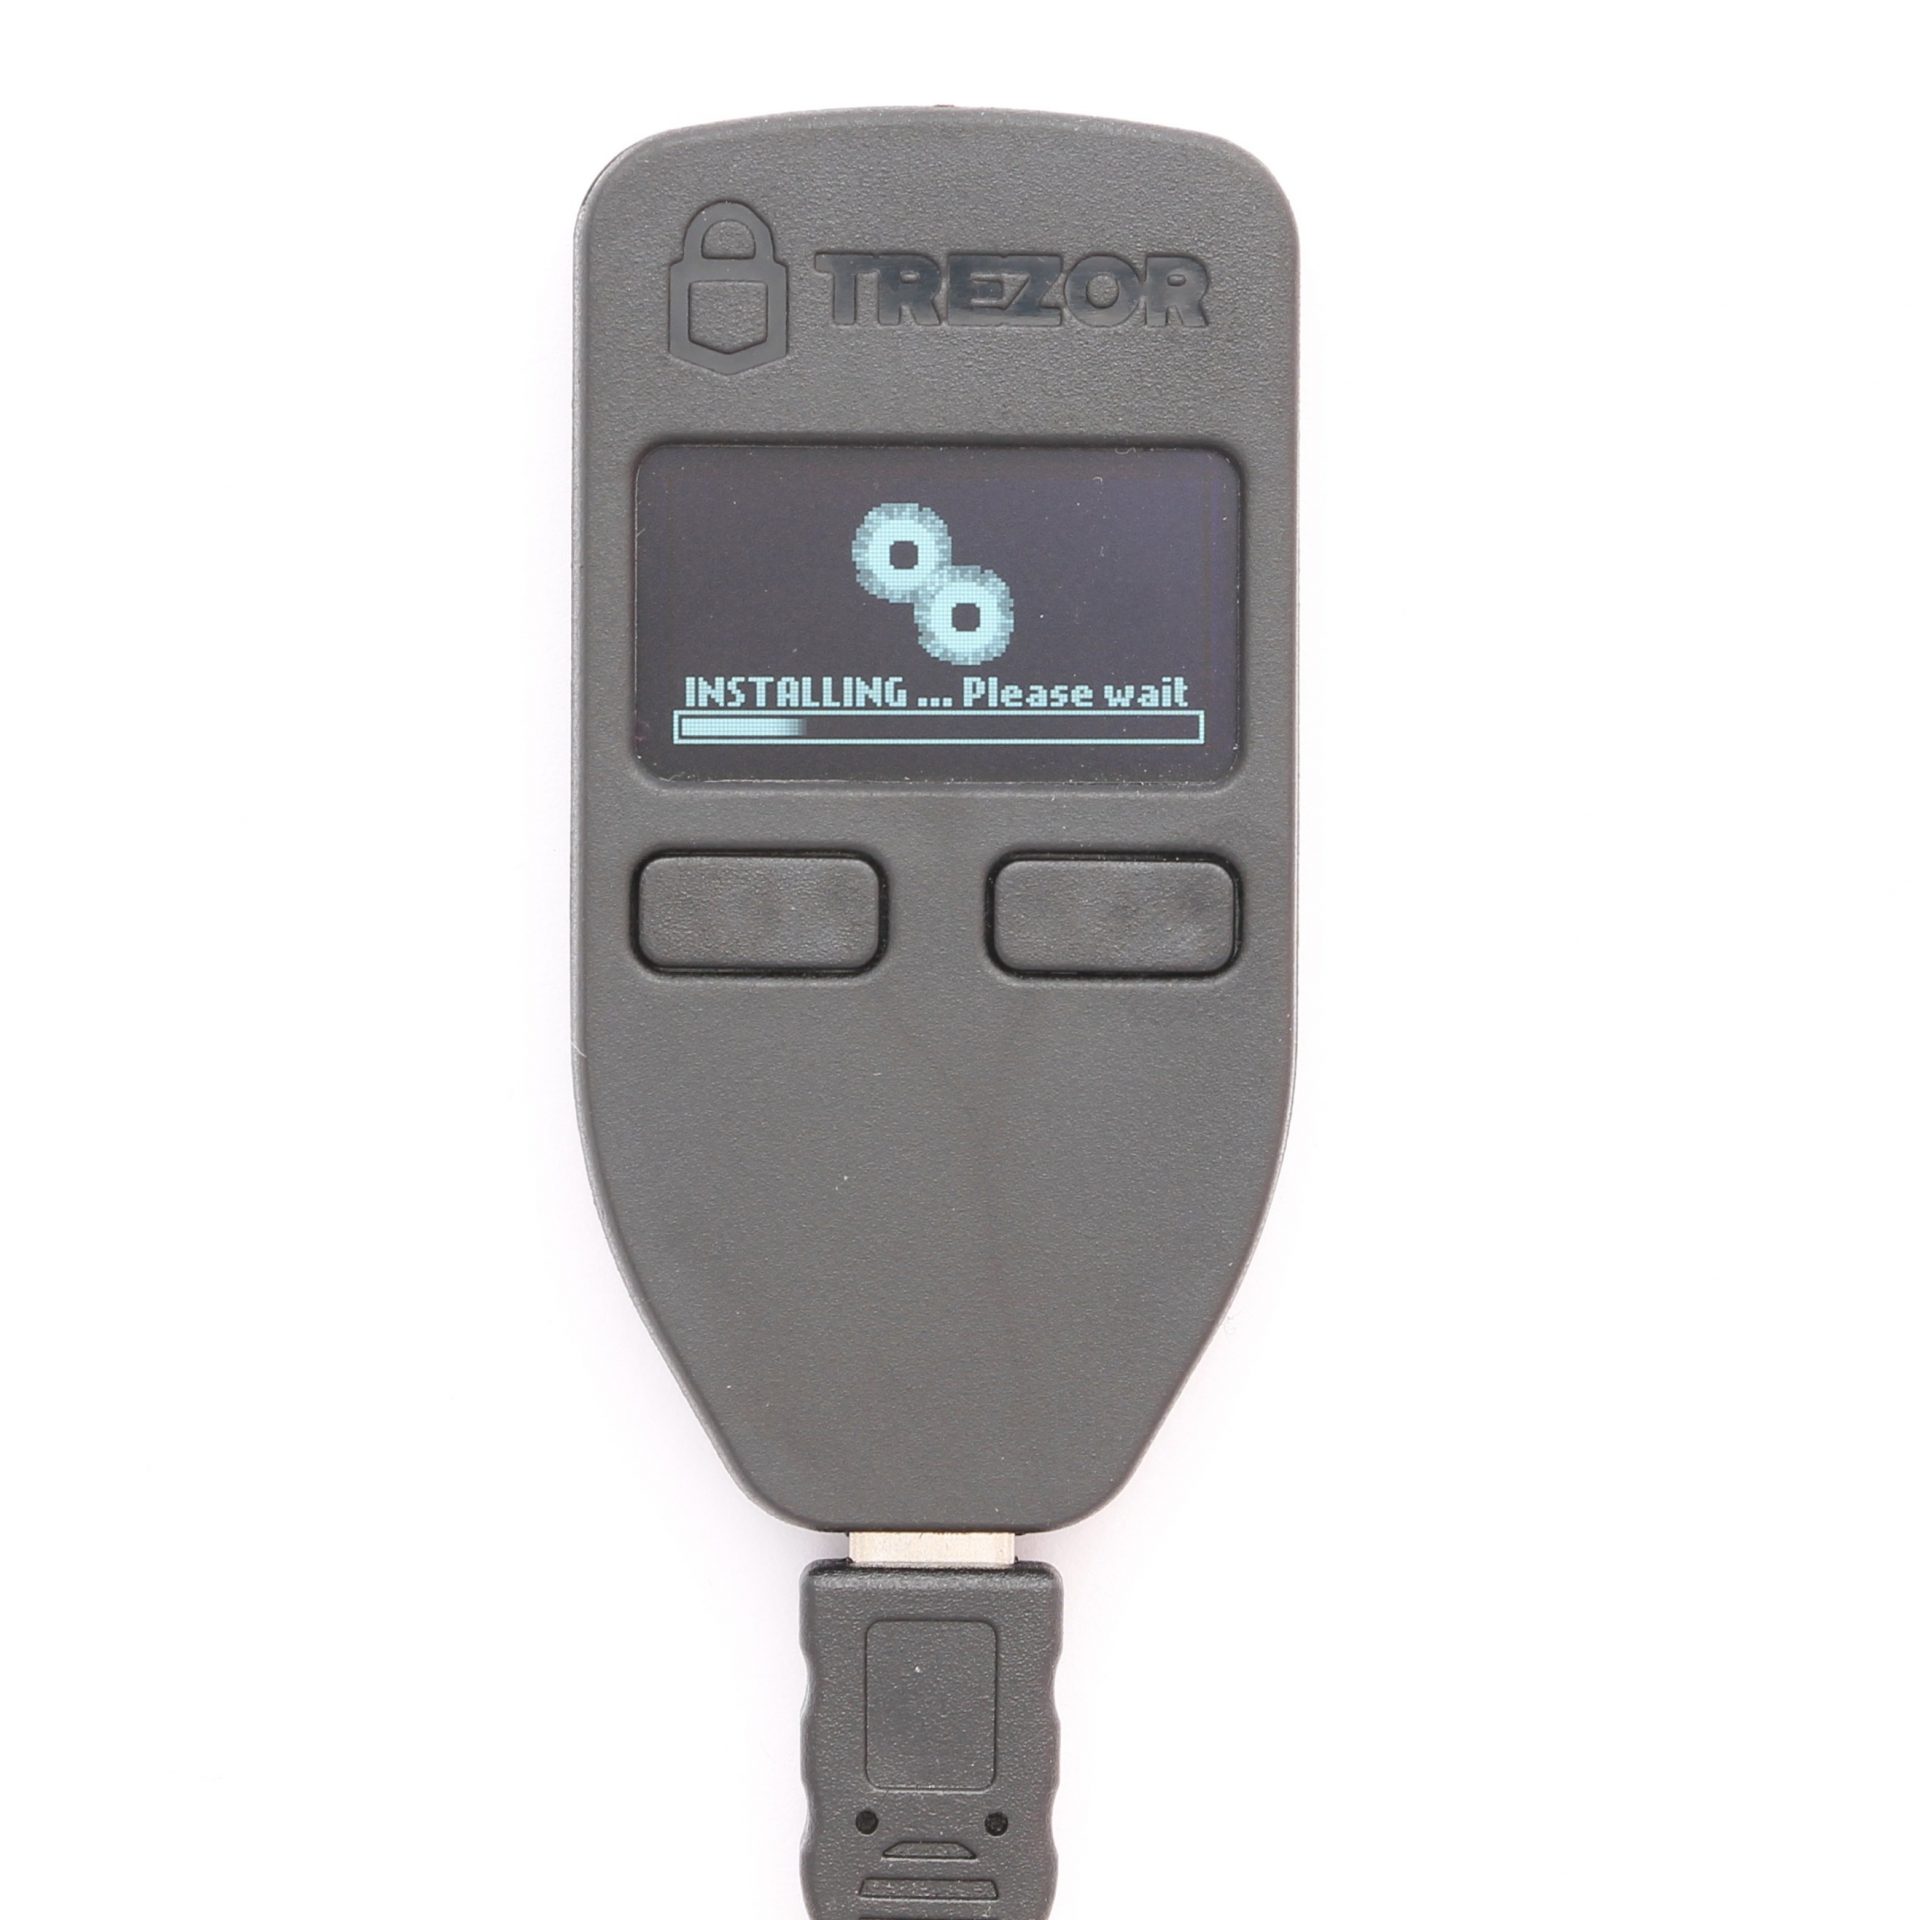

Within a minute, your device will restart and the new firmware will be loaded. TREZOR Wallet then starts with the initialization of the wallets.
Set up wallet
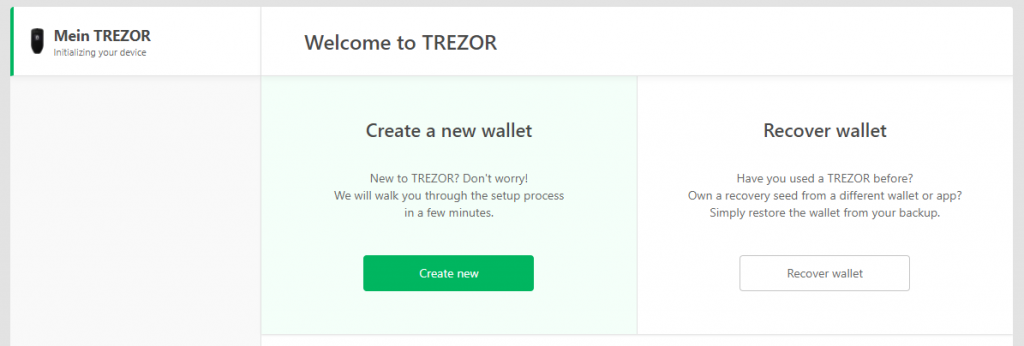
TREZOR Reset wallet or import existing wallet
Now you’re faced with the choice: Do you want to set up a new wallet or restore an existing one. You can do the latter if you already have a recovery seed in the form of 24 words from a previous hardware wallet.
It is also possible to set up mobile with an Android device. More on this in the area of compatibility of this test report.
TREZOR Setup
Once TREZOR has been reconnected, the setup via the TREZOR wallet in the browser can be started.
Although you can already use the hardware wallet, there are still some important steps to be taken to set it up. The current status of the facility can be viewed via the progress bar in the TREZOR Wallet.
Creating a Backup
The first step is the most important: create a backup of your hardware wallet. These 24 words, which you note down during the backup process, enable you to restore all coins if the TREZOR Model One hardware wallet is defective or lost.
Your Recovery Seed is the backup key to all your cryptocurrencies and apps. The Recovery Seed (backup) can only be viewed once. Never make a digital copy of the Recovery Seed and never upload it online. Keep the Recovery Seed in a safe place, ideally also safe from fire and water. Special backup products, for example Billfodl are suitable for this.
No one but yourself can be held liable for any financial losses caused by improper handling of sensitive data.
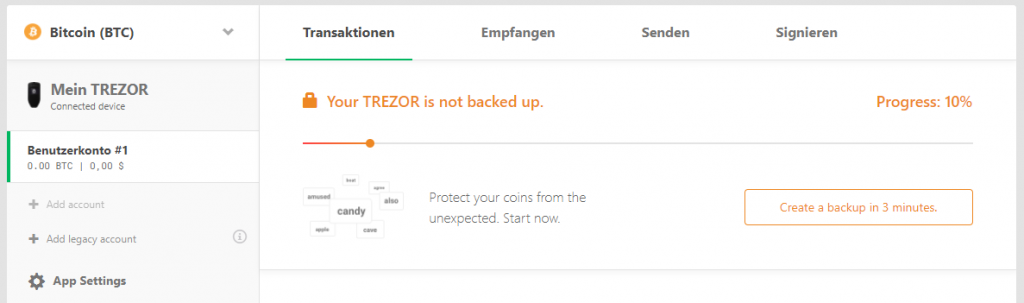
TREZOR One backup required
Therefore, go through the process conscientiously and accurately according to the instructions. Click on “Create a backup in 3 minutes.”
As the process progresses, you’ll see each of the 24 words individually on the TREZOR One’s display.

First word is displayed on TREZOR
You can write these words in the small booklet from the scope of delivery. Once you arrive at the last word, you have the opportunity to go through and control all the words again.
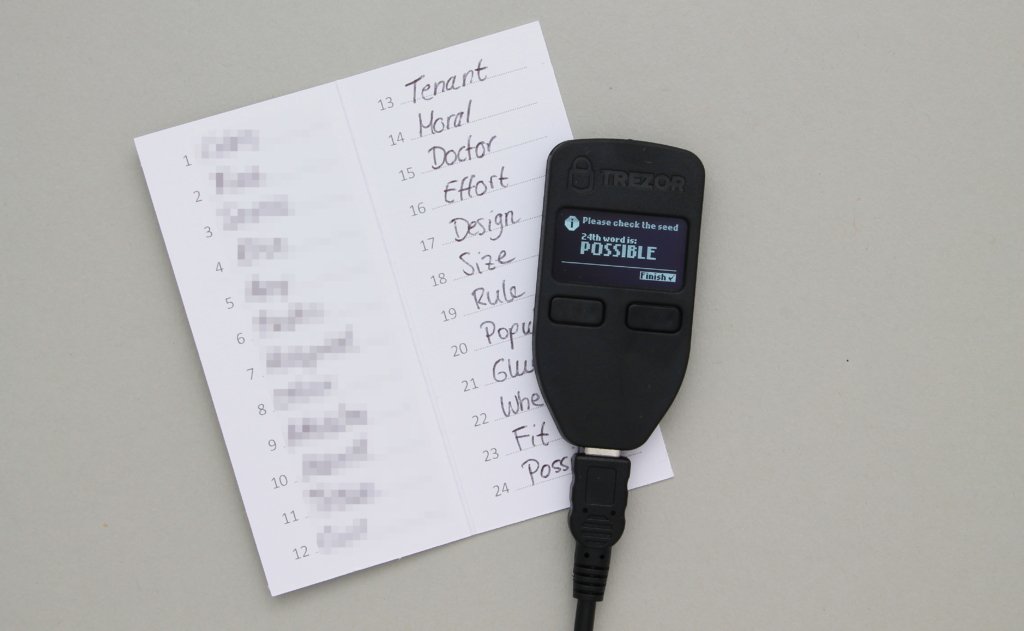
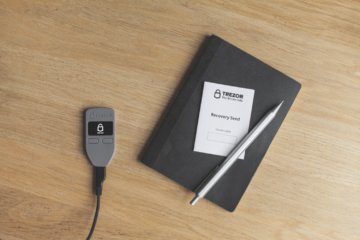
The enclosed Recovery Seed booklet is now filled with the words for recovery
After checking each word, you can complete the process by pressing the right button. The booklet is now kept safe as it represents access to your cryptocurrencies .
Choose a Name
The next step is to set a name for your TREZOR One.
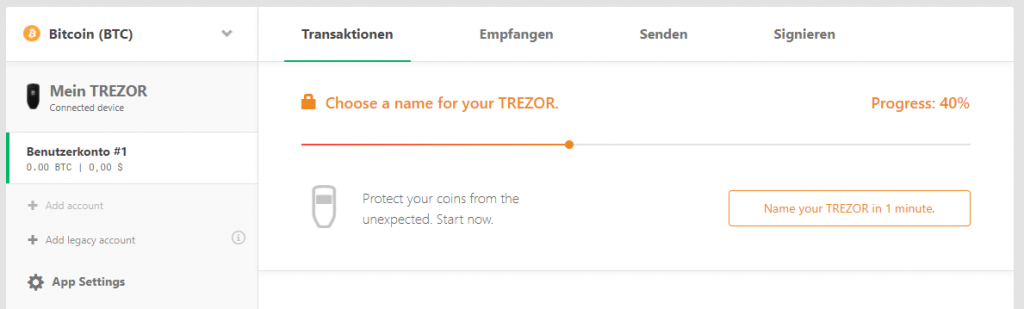
TREZOR One set name
By adjusting the device name, you can be sure that the TREZOR in your hands is really yours. It can also help you distinguish between different TREZORdevices.
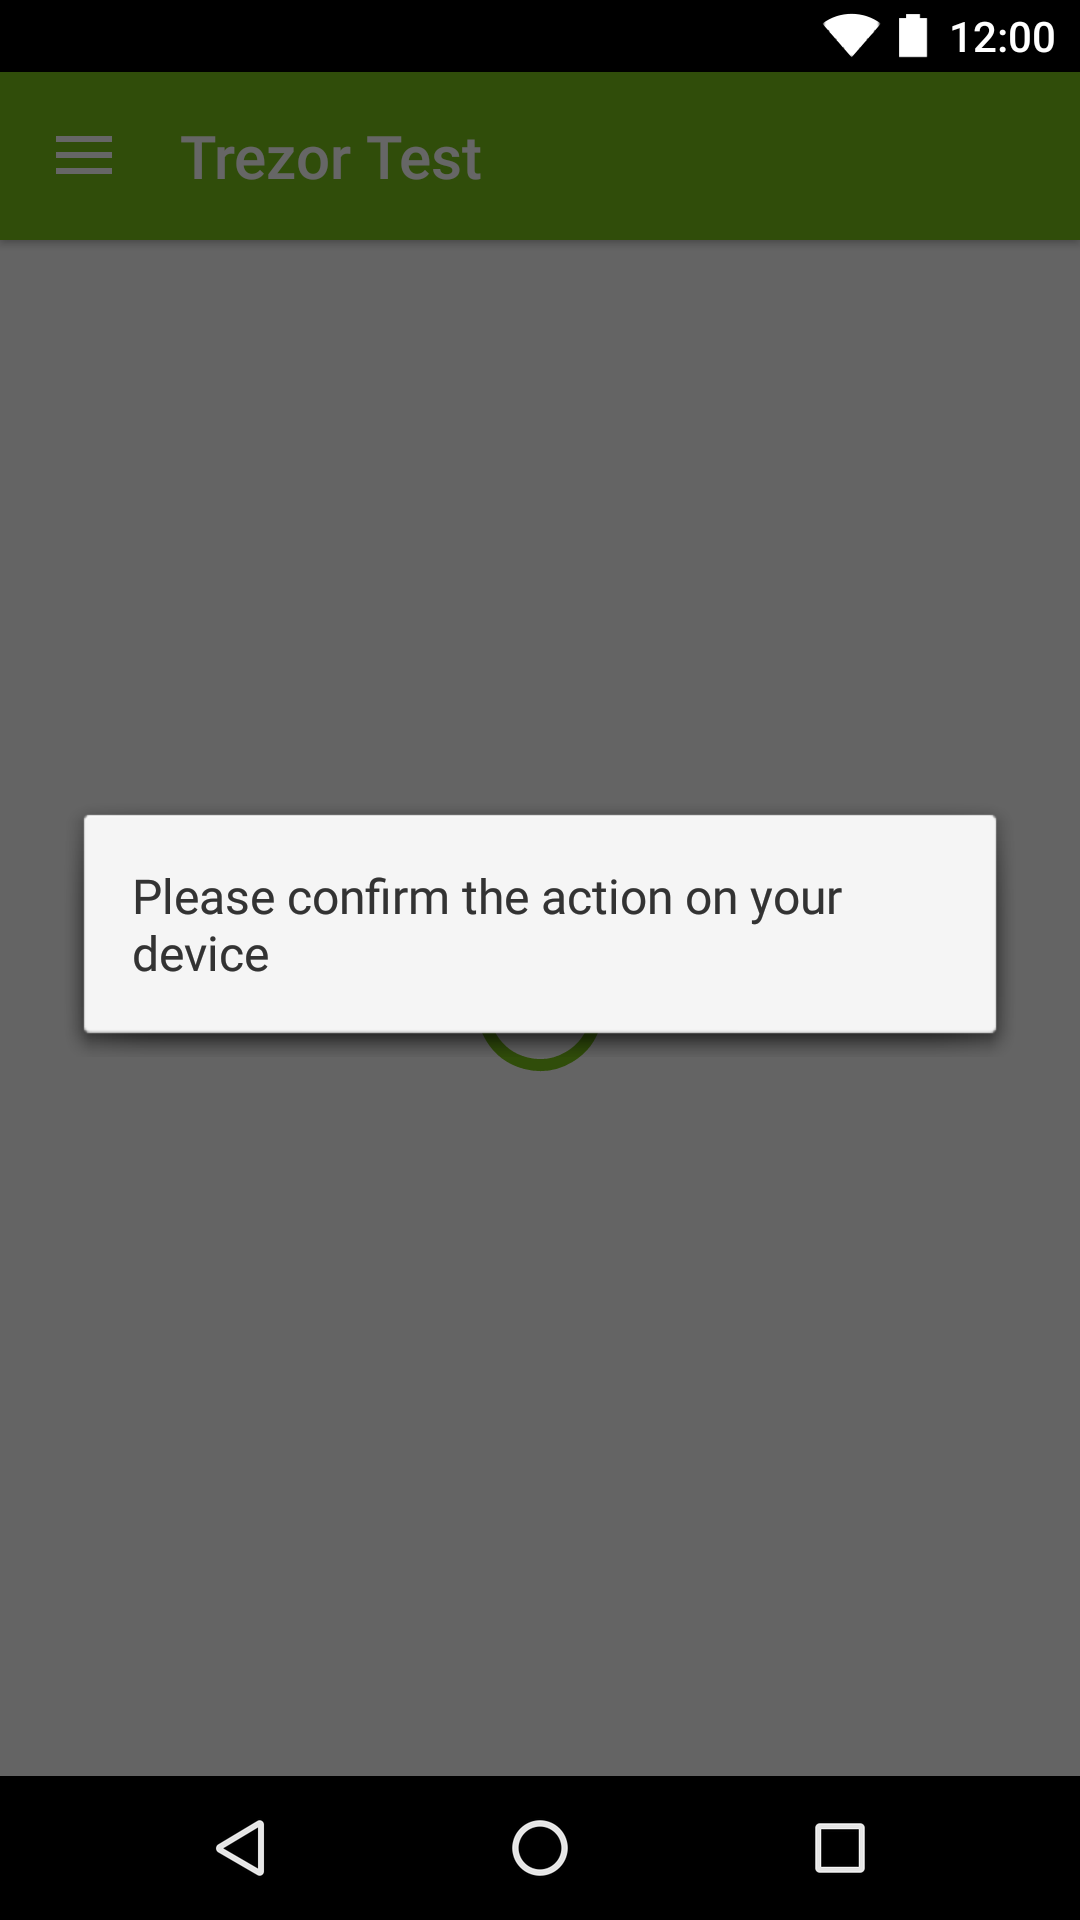
Simply enter the name in the text box and confirm the action on TREZOR One.
Set PIN code
The PIN is then set so that not everyone gets instant access to your wallet. Click the button and confirm the action via the TREZOR One.

TREZOR Set one pin
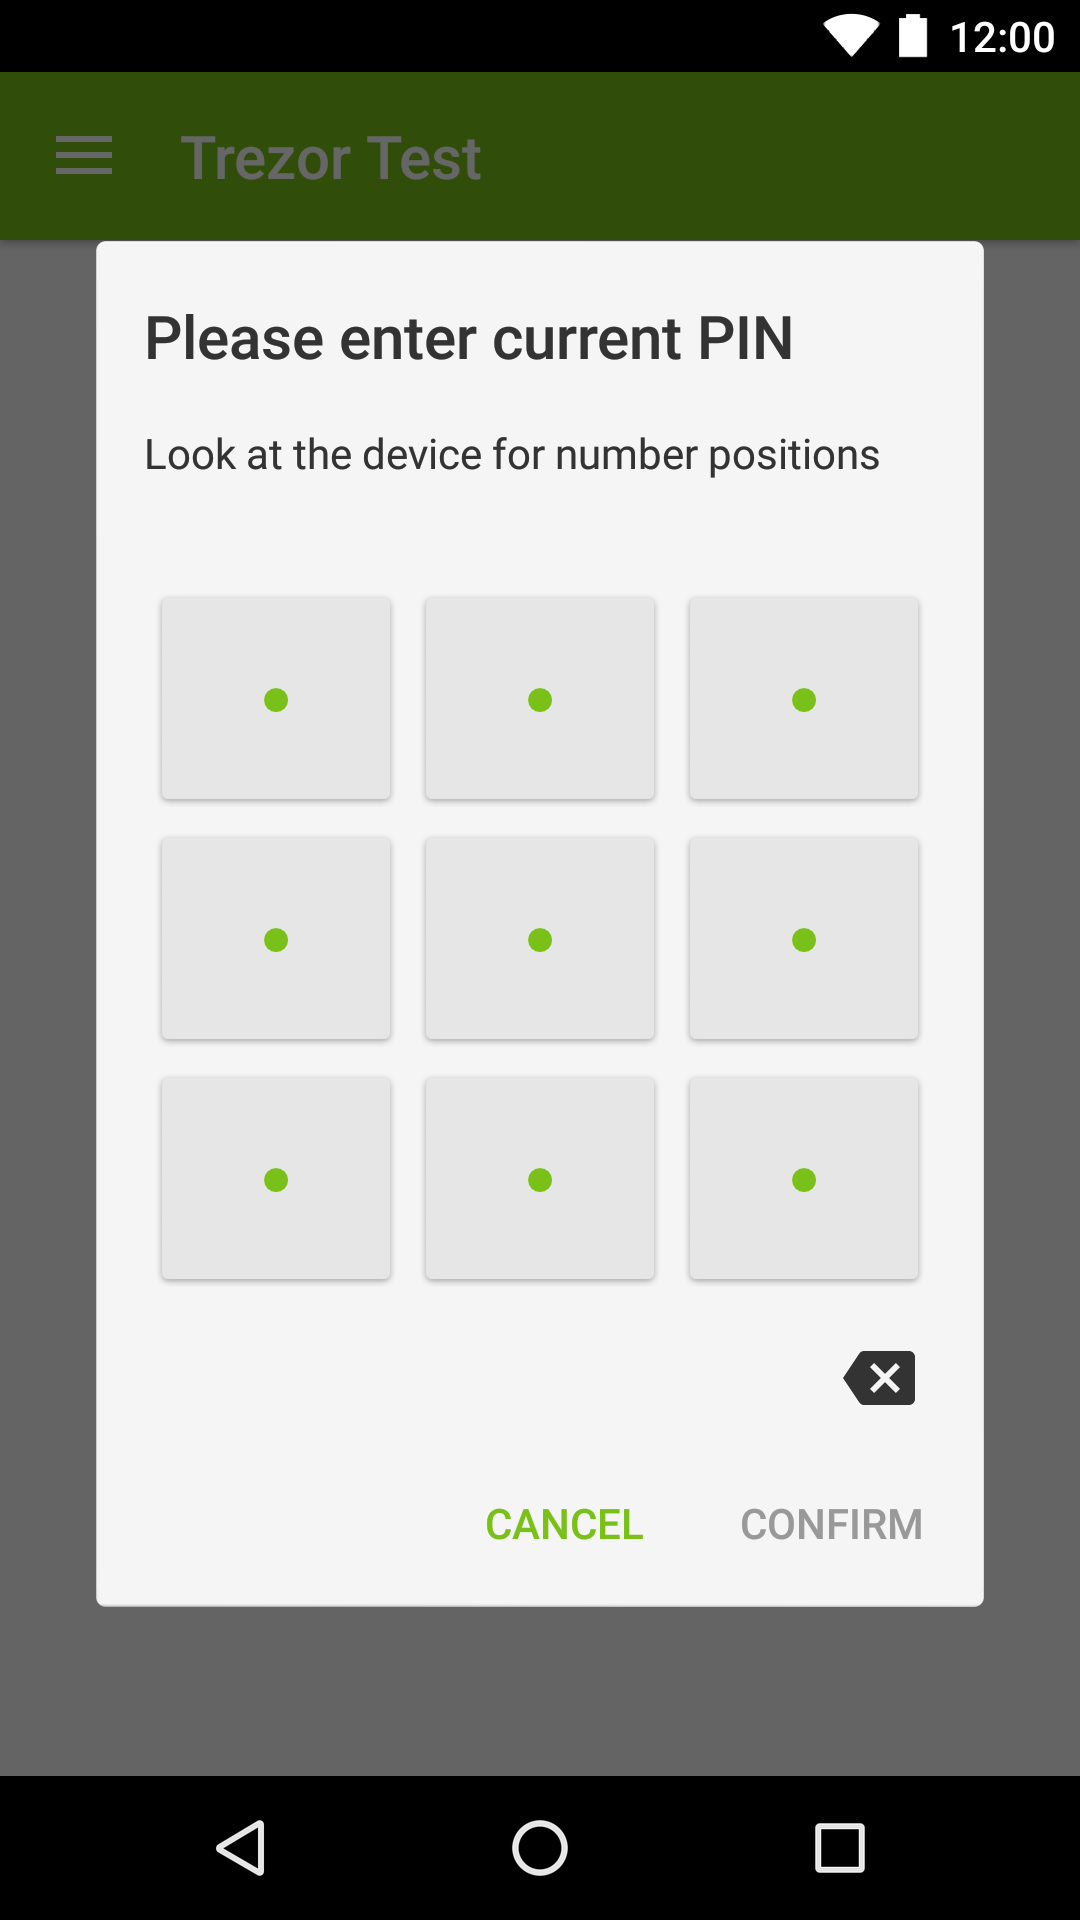
The hardware wallet displays a PIN field with the numbers 1 to 9 in random order. According to this pattern, the individual fields of the desired PIN must now be pressed in the browser. This measure prevents malware from reading the PIN on the computer.
Choose a strong PIN to protect the device from unauthorized access.
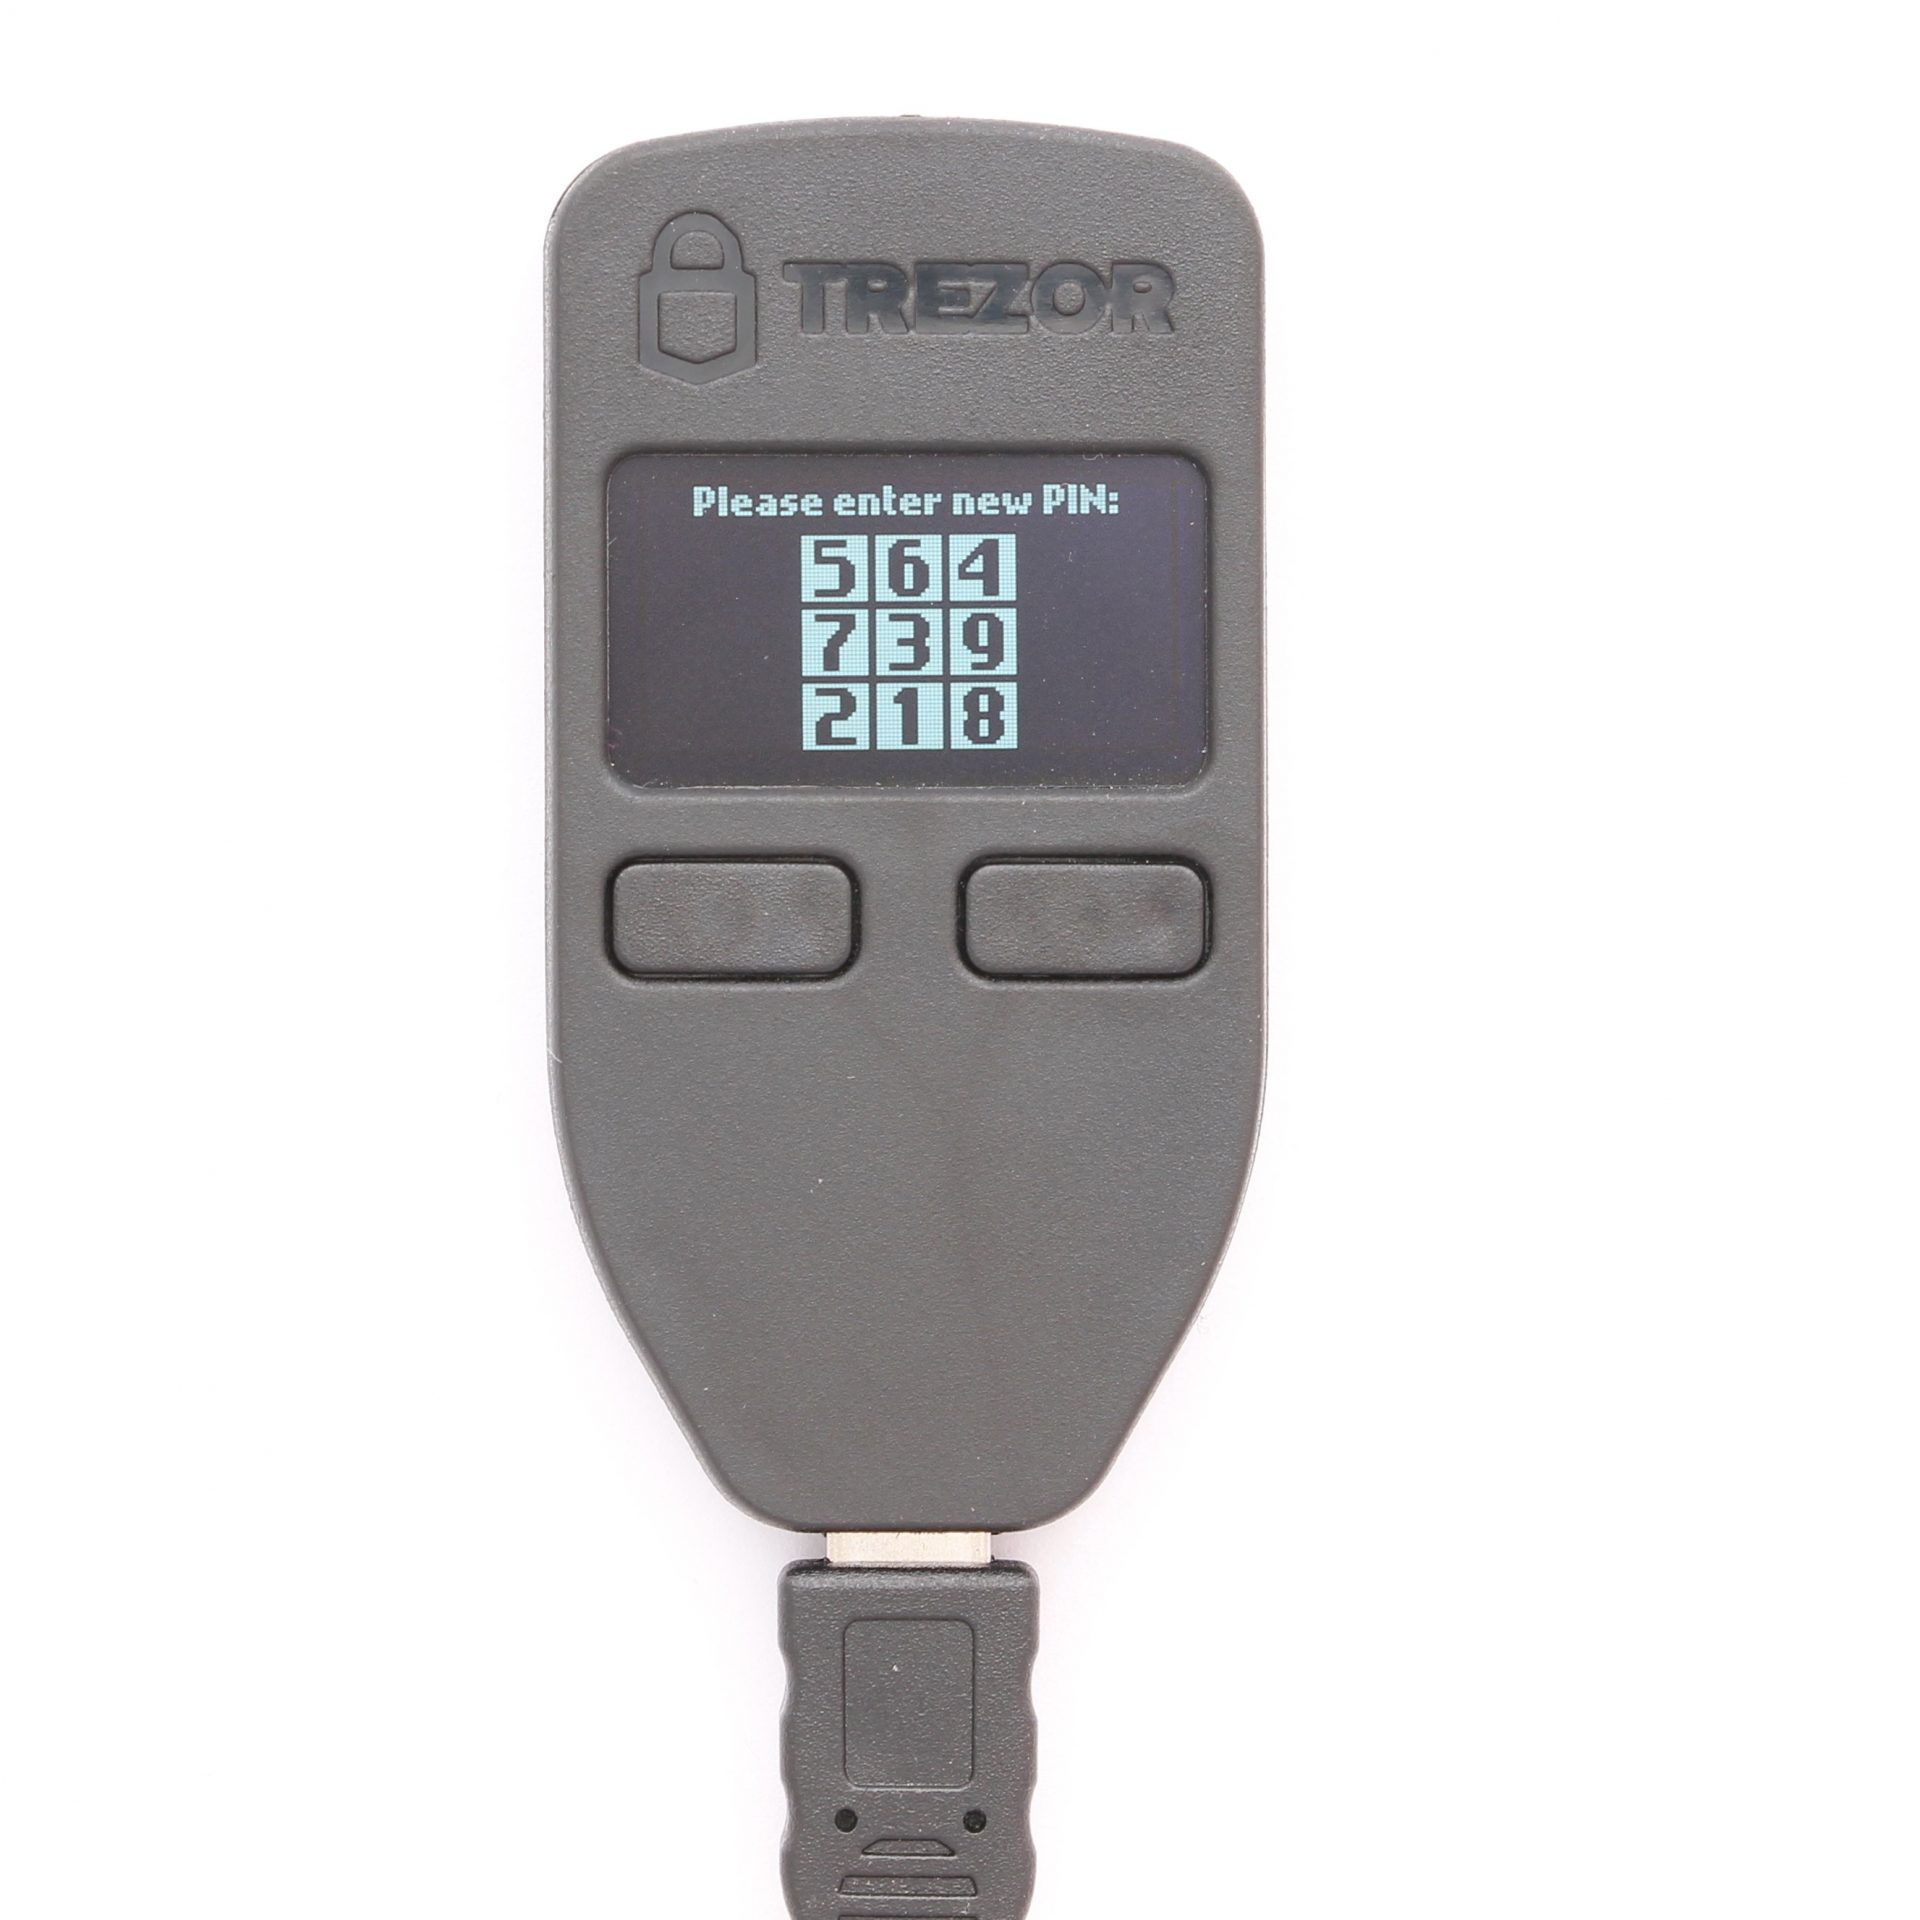

The whole thing has to be repeated a second time, this time with a different PIN field. As a result, other fields in the browser need to be pressed.
The PIN can be changed later at any time via the devices options.
Subscribe to the Newsletter
Finally, one is asked to leave your email address to be informed of any news.
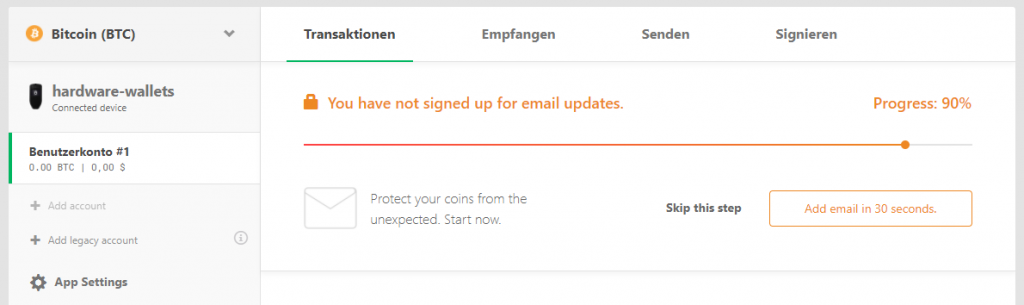
Last step: Subscribe to newsletter TREZOR One
Alternatively, you can follow TREZOR on medium or Twitter. This step is optional.
Now the TREZOR One is ready for use! But always remember to keep your backup, the Recovery Seed, in a safe place.
Setup: Conclusion
Setting up the hardware wallet is quick and easy thanks to the guided instructions. In addition, extensive articles of your own documentation are available, so that no questions should remain unanswered.
I like the fact that the TREZOR Bridge does not rely on a special browser and that the firmware is only played on the device when it is initialized and is not already supplied from the factory.
Handling
To operate the TREZOR hardware wallet, the in-house TREZOR wallet is used in the test, whose plugin or bridge for the connection to the hardware wallet was installed during setup. Of course, it is also possible to use it with other software wallets, such as the Electrum Bitcoin Wallet, as can be read in the “Compatibility” section of this test report .
Conduct transactions with TREZOR
The TREZOR hardware wallet can be used to manage various cryptocurrencies. By default, Bitcoin is already selected.
to receive
First, the wallet must be filled with Bitcoin. To do this, the software needs to switch to the Receiving tab, where one or directly several new addresses of the current account can be generated.
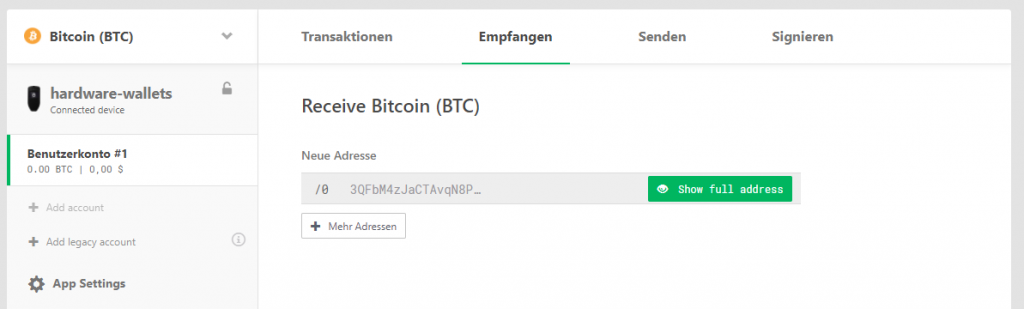
In the Receiving tab, an address of the current account is generated
To make sure that the address was actually generated by the hardware wallet and that the website was not manipulated, the green button must be pressed.
Only if the address on the TREZOR One display matches that on the computer’s display is the address valid. Then you can confirm the address by pressing the right button. Now the address is fully displayed and can be scanned or copied.
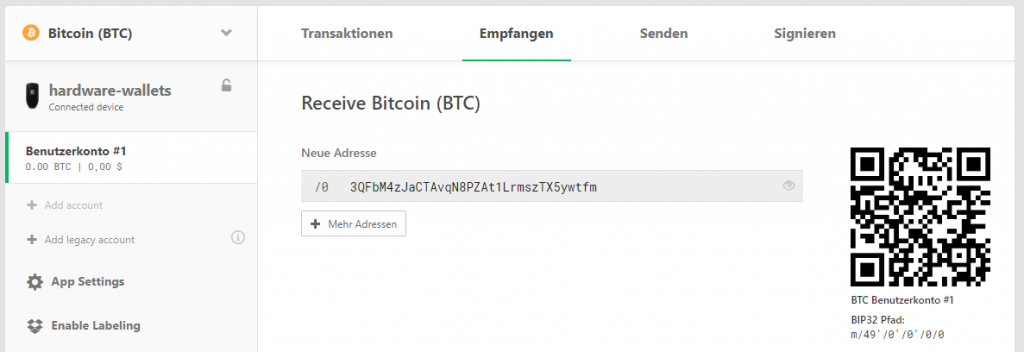
At a later time, you can re-verify the address via the “eyes” button to the right of the address at any later date. It is also possible to generate more addresses.
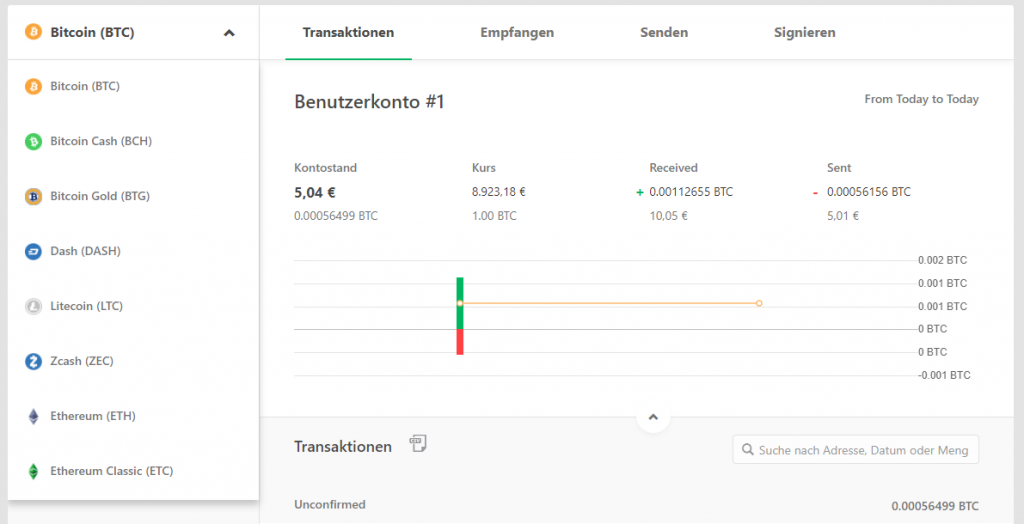
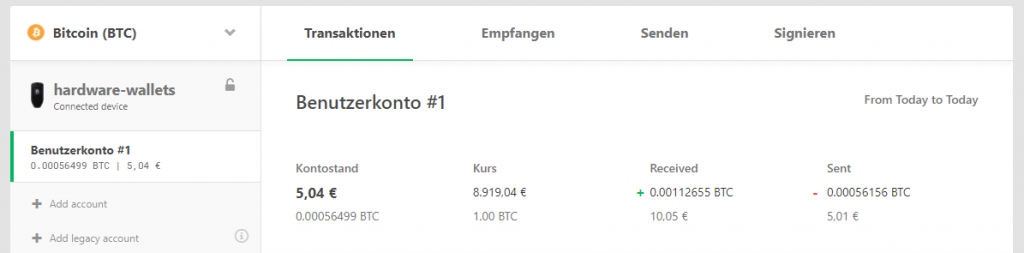
Once a transaction has been made to one of the addresses, the transaction will appear on the home page and the account balance will also change in the short overview of the account.
A new entry appears in the transaction view
In addition to simply listing past transactions, the transaction overview also shows other information and offers helpful functions:
- Sum of the outputs and inputs of the account
- Current price of the currency set in the options
- Bar chart of the amount of transactions in the past few days
- Easy search of all transactions made, including descriptions, if the label has been activated
If an address is used, a new one will be generated for the next transaction. This avoids being able to assign multiple transactions to a wallet.
Addresses that have already been used can still be viewed and, if necessary, reused. The total of the receiving coins of an address are also displayed directly underneath.
Send
To send, switch to the “send” tab.
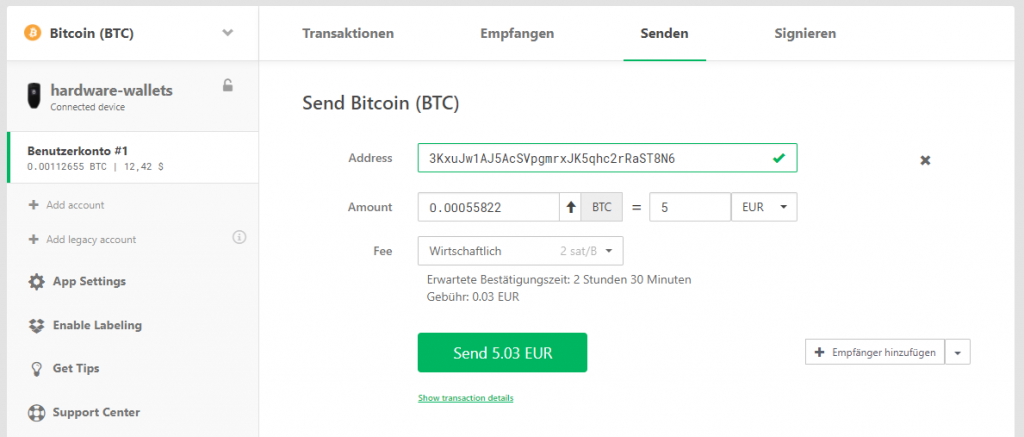
Form to send bitcoins
The form that appears here will be filled in first. First, enter the recipient address, either by typing in directly or by using a webcam.
Then you enter the desired amount, either in Bitcoin or in another currency such as euros, which is then converted directly. It is also possible to select all the bitcoins of an account via the small arrow, leaving it empty.
Depending on which fee has been selected, an expected confirmation time will be displayed by the network and the amount of the cost will be calculated.
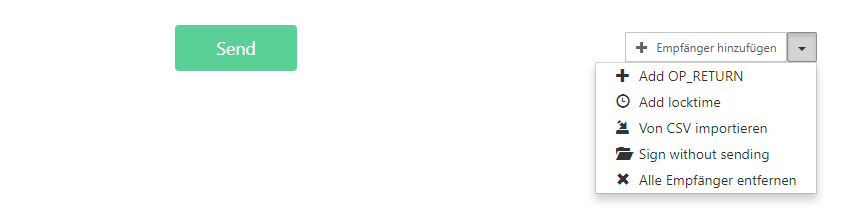
More options for experts
More options for experts are possible via the drop-down box at the bottom right. This also allows simultaneous sending to multiple recipients. You can do one to do that. Import CSV file or type in multiple addresses. This is much more practical than performing multiple transactions one after the other and also saves fees.
You can also sign transactions without sharing them with the network or install a delay in the transaction.
The “Send” button is used to send the transaction to the hardware wallet for verification.
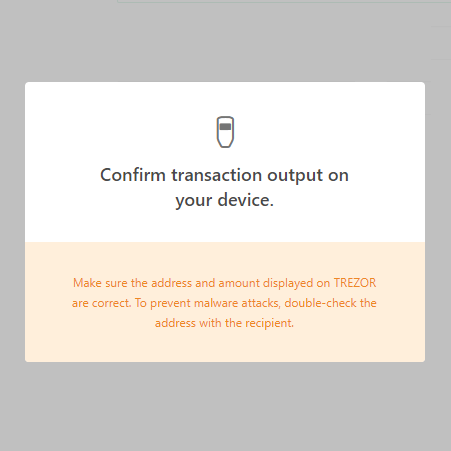

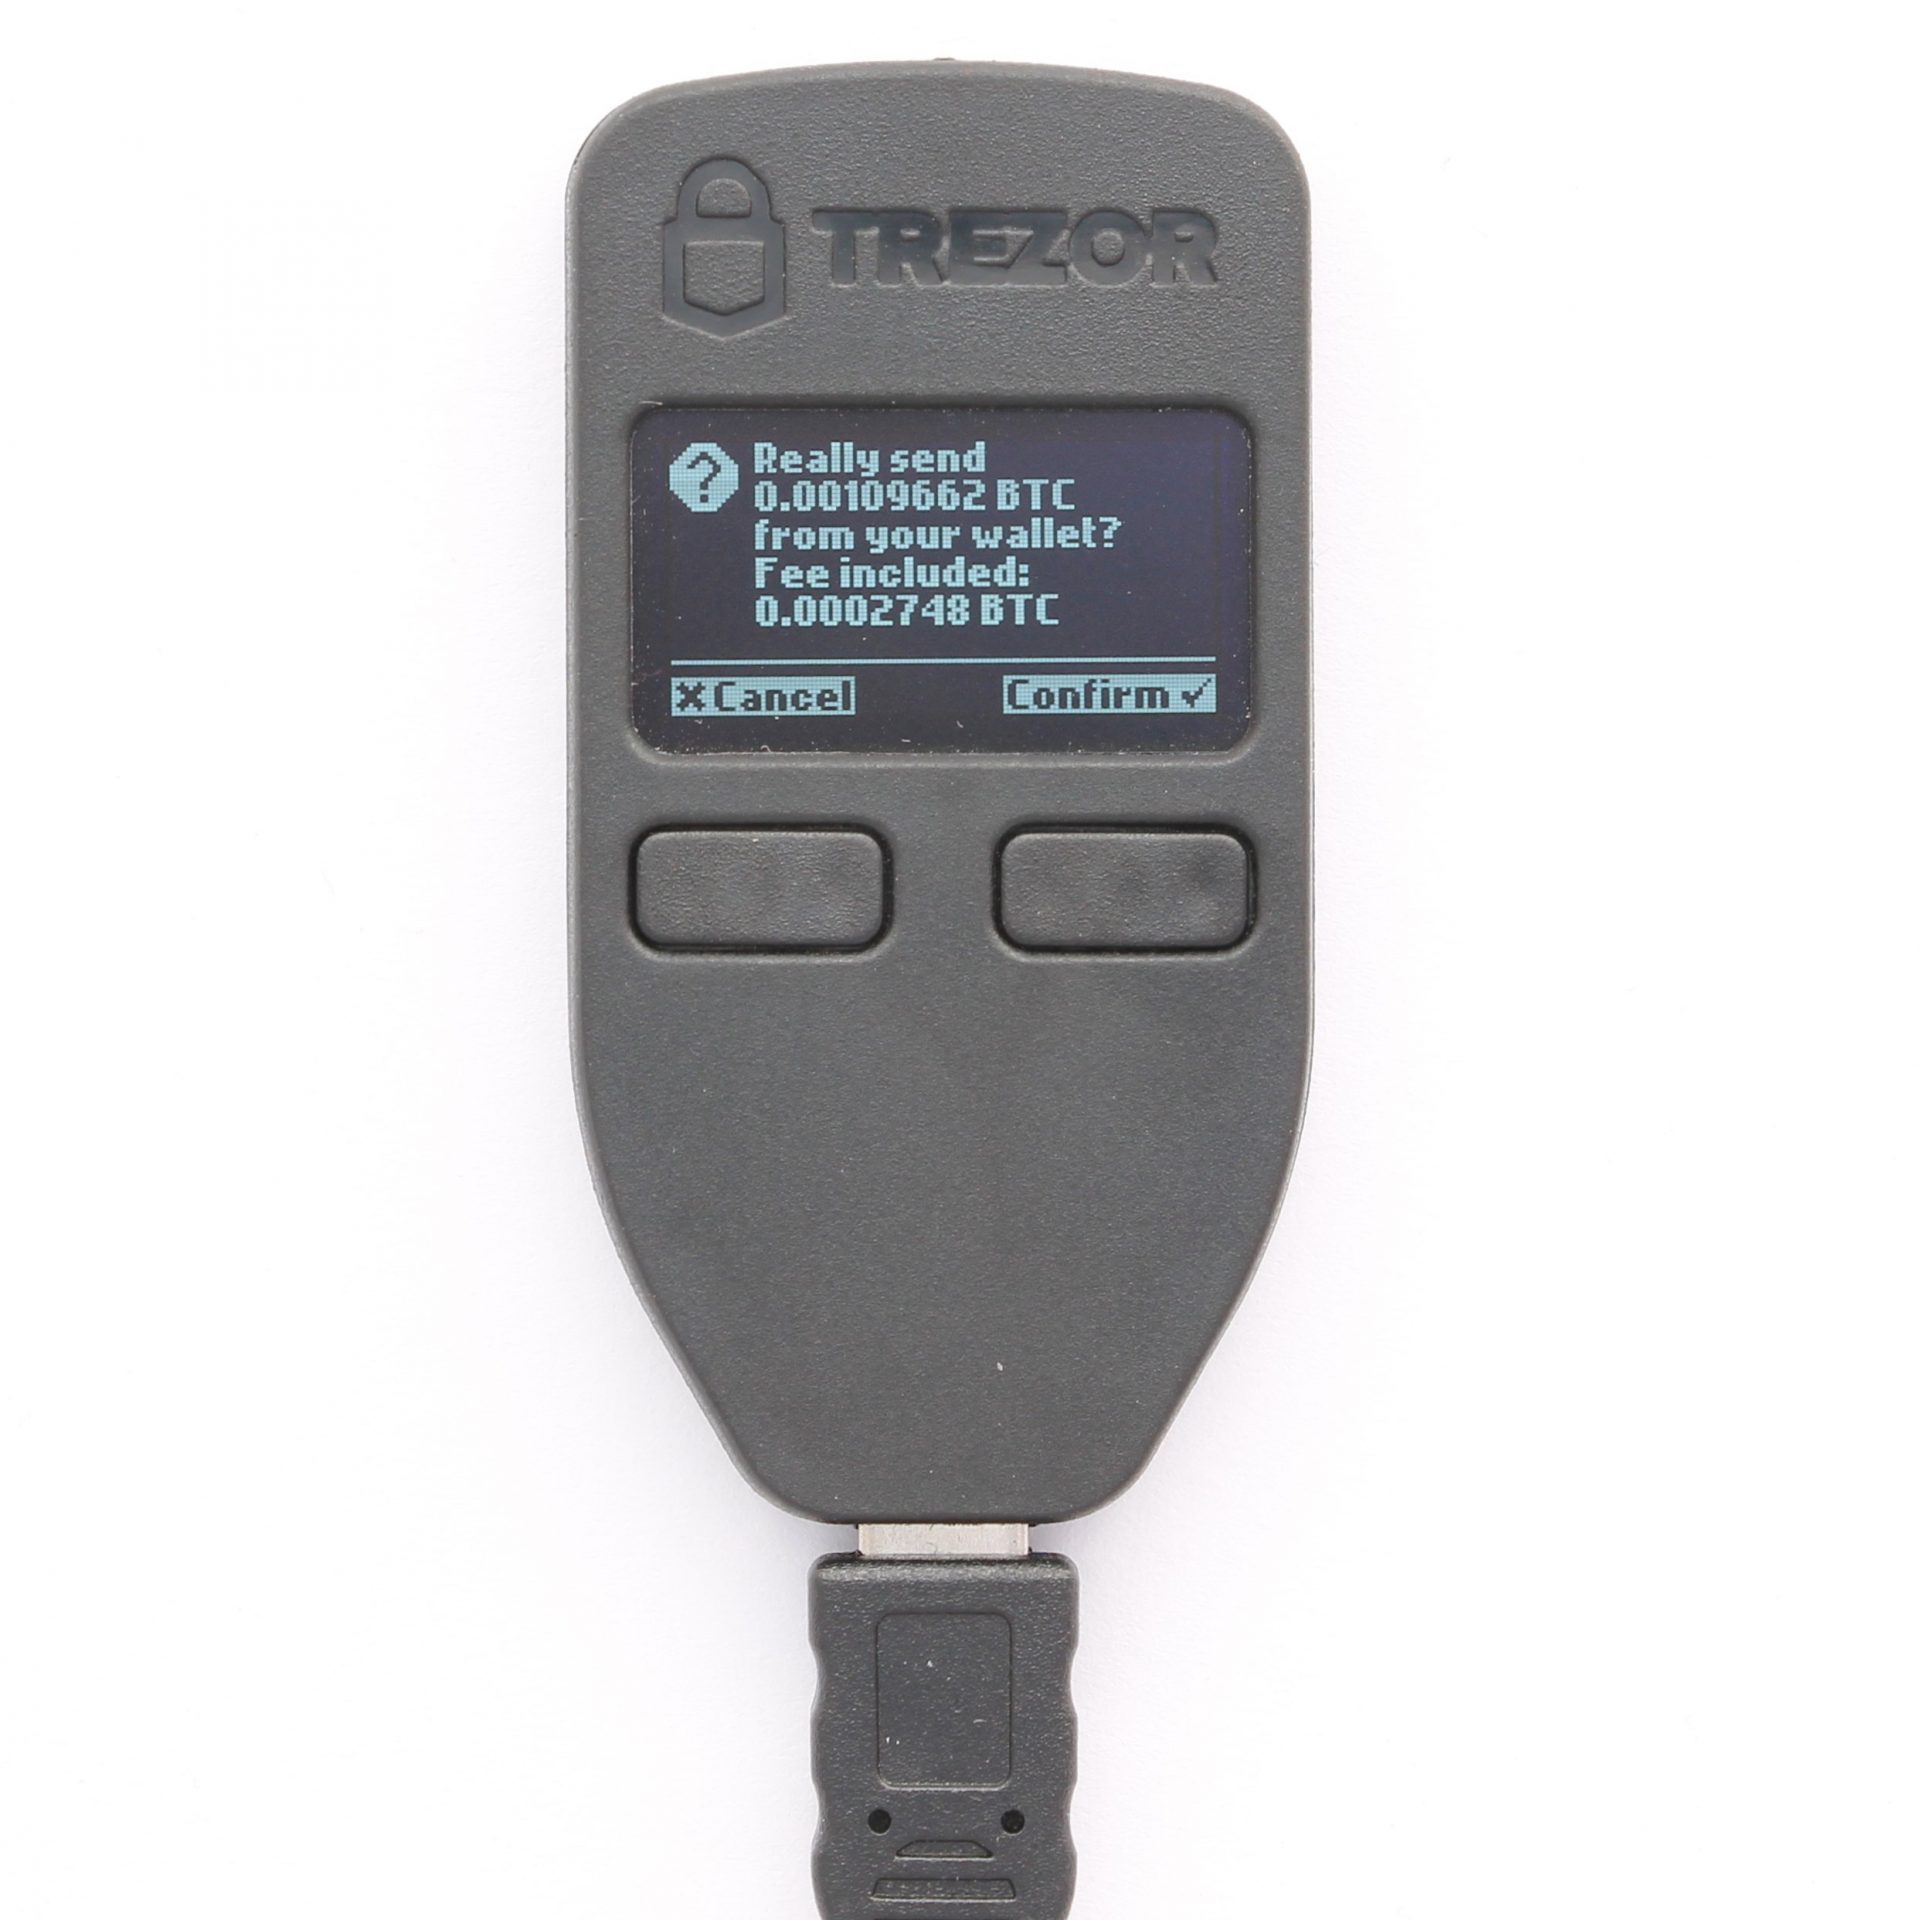
In two steps, the most important data is also displayed again on the TREZOR in order to prevent manipulation on the computer. If the recipient’s address and final amount match the data typed into the form, the transaction can be confirmed with the right button.
Now the transaction is sent to the network and a new negative entry appears in the transaction view.
Manage accounts
So far, all transactions have been processed through the wallet’s first standard “User Account #1” account.
But TREZOR also offers the ability to create additional accounts, such as separating private from business transactions. Or if you want to create standalone accounts for different people who work with the same TREZOR .
You can only create a new account if the last account is not empty.
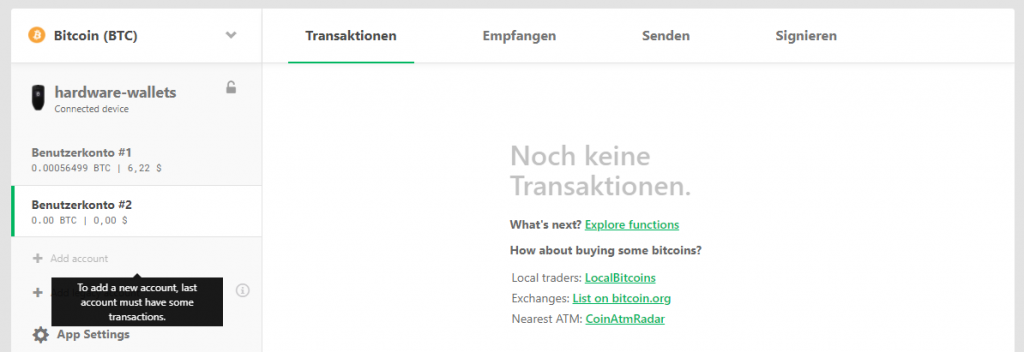
A wallet can have multiple underaccounts to allow transactions to be separated
The accounts are based on the same seed and therefore do not need their own recovery seed. Nevertheless, the accounts can be used like standalone wallets: Each account has its own address area and balance.
Renaming is possible with a Dropbox connection.
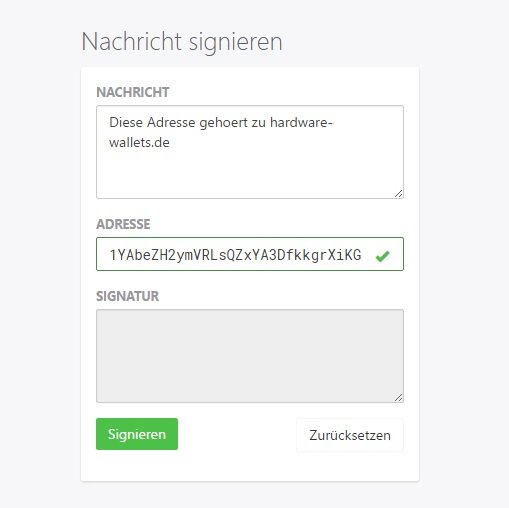
Sign and verify Message
TREZOR Model One supports Bitcoin’s ability to sign and verify messages in order to confirm the ownership of an address beyond doubt.
To do this, you switch to the Signing tab.

Two forms are available in the Signing tab
The form on the left allows you to sign your own address.
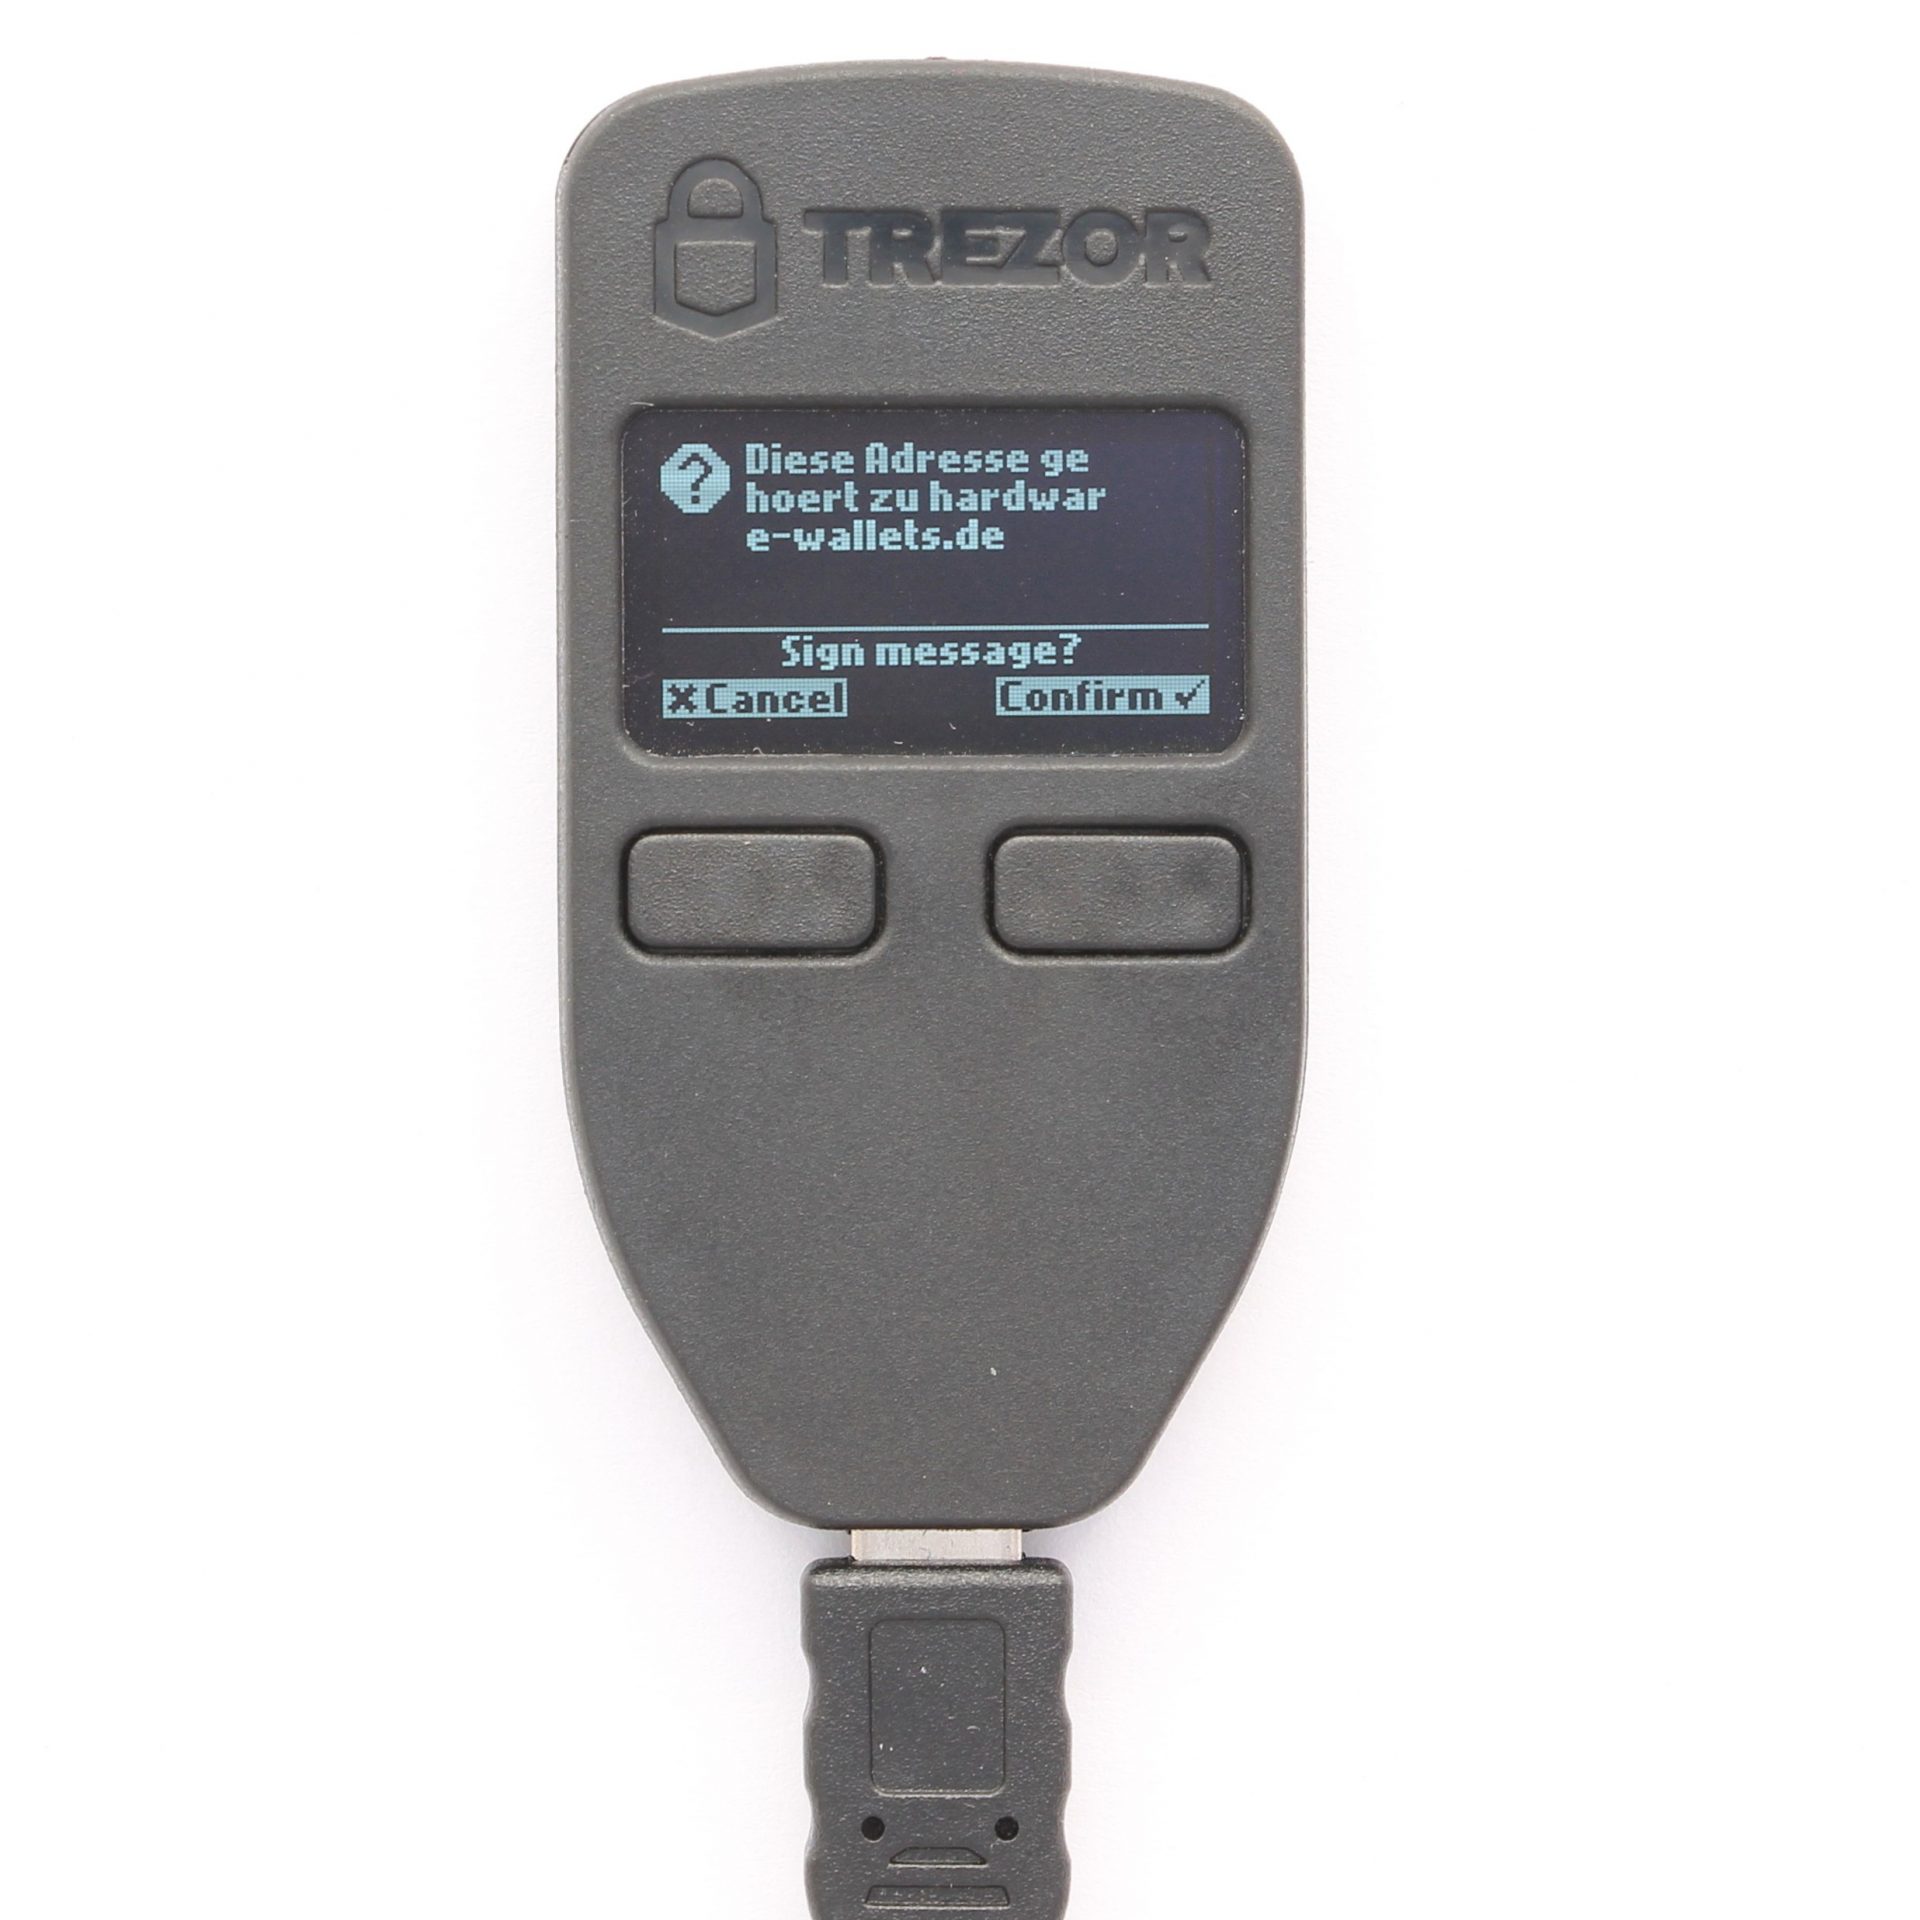
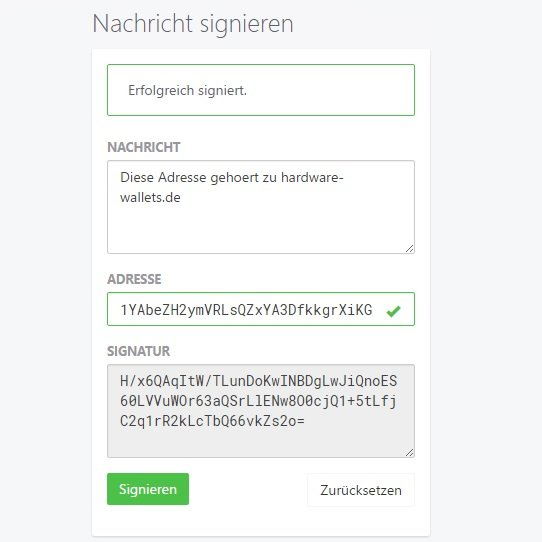
The generated data is now passed on to the corresponding recipient. This can now, for example, type and verify this data with the help of a TREZORvia the right form or any other tool.
If no error occurs, the ownership of the address has been confirmed.
TREZOR Password Manager
TREZOR provides its own password manager Chrome extension. This makes it possible to store all of its passwords securely encrypted in the free cloud service Dropbox or Google Drive.
The keys for the passwords are generated on the hardware wallet, making it impossible for others to access your passwords.
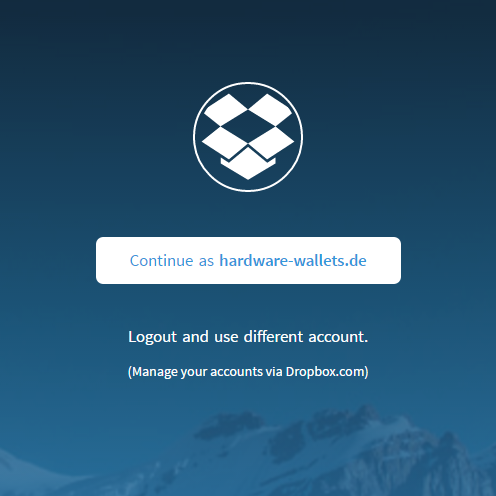
At launch, you have to grant TREZOR access to either Google Drive or Dropbox and confirm the activation of the password manager directly on the device.
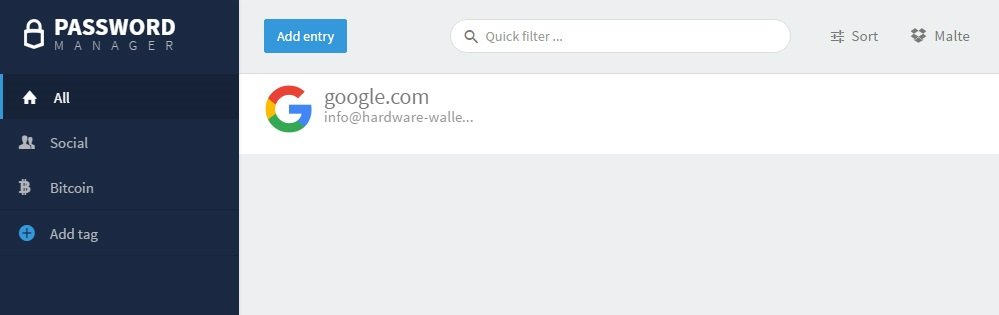
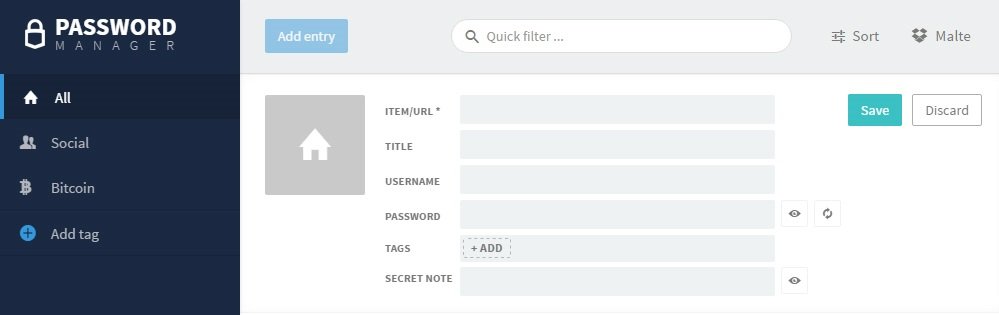
Once everything is connected correctly, you can create new passwords and sort them by your own categories.
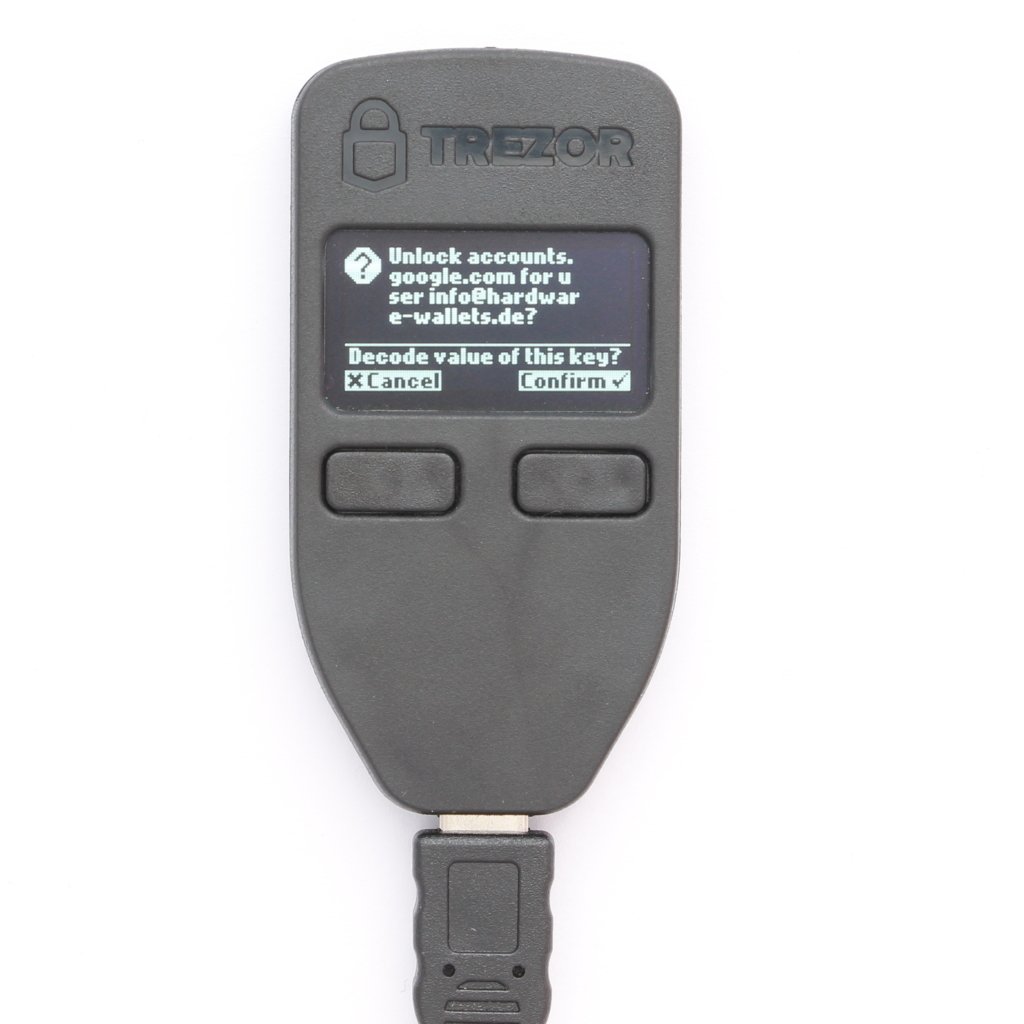
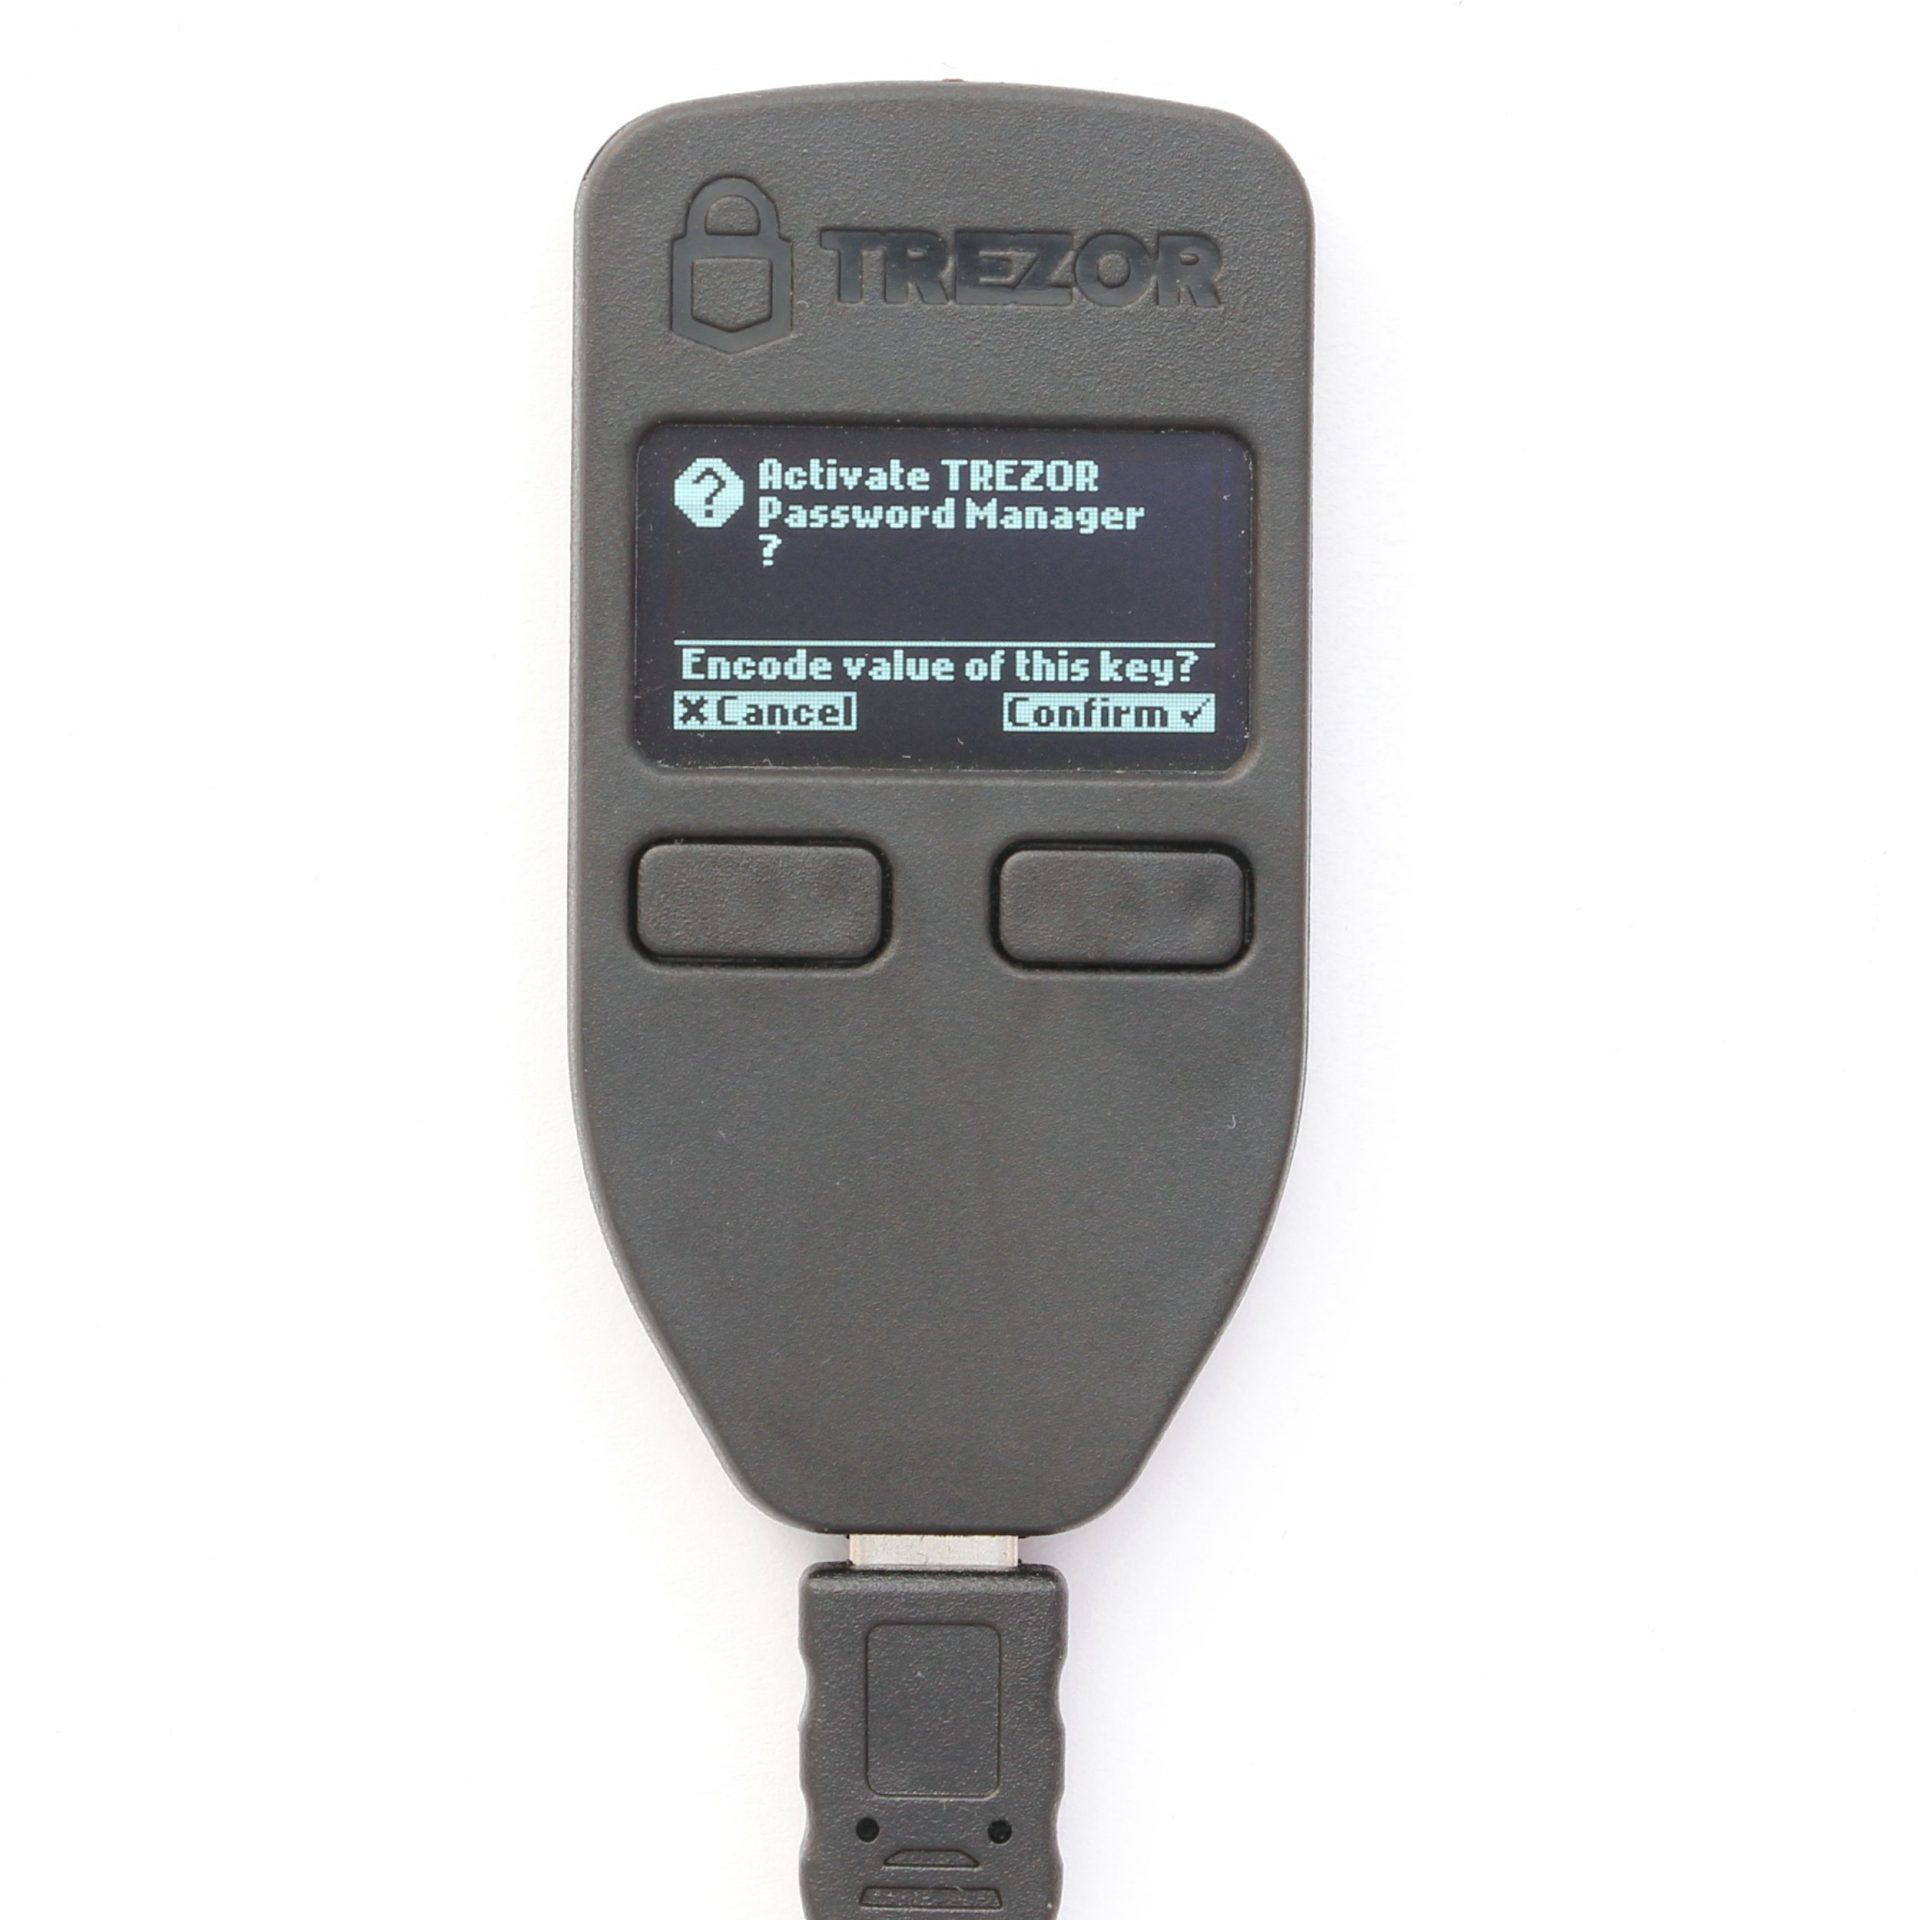
The decryption of each piece of information must be confirmed via the hardware wallet
If you want to copy a user name or password to the cache, you must confirm the action on the TREZOR hardware wallet by pressing a button.
By clicking on the icon or name, you can also go to the page directly and TREZOR tries to fill the login form automatically. Again, the action must be confirmed on the device again.
TREZOR as universal second factor (U2F)
Like many other hardware wallets, TREZOR also supports the U2F industry standard.
In addition to an access password, it serves to prove access authorization, for example for web-based services, and can also be used in combination with digital personal documents to determine identity.
However, U2F is completely detached from any other functions of your hardware wallet. So you don’t need to worry about your passwords or cryptocurrencies that you manage with TREZOR .
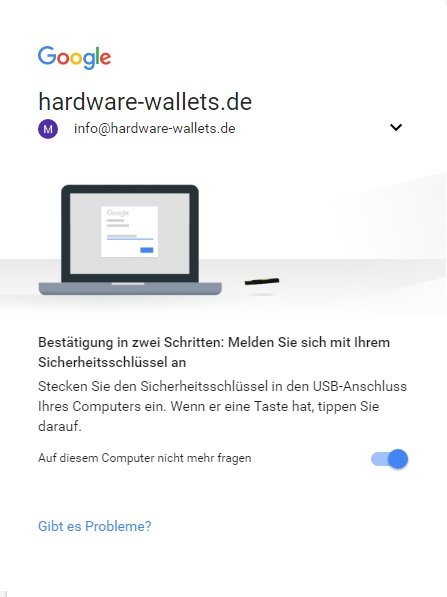
In order to activate U2F, TREZOR must first be made known via the settings with the corresponding service. Using Google’s example, this is done through the security center.
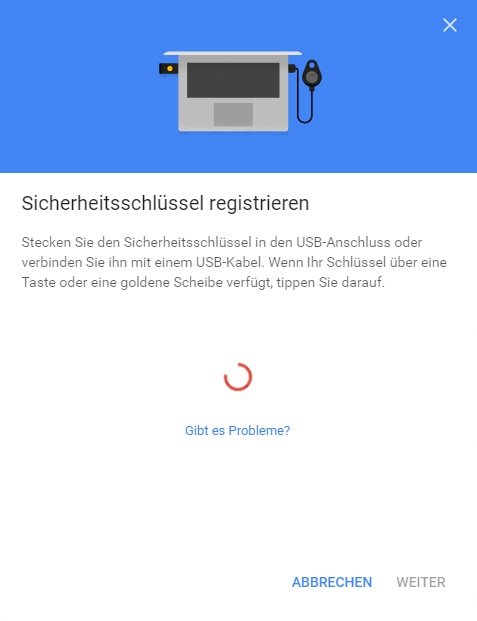
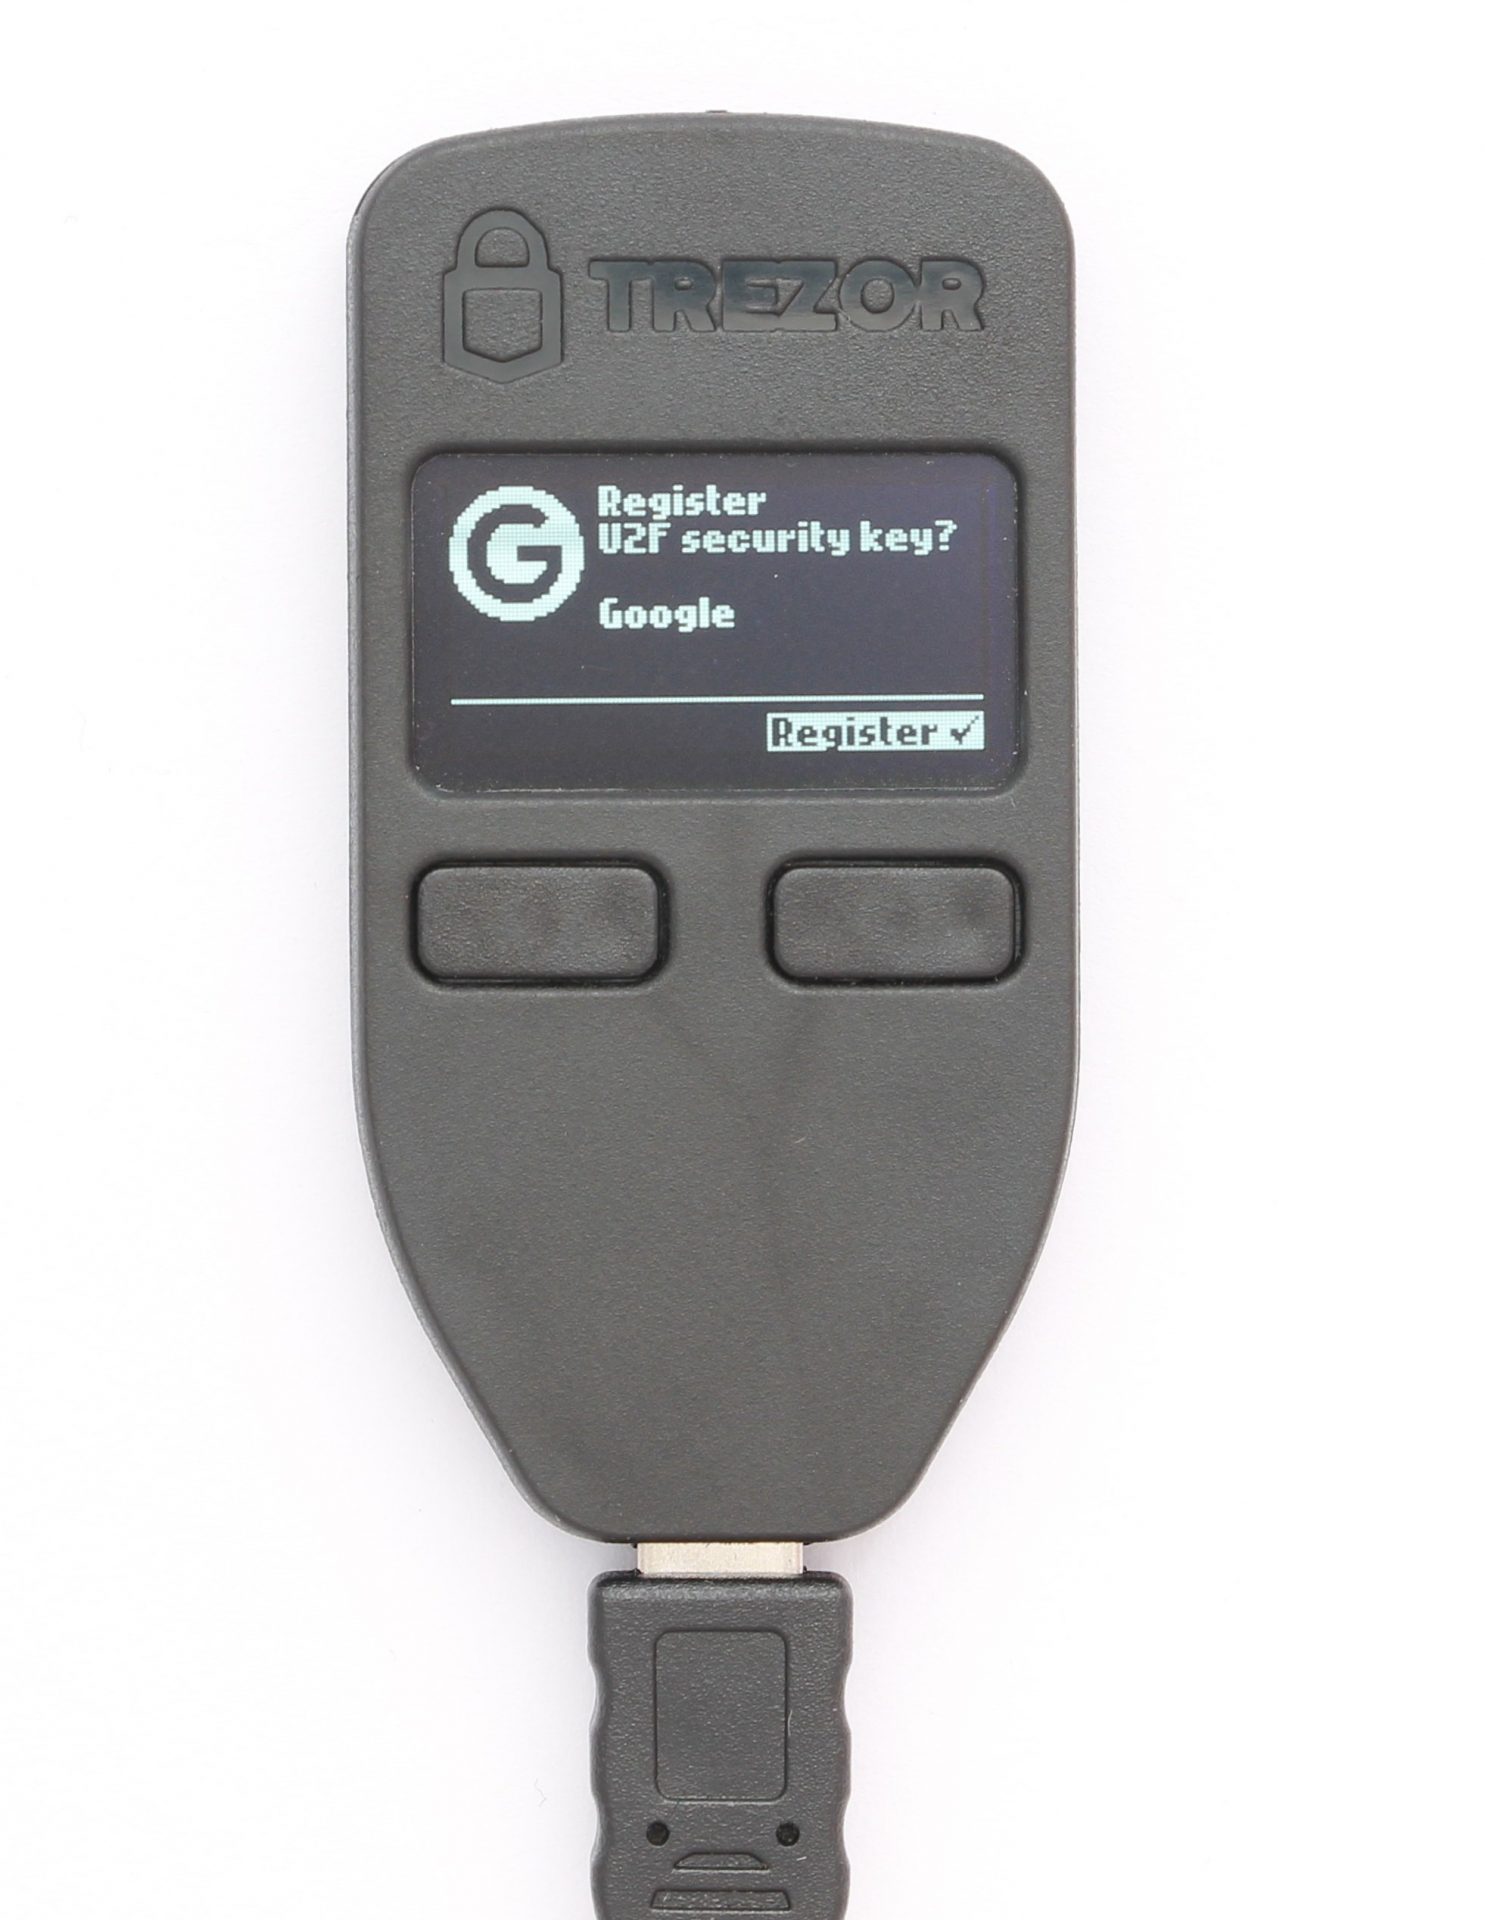
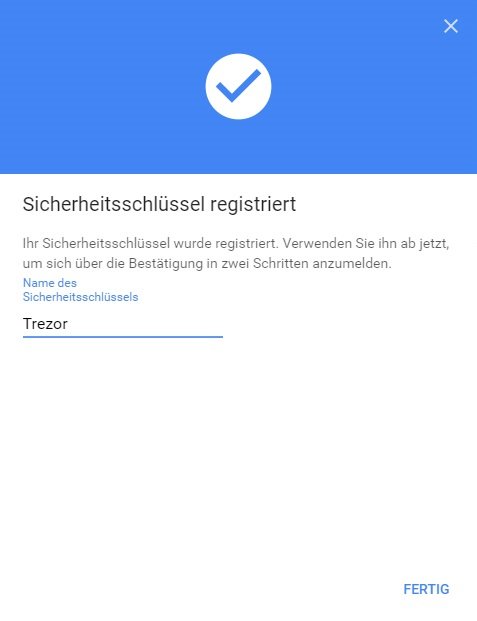
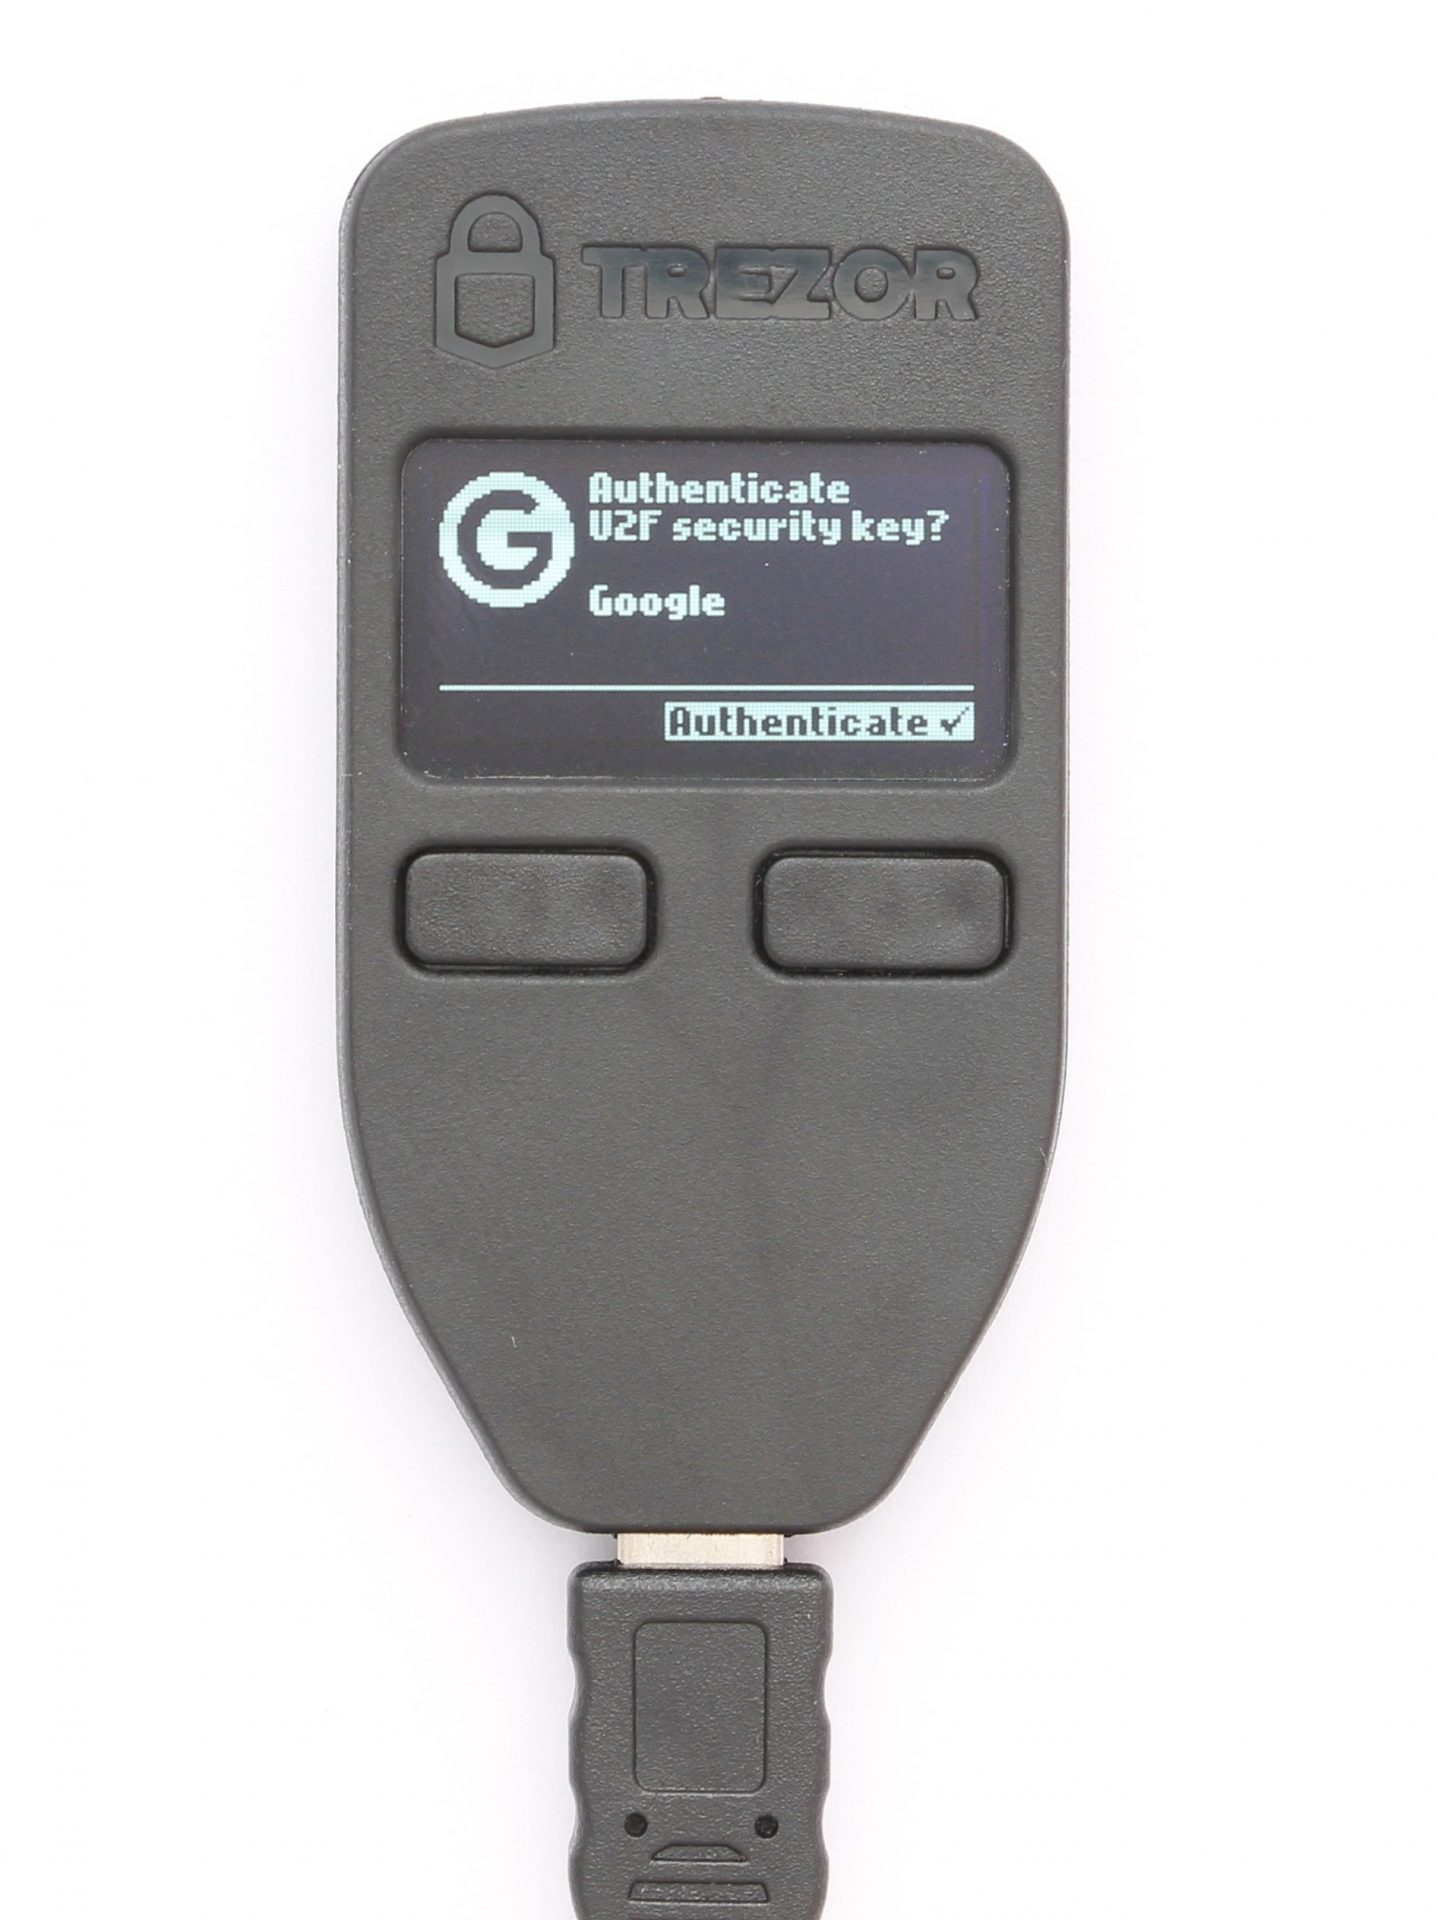
As soon as TREZOR has been configured as the second factor, you will need to have the hardware wallet to hand when logging in.
Settings
Own descriptions by Dropbox connection
You can connect TREZOR to the free Cloud service Dropbox. This makes it possible to rename accounts, describe addresses and transactions, and use the full text search.
This data is then stored encrypted in the Dropbox and is only accessible via your hardware wallet.
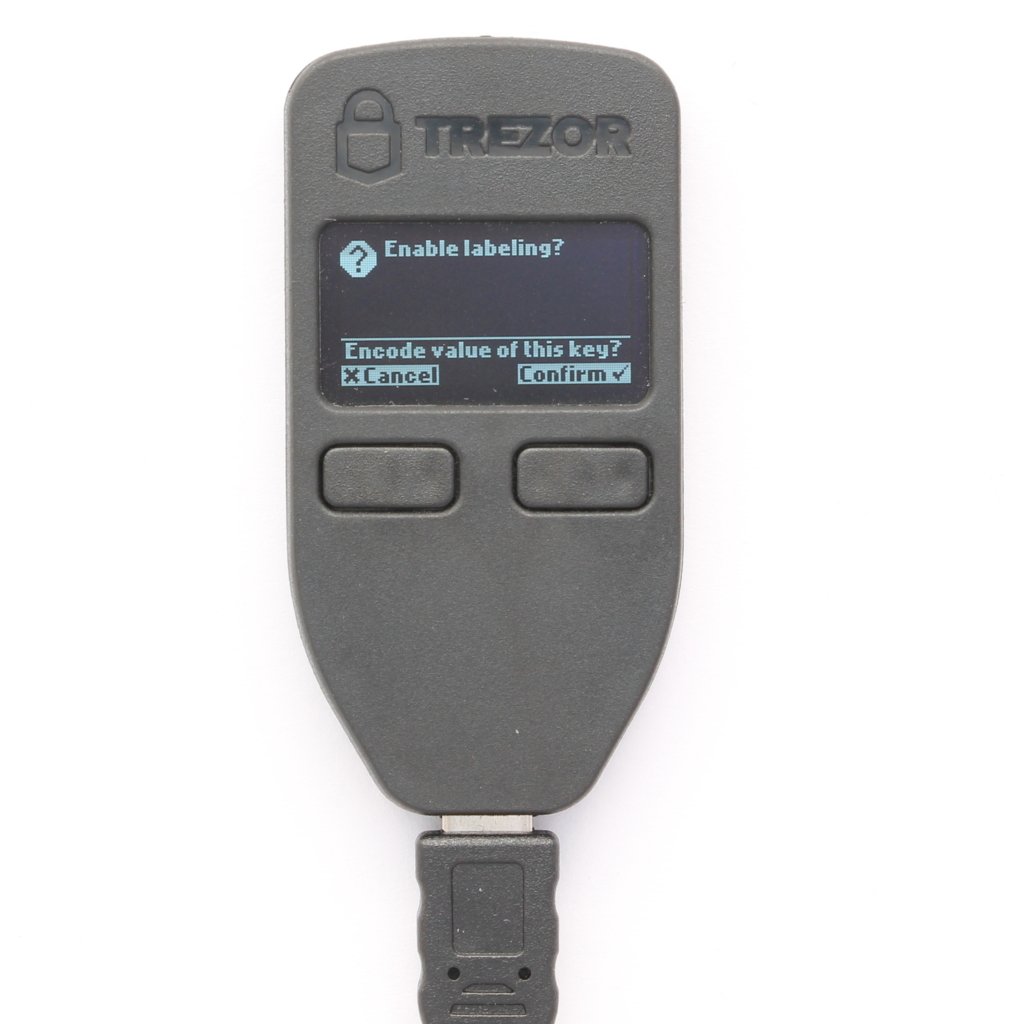
TREZOR to connect with Dropbox confirm
To activate the connection, click on “Enable Labeling” on the left of the menu. A note with more information appears and the action must, as always, be confirmed by pressing a button.
App Settings
The app settings are linked on the left directly above the label and apply to an app within the wallet, for example to the Bitcoin app.
Here, the Fiat currency can be set or the URL can be changed through which the wallet communicates with the network.
Devices Settings
The devices settings can be accessed by clicking on the devices name.
These settings are independent of the app and therefore apply to all wallets and cryptocurrencies.
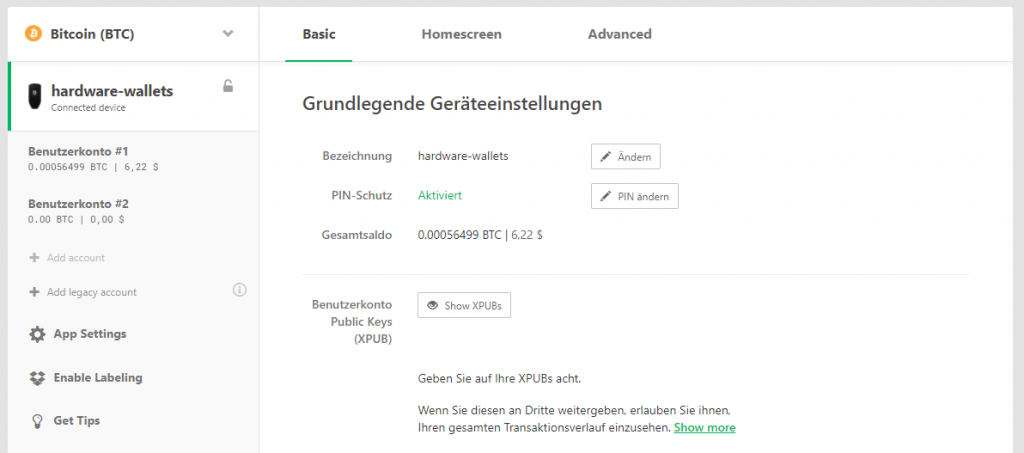
Simple Devices Options
Here you can first change the device name as well as the PIN. In addition, the Extended Public Key can be exported, which allows you to view the entire transaction history of this wallet.
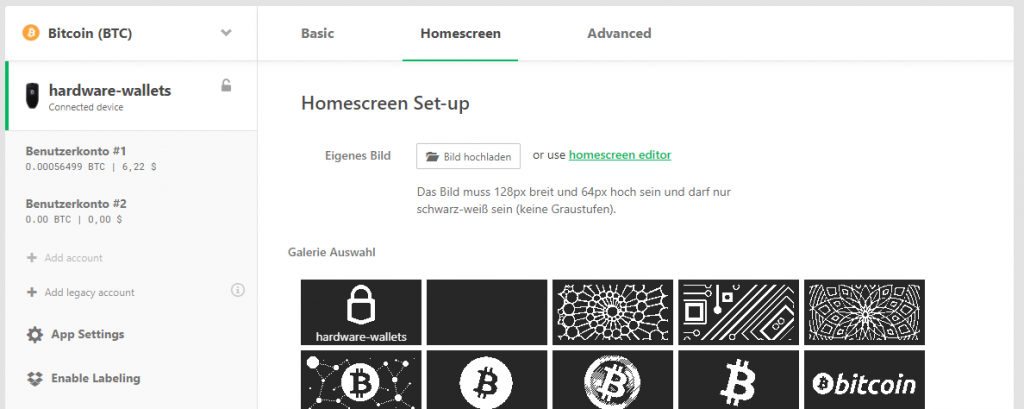
Devices options for homescreen
If you click on the “Home Screen” tab, you can change the background that appears on the Hardware Wallet.
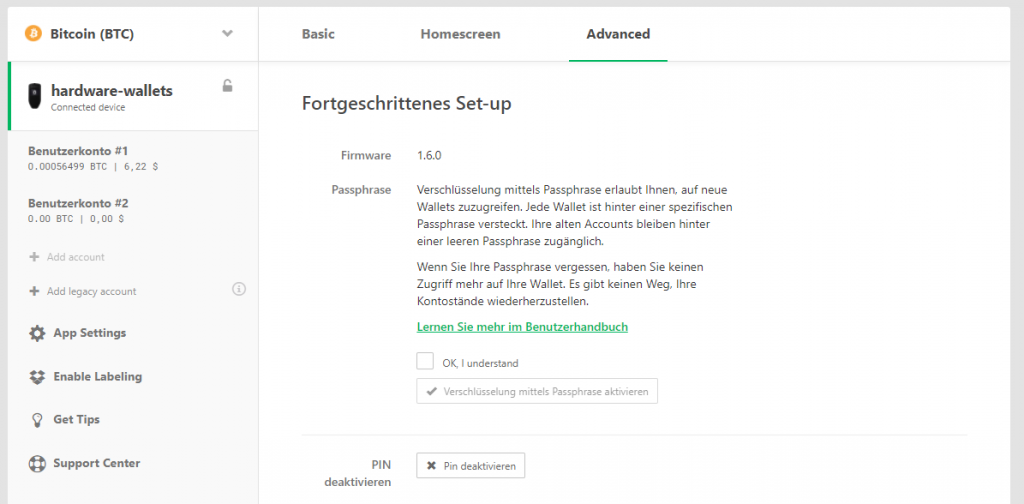
Advanced settings
Under the Extended tab, you can set up a hidden wallet, disable the PIN completely, or reset the entire device.
Handling: Conclusion
TREZOR Wallet leaves nothing to be desired for me. If a function is not clear or there are questions, the extensive documentation immediately helps, which is very positive.
The basic functions such as sending and receiving fold without any problems and offer all important actions, such as emptying a wallet or directly converting it to other currency.
Also, simply managing accounts and simply allowing them to describe any address or transaction by connecting to Dropbox are very helpful features.
Additional features such as a fully functional password manager, use as a universal second factor or signing messages still set the TREZOR Wallet apart from its competitors.
Compatibility
TREZOR can be used on the following platforms:
It should be particularly emphasized that with TREZOR you can even set up the hardware wallet via an Android smartphone using the TREZOR Manager app. More information can be found in the “Mobile Use” sub-section. MacOS will be supported from version 10.11 (“El Capitan”), Windows from version 7.
Supported Cryptocurrencies
TREZOR supports the following cryptocurrencies:
- Bitcoin
- Bitcoin Private
- Ubiq
- Expanse
- NEM
- Bitcoin Gold
- Ethereum
- Litecoin
- Dogecoin
- Zcash
- Dash
- Namecoin
- Bitcoin Cash
- Ethereum Classic
- ERC-20 Tokens
Not all cryptocurrencies are directly supported by the TREZOR Wallet software from SatoshiLabs, but in some cases only through third-party software.
switch between cryptocurrencys with the TREZOR web interface
You can easily switch between these via a drop-down menu on the web interface without having to interact with the hardware wallet itself.
However, only Bitcoin-like coins are supported by the TREZOR Wallet software. If you want to use the TREZOR Wallet to manage Ethereum for example, you only get a message that you should use another service, in this case the MyEtherWallet.
Supported software and services
TREZOR is very popular with cryptocurrencies users, which is why there are a variety of so-called TREZOR apps. This is software or online services that have included TREZOR support through the official API.
This means that you can interact with the hardware wallet on the Bitstamp online exchange directly via the website, for example, or use other software wallets such as Electrum or Copay.
This supports the following software and services:
- Copay
- efolio
- Osclass
- Strip4bit
- Electrum
- MyEtherWallet
- Mycelium
- MultiBit
- ArcBit
- Coinmap
- Encompass
- wordpress
- Bitstamp
- cashila
- coinpayments
- bitpay
- bitwala
- SSH Agent
- FIDO/U2F
- Passwort Manager
A complete and up-to-date list of all TREZOR apps can be found in the official documentation.
Mobile use
TREZOR Manager
SatoshiLabs, the manufacturer of the TREZOR hardware wallet, provides an Android app called TREZOR Manager.
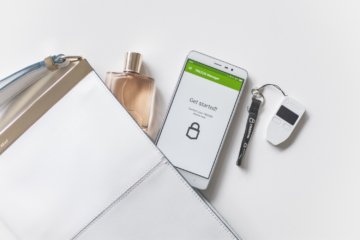
This app works with all Android smartphones that supported the USB OTG standard. You also need a special USB OTG cable foruse.
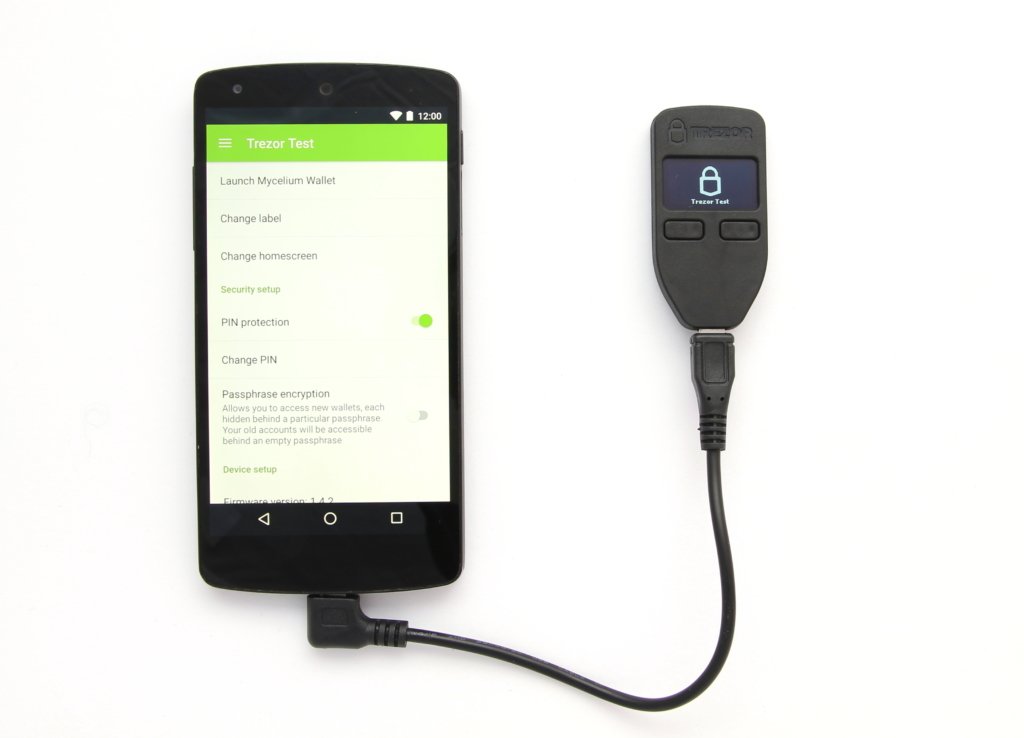
TREZOR Manager allows you to configure the hardware wallet on the go
At the time of testing, the app can only be used to initialize the device, restore the device, set up the PIN code and password, and some other settings.

As usual, you have to enter a PIN code to unlock the device and confirm every action on the hardware wallet. Just as you know it from the TREZOR Web Wallet.
If you want to make mobile transactions, you have to switch to other apps, such as the Mycelium app.
Compatibility: Conclusion
In addition to altcoins, the TREZOR hardware wallet also supports a wide range of other software and services. It is possible to switch between the individual cryptocurrencies directly via the software, without interacting with the hardware wallet itself.
I think it’s a bit of a shame that you have to switch to another service to use Ethereum.
A big plus point is that the hardware wallet can work completely without a computer if you have an Android smartphone or tablet.
Security of the TREZOR hardware wallet
PIN backup
Unlike other hardware wallets such as Ledger or the Digital Bitbox, a PIN or password does not necessarily have to be entered directly for read access to the wallet.
This is because the TREZOR Wallet is able to remember a TREZOR device. This allows you to use the software even without a connected device and without entering a PIN, for example, to view transactions.
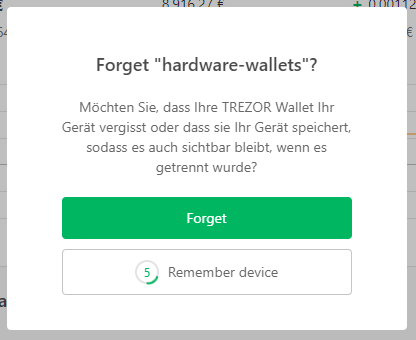
On the one hand, this is extremely practical for computers that are used exclusively by oneself. In the case of public computers, however, you should always separate your TREZOR correctly and release it to forget, so that the successor cannot see your account balance.
As soon as you want more than just reading, you are asked directly to plug in the wallet and enter your PIN. If the PIN is incorrect, the input is delayed further and further. This would take about 17 years to try 30 pins! The hardware wallet then remains unlocked for 10 minutes so that you do not have to enter the PIN again for every action during this time.
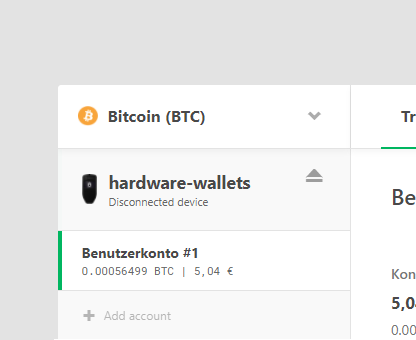
TREZOR is connected and unlocked (represented by the open lock)
You can also manually lock TREZOR at any time if you leave the computer within the 10 minutes, for example. Simply click on the open lock. Alternatively, you can simply disconnect the TREZOR from the computer.
Password encryption (Hidden Wallet)
In addition to a PIN, it is possible to add a passphrase to TREZOR .
This has the advantage that TREZOR is impervious to a physical attack. Even if your hardware wallet was stolen and the chip was examined under an electron microscope, your Bitcoins would still be safe.
As a passphrase, you can choose anything you can remember well, as you shouldn’t write them down. Each passphrase unlocks its own wallet, so that even in the event of blackmail, a different passphrase can be issued with only a small amount of money. The old accounts remain accessible behind an empty passphrase.
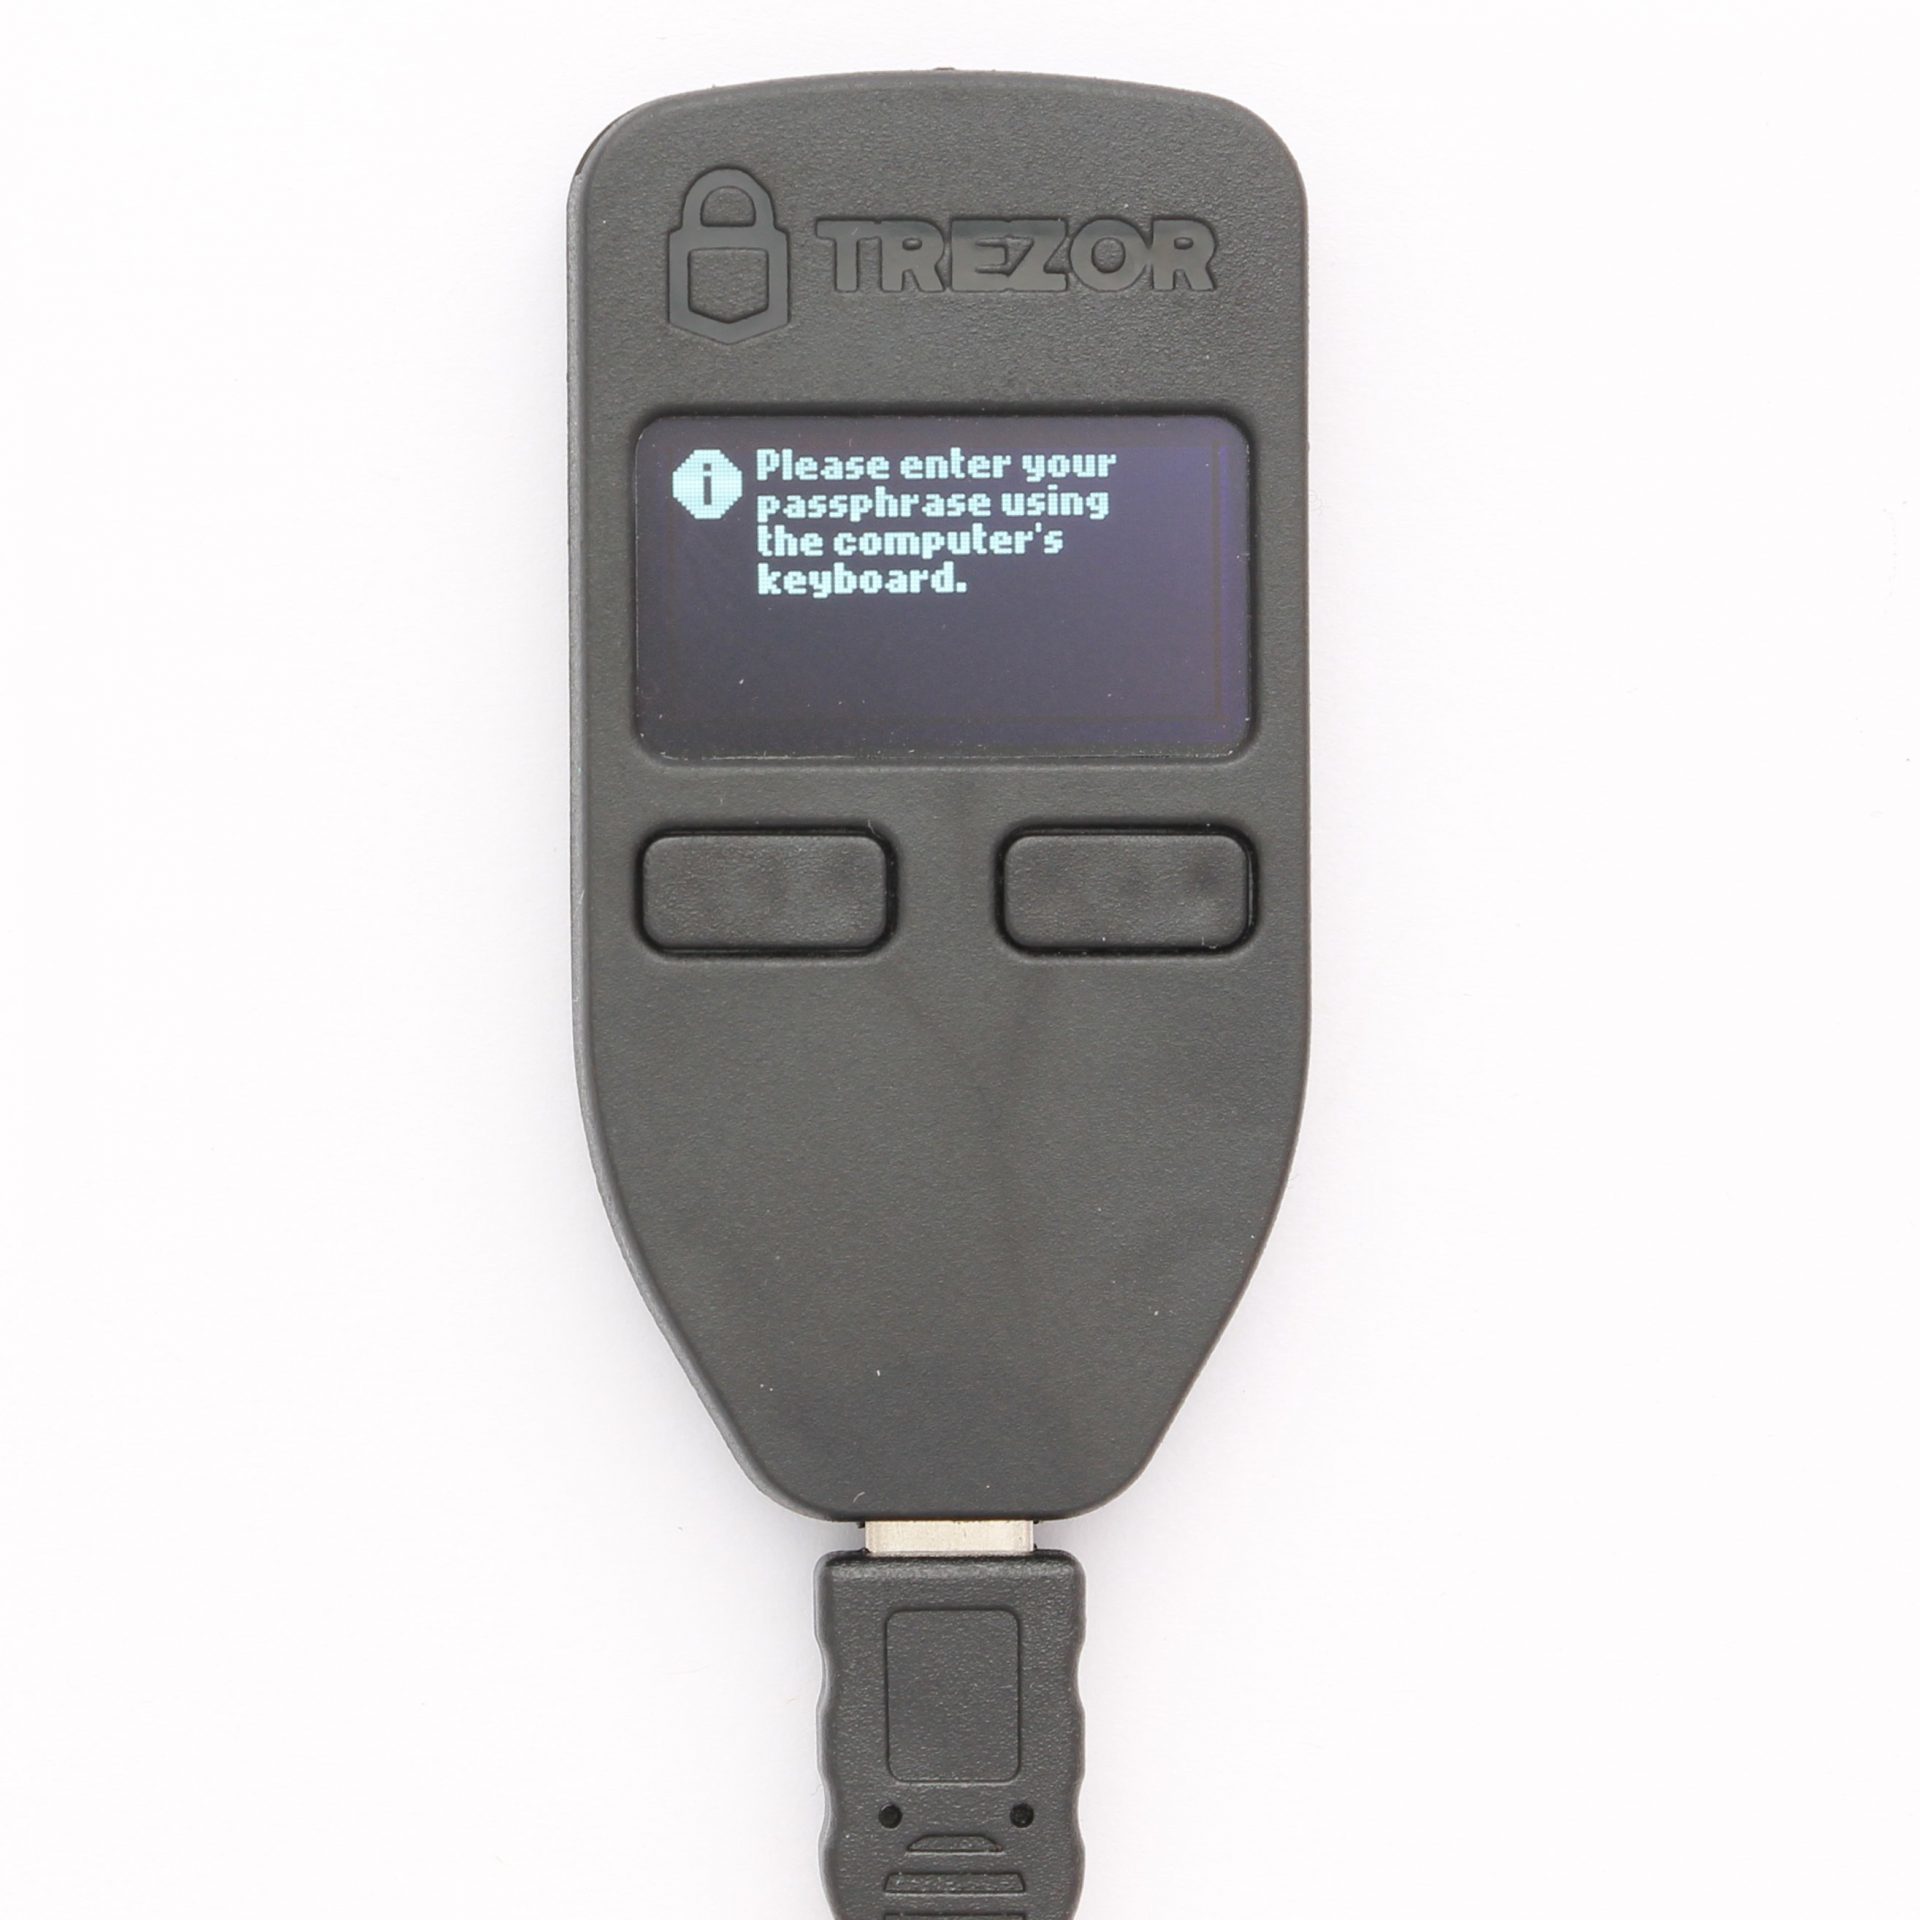
One limitation of this approach is that you need to enter your password through the computer keyboard. For this reason, you should not turn off your PIN, even if you use a password!
enable passphrase Encryption
To activate, you switch to the devices settings and activate the encryption using passphrase via the “Advanced Settings” tab.
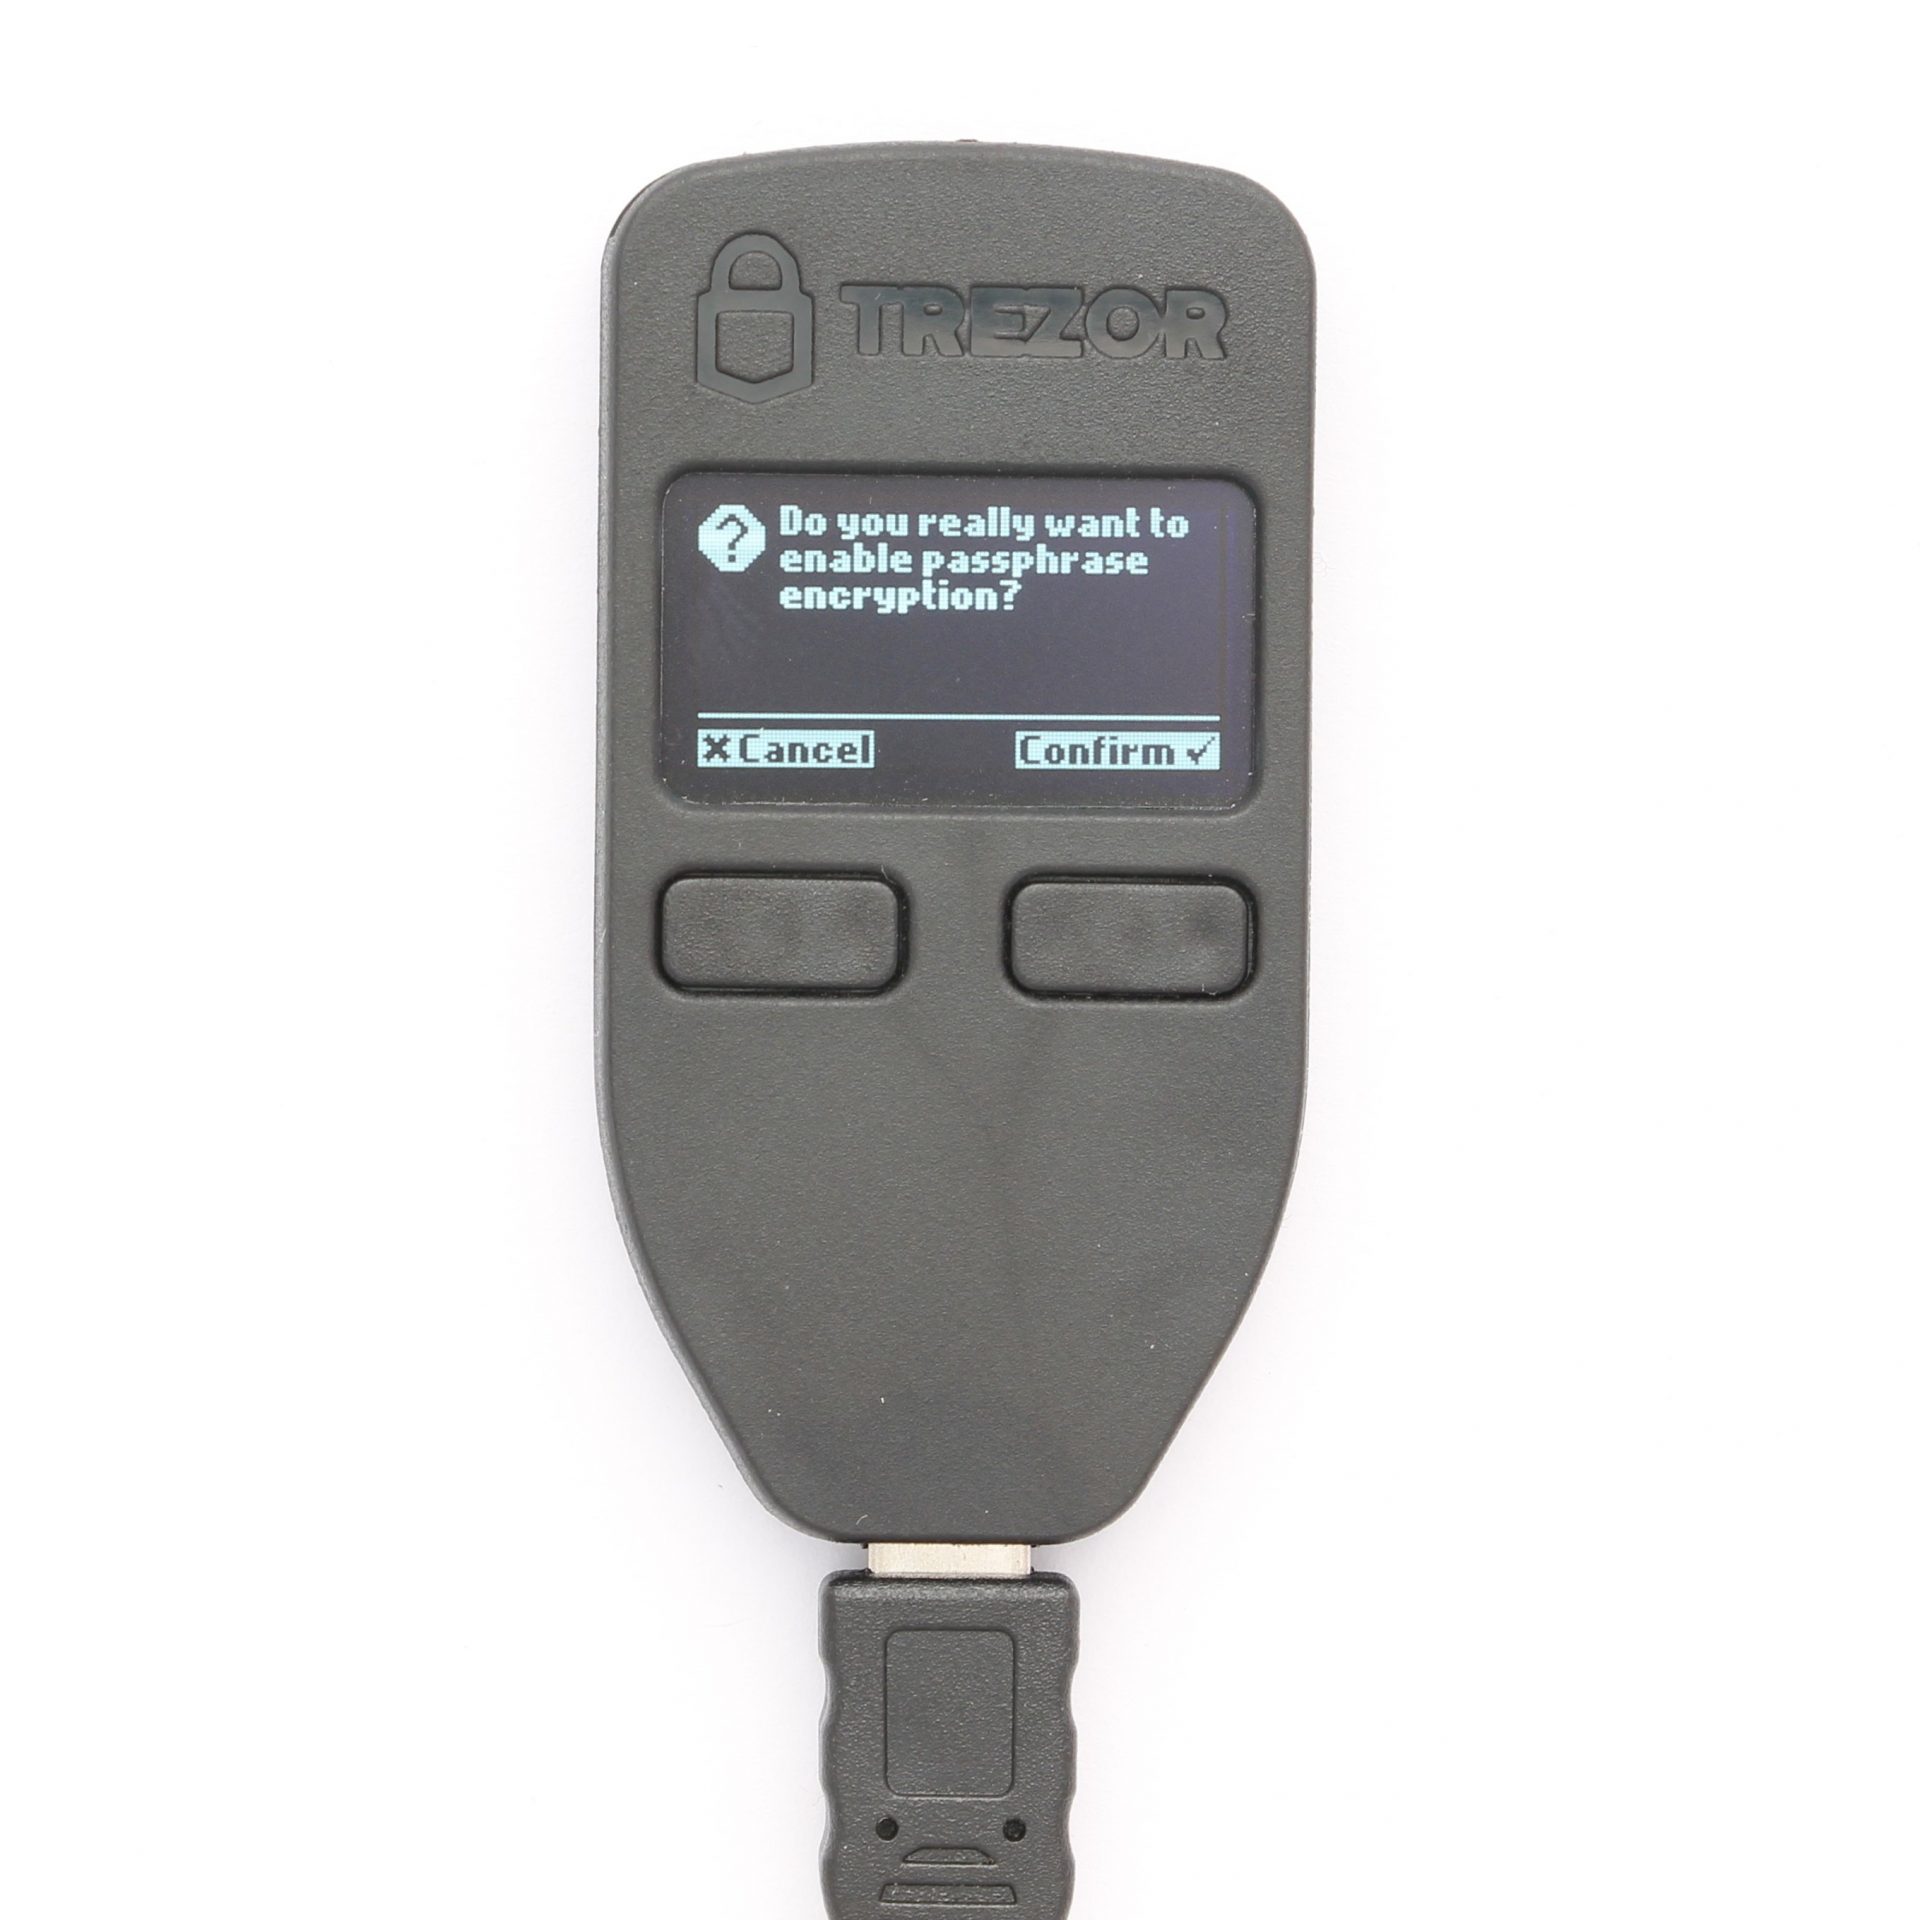
Confirm activation on the hardware wallet
Once encryption has been activated by a password, you need to reconnect the wallet. Now, as always, the PIN is entered and then a passphrase is added.
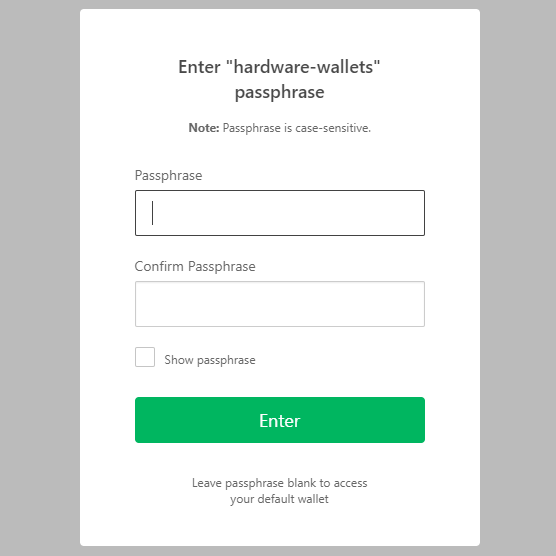
It doesn’t matter which passphrase is typed, because each passphrase always opens a different, functioning wallet. Of course, you should still commit to one that you use for your everyday transactions.
But a second passphrase is conceivable, on which you send only a few coins and issue them in the event of blackmail.
Recovery Seed
When setting up, the Recovery Seed was recorded, which is supposed to restore the generated wallets in the event of a defect, theft or forgetting of the PIN.
The recovery can be started directly with a new hardware wallet or you can use a software wallet that supports a recovery with a 24-word recovery seed.
The recovery is tested with the help of a new TREZORs.
TREZOR Restore wallet (right side)
Instead of the normal setup, you select the recovery option on the right this time.
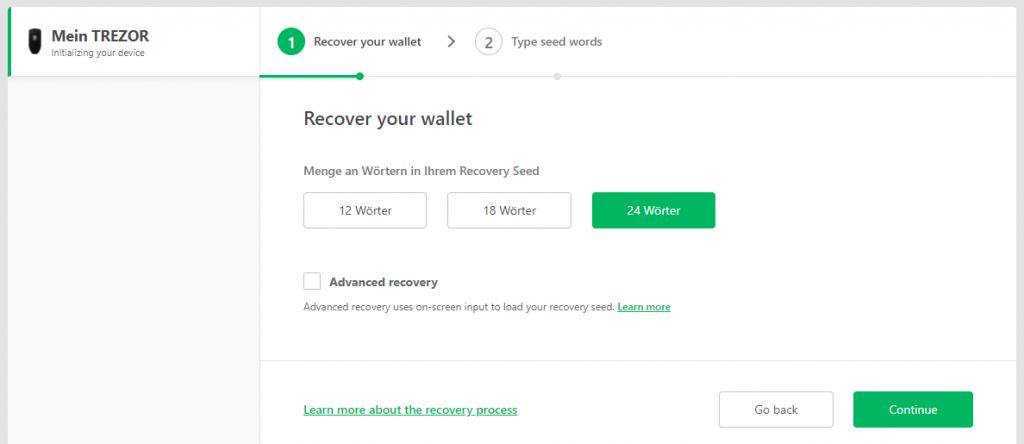
Select number of words and recovery mode
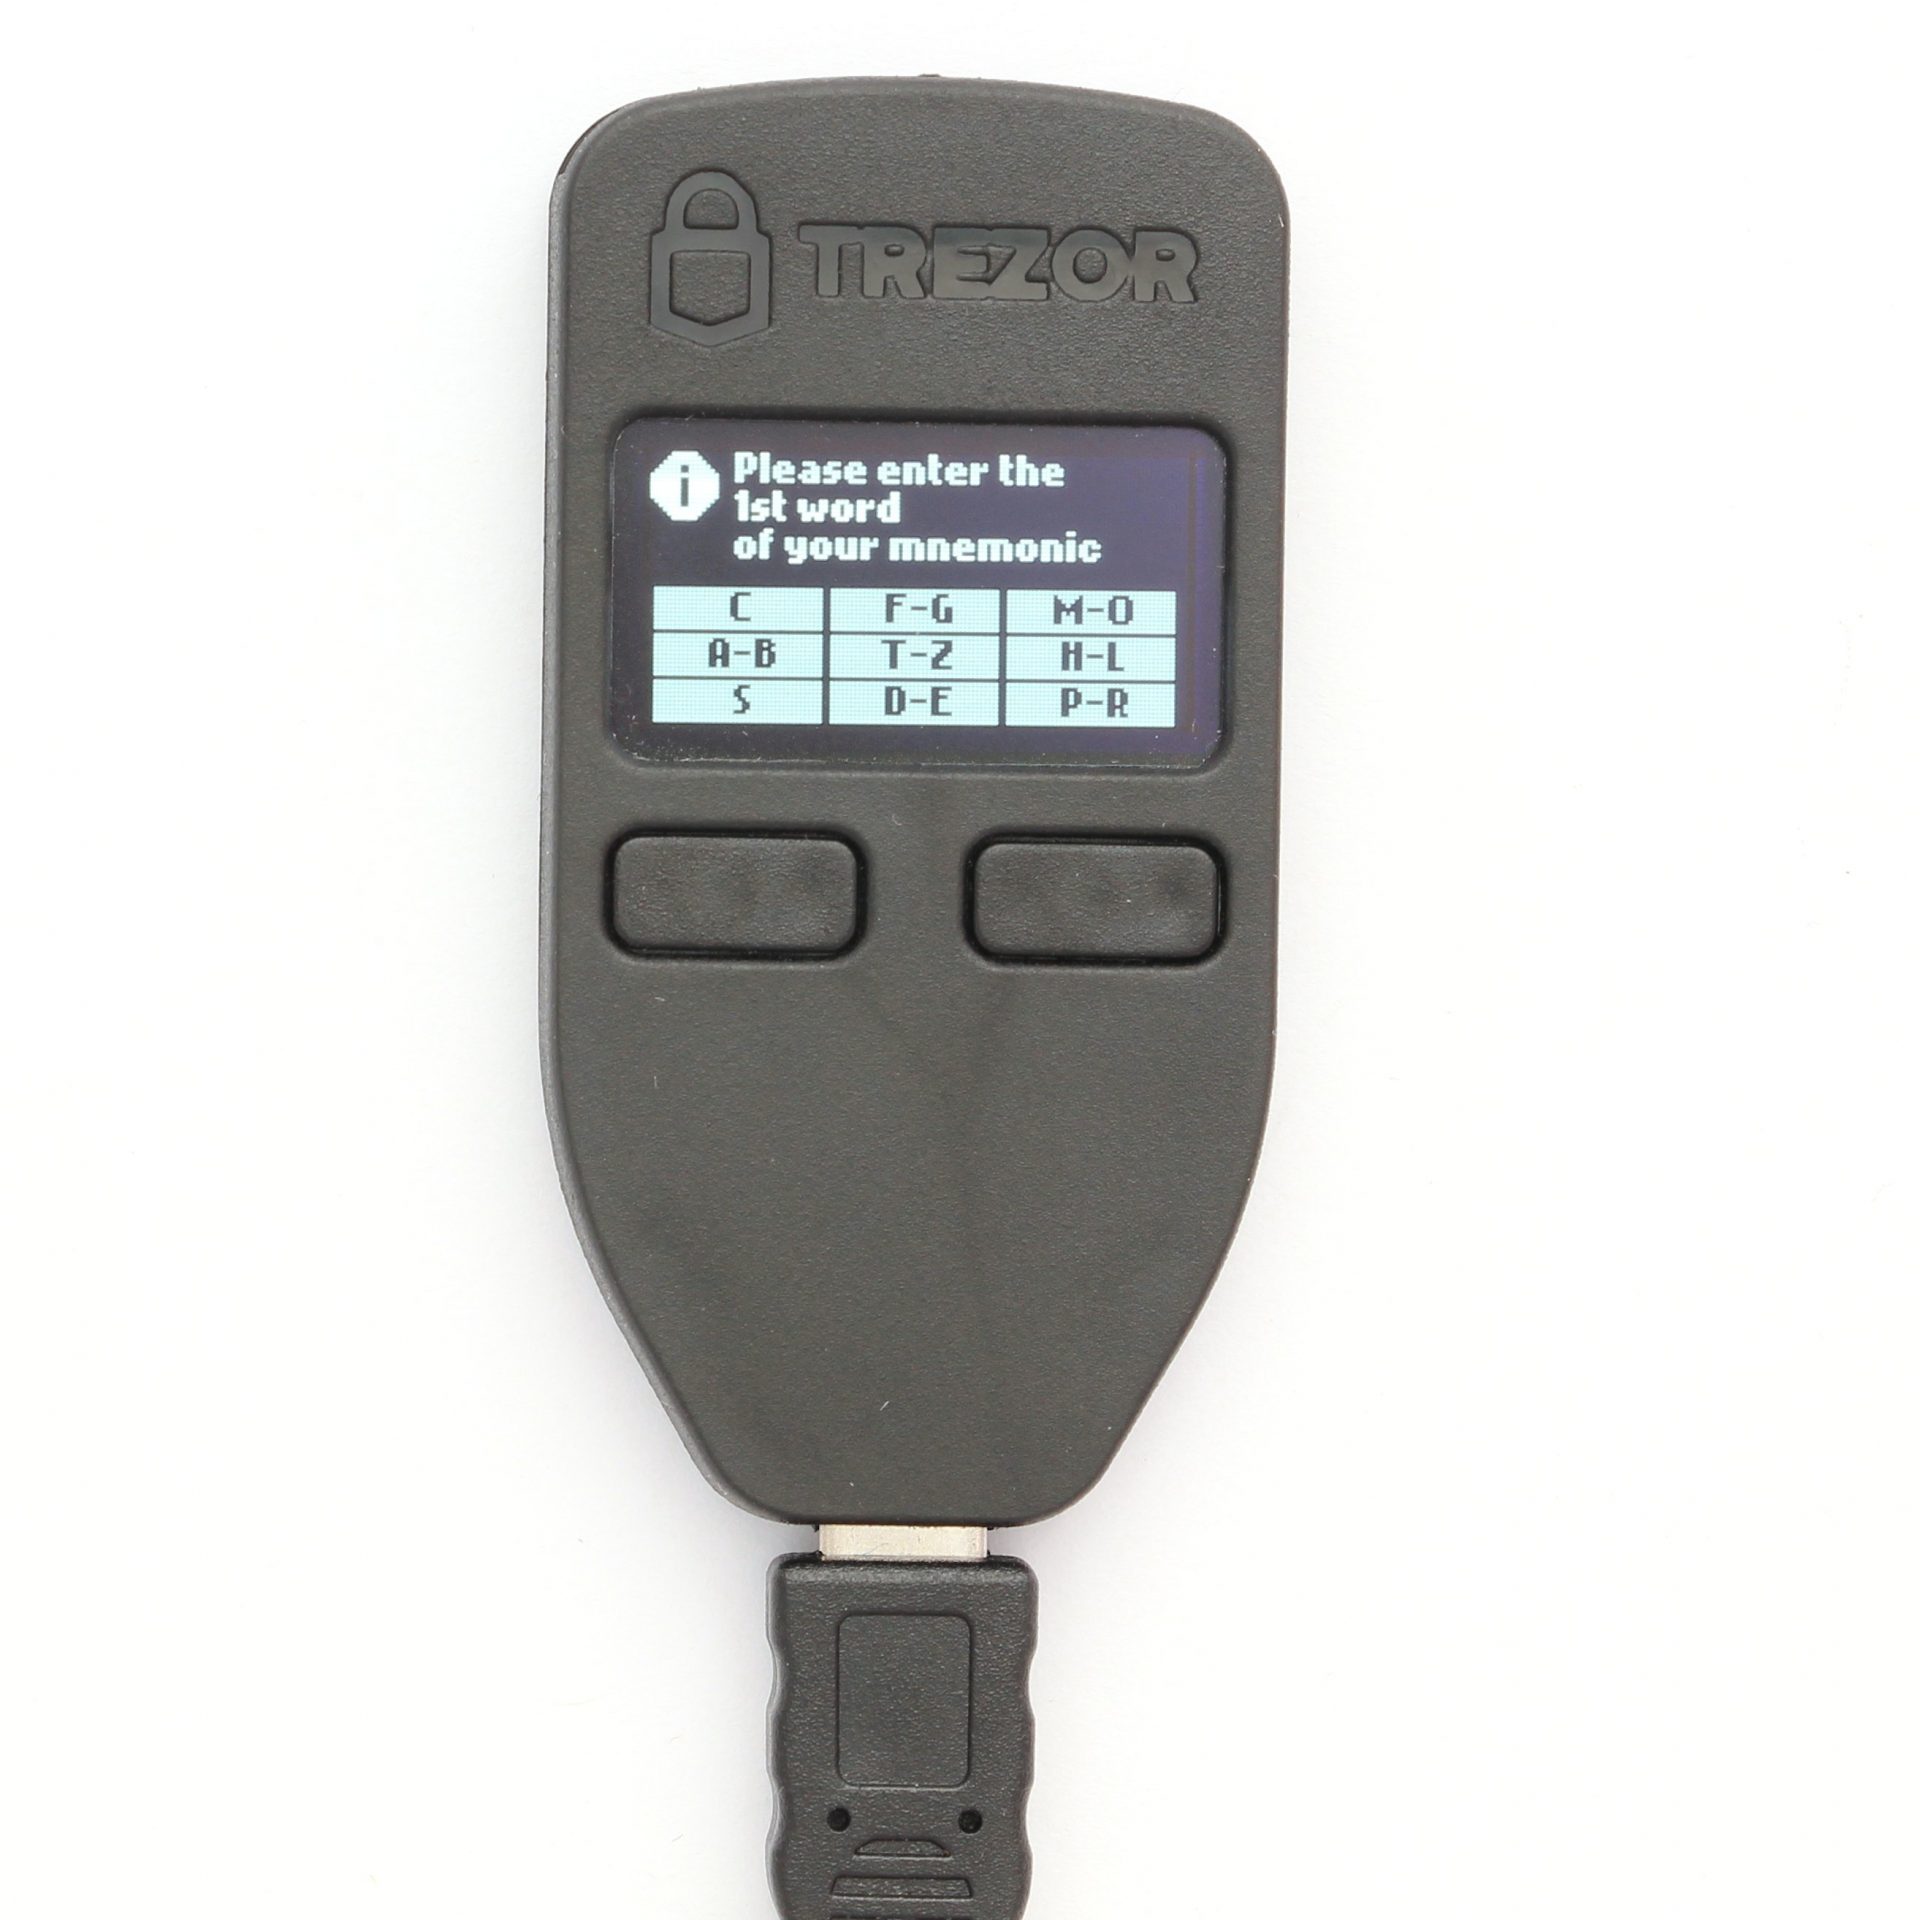
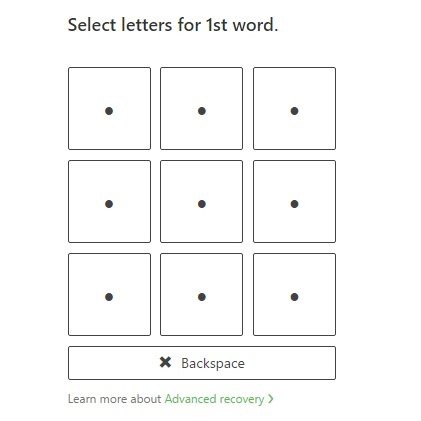
Here you can choose the number of words that the Recovery Seed includes. In addition, the “Advanced Recovery” option is available for recovery, in which the words are clicked through word fields rather than via the keyboard, but similar to the PIN.
This method increases security because no keylogger can read your words. However, since the words are randomly queried in standard mode, even with known words, testing all the combination is extremely time consuming. TREZOR published a blog post about this. So in most cases, the standard recovery mode is perfectly sufficient.
Finally, “Continue” will begin entering the Recovery Seeds.
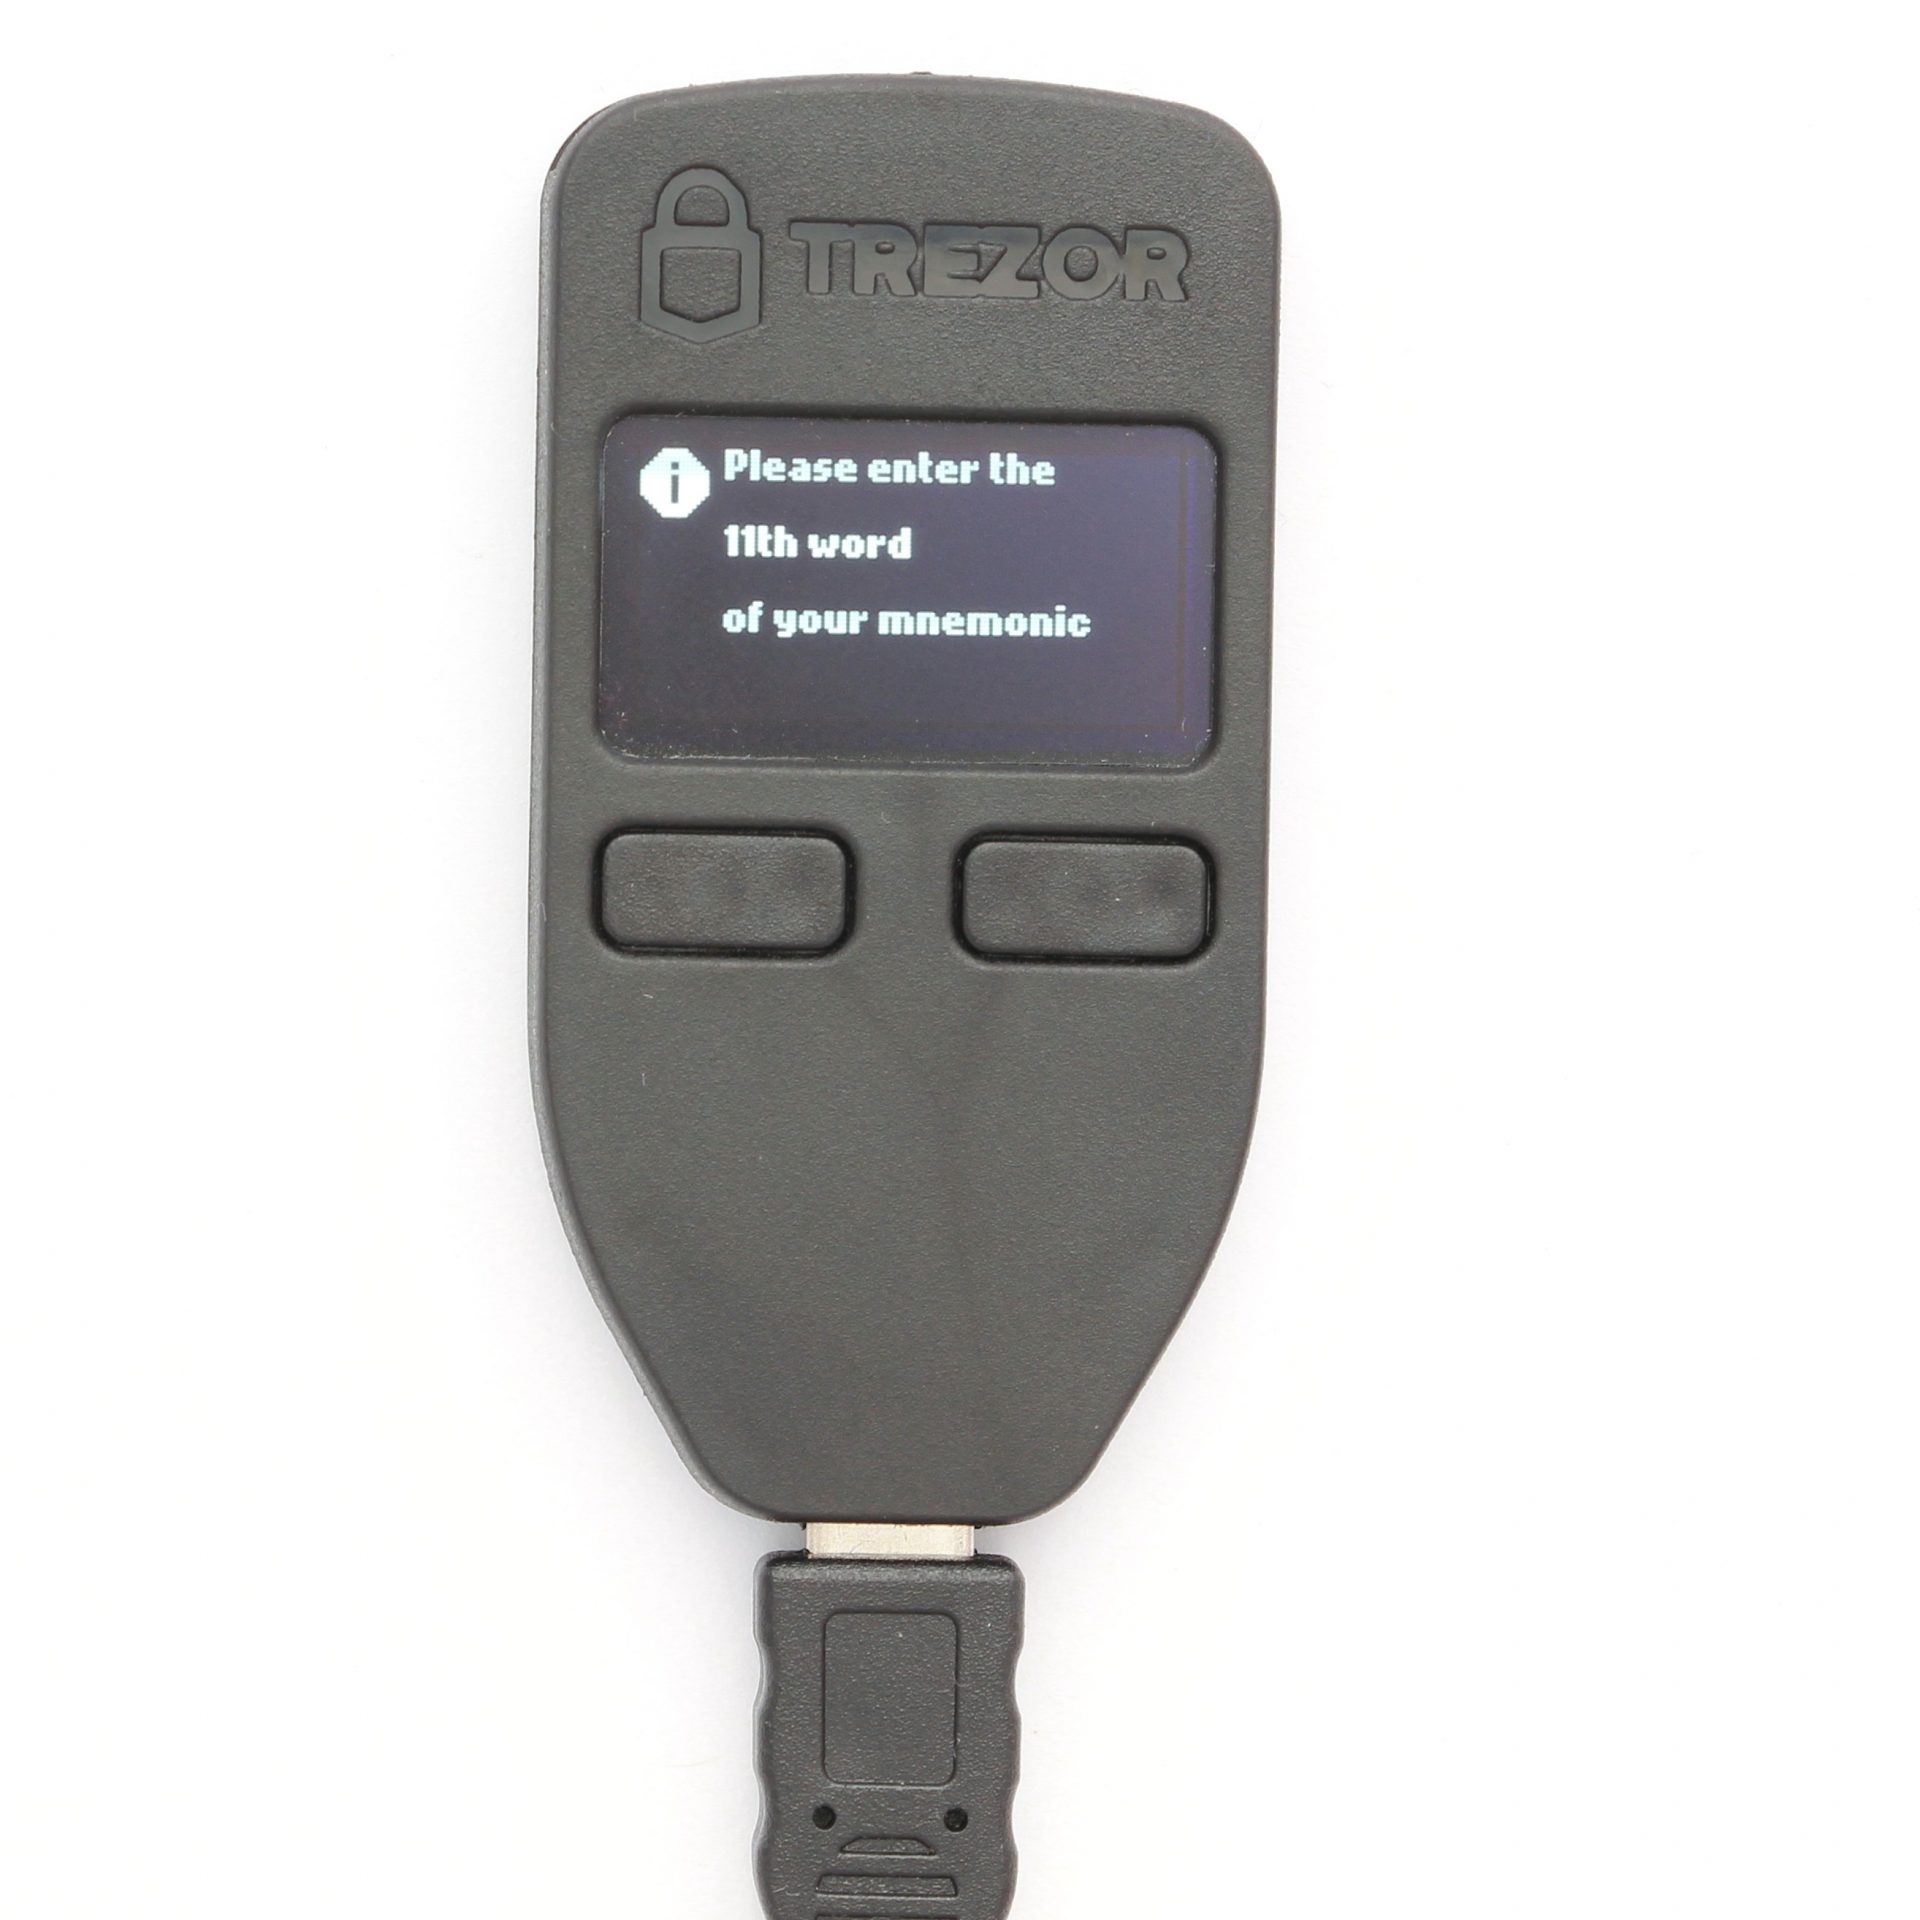
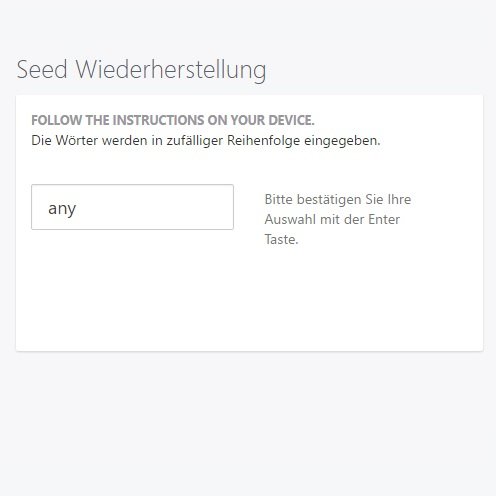
No matter what input method you choose, once you type the last word correctly, the wallet is immediately restored.
Security: Conclusion
TREZOR is completely open source, meaning any code can be viewed. This makes it theoretically possible for everyone to recreate the entire product 1:1 and also to check the software for possible back doors. TREZOR is one of the largest manufacturers in this market and has many satisfied customers.
Like any other hardware wallet, TREZOR is convincing in that the seed of the HD Wallet is generated on the device and never leaves the device except for the backup. This already ensures a high level of security.
The PIN input uses a random number box each time, which is why the PIN is not readable through a PC.
The possibility of password encryption offers additional security as an option. However, it should be noted that the password is entered via the PC’s keyboard and could therefore potentially end up in the hands of third parties.
Restoring the wallet is easy and works without any problems.
The ability to read your own wallet on trusted computers even without a connected hardware wallet is very practical, but should only be activated on private computers.
Product Specifications
| Advantages | |
| Disadvantages | |
| Compatibility | Copay, efolio, Osclass, Strip4bit, Electrum, MyEtherWallet, Mycelium, MultiBit, ArcBit, Coinmap, Encompass, wordpress, Bitstamp, cashila, coinpayments, bitpay, bitwala, SSH Agent, FIDO/U2F, Passwort Manager |
| Cryptocurrencies | Bitcoin, Bitcoin Private, Ubiq, Expanse, NEM, Bitcoin Gold, Ethereum, Litecoin, Dogecoin, Zcash, Dash, Namecoin, Bitcoin Cash, Ethereum Classic, ERC-20 Tokens |
| Package Contents |
|
| Brand | Trezor |
| Platform | Windows, Linux, Mac, Android |
| Altcoin Support | |
| Supported Coins | 1600+ (to the complete list) |
| Open Source | |
| Secure Element | |
| Display as 2FA | |
| Interfaces | USB |
| Input Options | Buttons |
| Weight | 12g |
| Size | 60x30x6mm |
User Reviews 4
I have a technical question about Trezor model one. I have been using it for a while, had a firmware update. Trezor Bridge is installed, running the latest suite. Yet when I plug the Trezor Model one into the machine, a padlock and screen saver appear on the device. There is no pin entry option and neither the web suite nor the app suite recognizes it. Can you help me?
I have had a terrible experience with Trezor and there Trezor One wallet. There is no support provided by Trezor for any service requests. My experience started when I mistakenly sent 3798 USDT to my trezor ETH account The wallet accepted the transfer and sent a complete message to the sender. The tokenportfolio balance was correct. The tokens were on the wallet but I could not access them. I reached out to Trezor multiple times with no response. After a week of no support, I went to the documentation and it states I need to recover the wallet. I recover the wallet. At the recovery stage, a
memory error occurred. After this, my tokens were gone. With money missing you would think trezor
would respond after five requests. The error is either a software memory corruption or a hardware failure. Be aware of this organization.
When you say your token were gone due to the memory issues, this is incorrect and it is important to understand how blockchain works. Your tokens are not stored on the wallet. It is the keys that are stored. Your tokens are stored on the blockchain. So, you just need to recover the private key using your seed phrase.
That being said, I do understand your frustration I would not be too worried, it should still be possible to get this sorted so long as you got your seed phrase. You may either try to fix the existing wallet (re-install firmware?), or you can recover with another wallet. I have not searched but if the docs give you an algorithm they use to generate the keys from your seed, then you could probably get your keys without the wallet and import them into a software wallet like Exodus.
BTW I am not from Trezor, just trying to help you as I was looking at the wallet reviews myself.
Can I set up the Trezor by using ONLY my android smartphone?

FAQ 7
Ask your own question