


TREZOR Model T Review 2026
The TREZOR Model T is the latest hardware wallet from SatoshiLabs. Compared to its previous model TREZOR One, the TREZOR Model T now has a touchscreen and no physical buttons. There are even more differences, which I will show in the following test report.
First impression
Order TREZOR Model T
It is generally advisable to order the Trezor Model T hardware wallet directly from the manufacturer in its own online store. The price there is 219,00 $ (click here to check the current price). Cryptosteel Capsule is also available as an accessory, which allows you to keep your hardware wallet backup safe from the elements.
TREZOR also has a network of official resellers all over the world. There is also an own amazon shop and many private sellers. The hardware wallets are sometimes available there at very different conditions, and a middleman could manipulate devices for his own purposes.
Hardware Wallets should preferably be ordered directly from the manufacturer or official resellers if possible. Dubious stores or private sellers on platforms like ebay or amazon could manipulate the devices for their own purposes or trick the buyer. This way, the thieves can steal all the coins from your hardware wallet at a later time. Unfortunately, there have already been such cases in the past.
Contents of the Package
The shipping envelope contains a box containing the hardware wallet. Depending on the selected accessories, a Cryptosteel or OTG cable is included in the shipment.
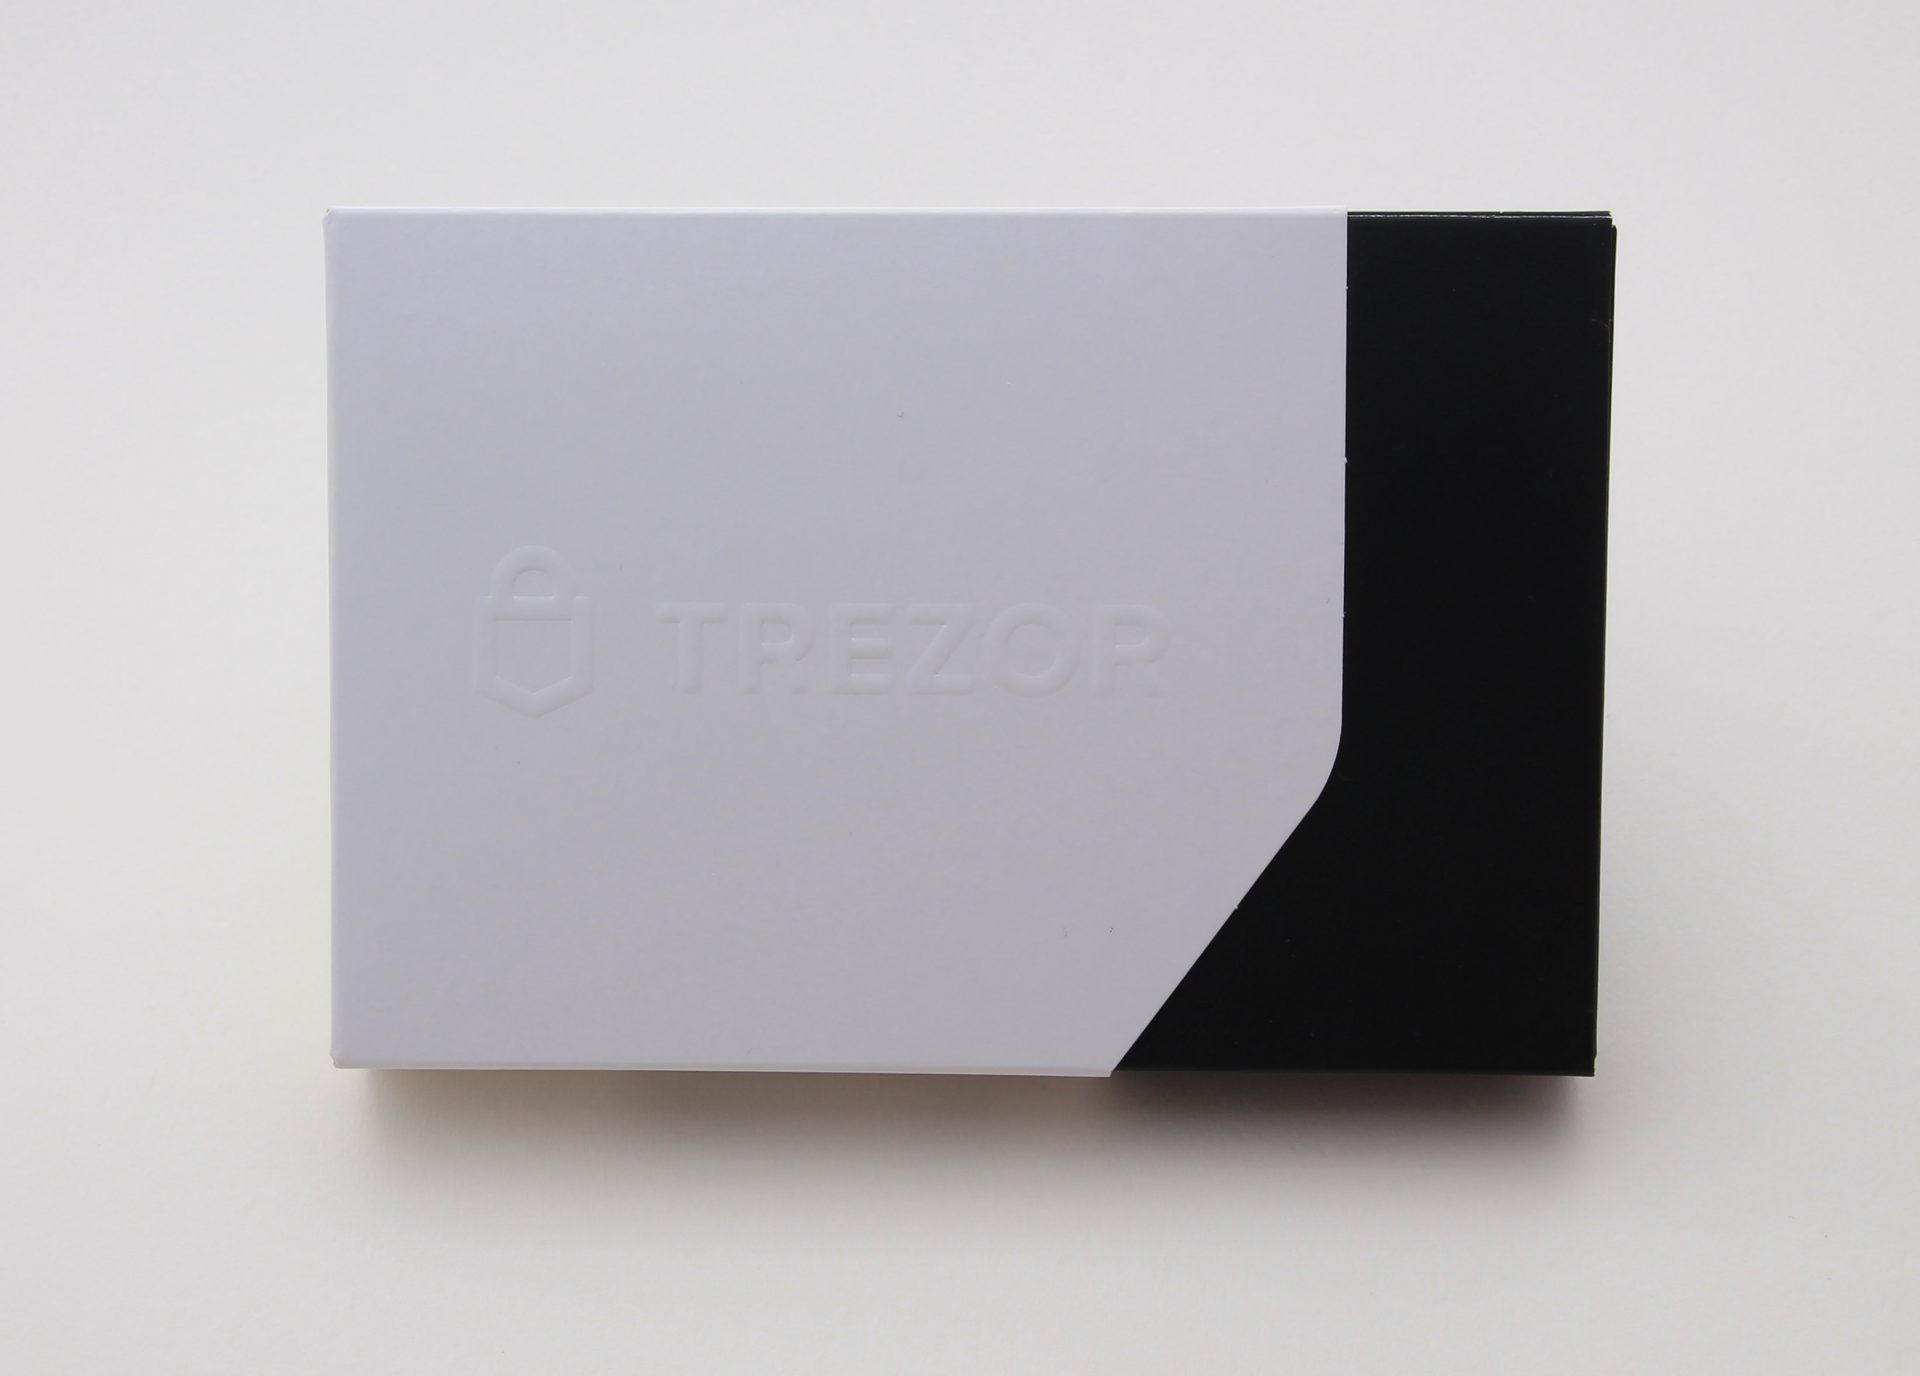
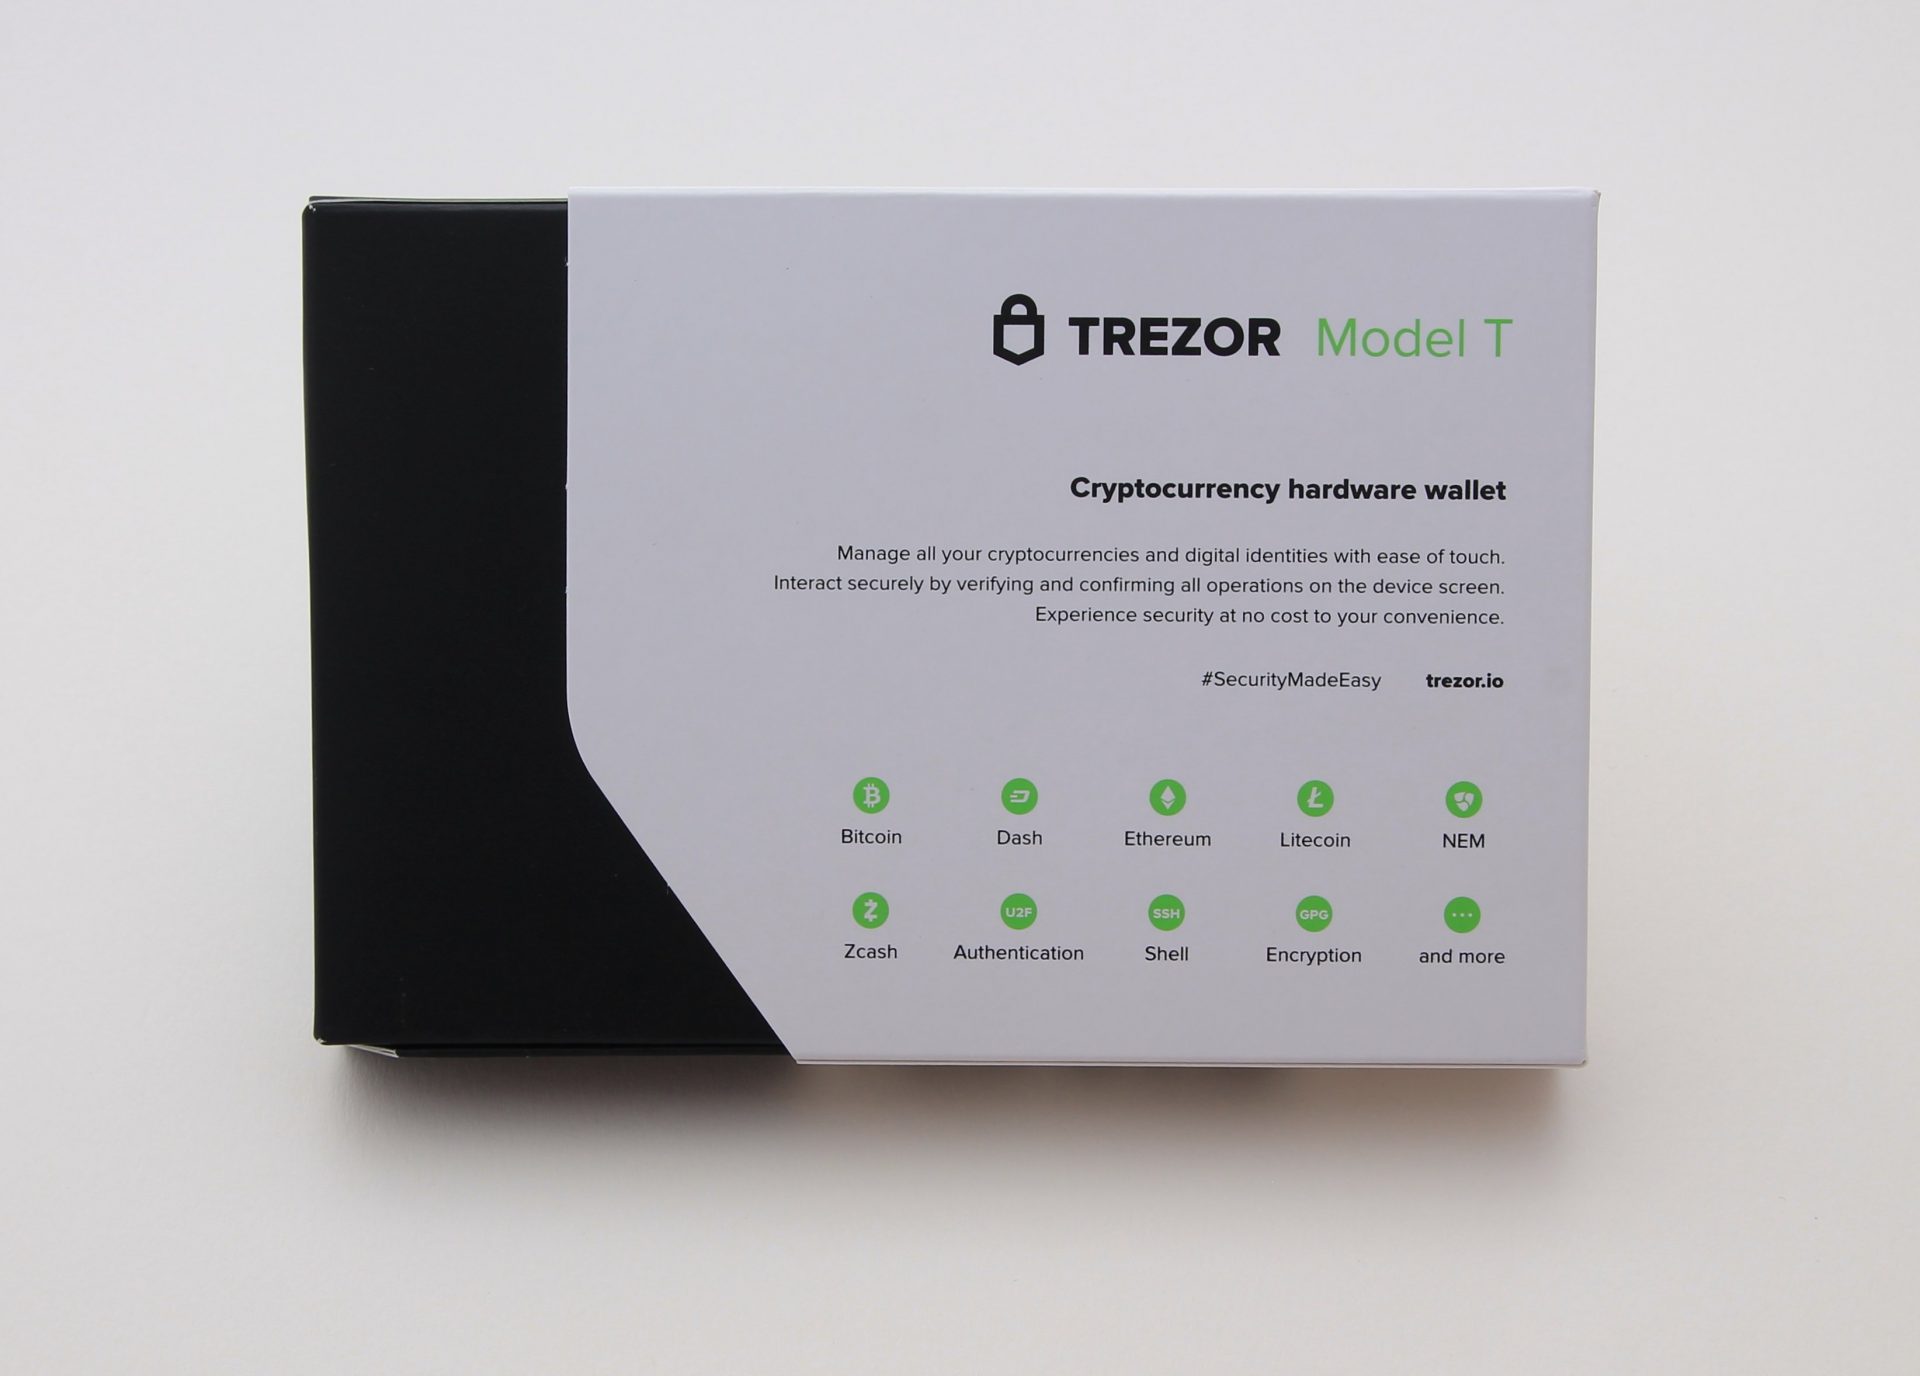
It is immediately apparent that the packaging of the TREZOR Model T has been completely redesigned compared to TREZOR One. The front side contains only the logo, while the back side contains more information such as the supported cryptocurrencies. The packaging is completely sealed in foil.

The outer white cover can be stripped off and the black inner packaging appears. Through a small window you can already see the TREZOR Model T – “The safe place for your coins”. The lid is closed by a magnet on the front side and can be opened without removing glue.
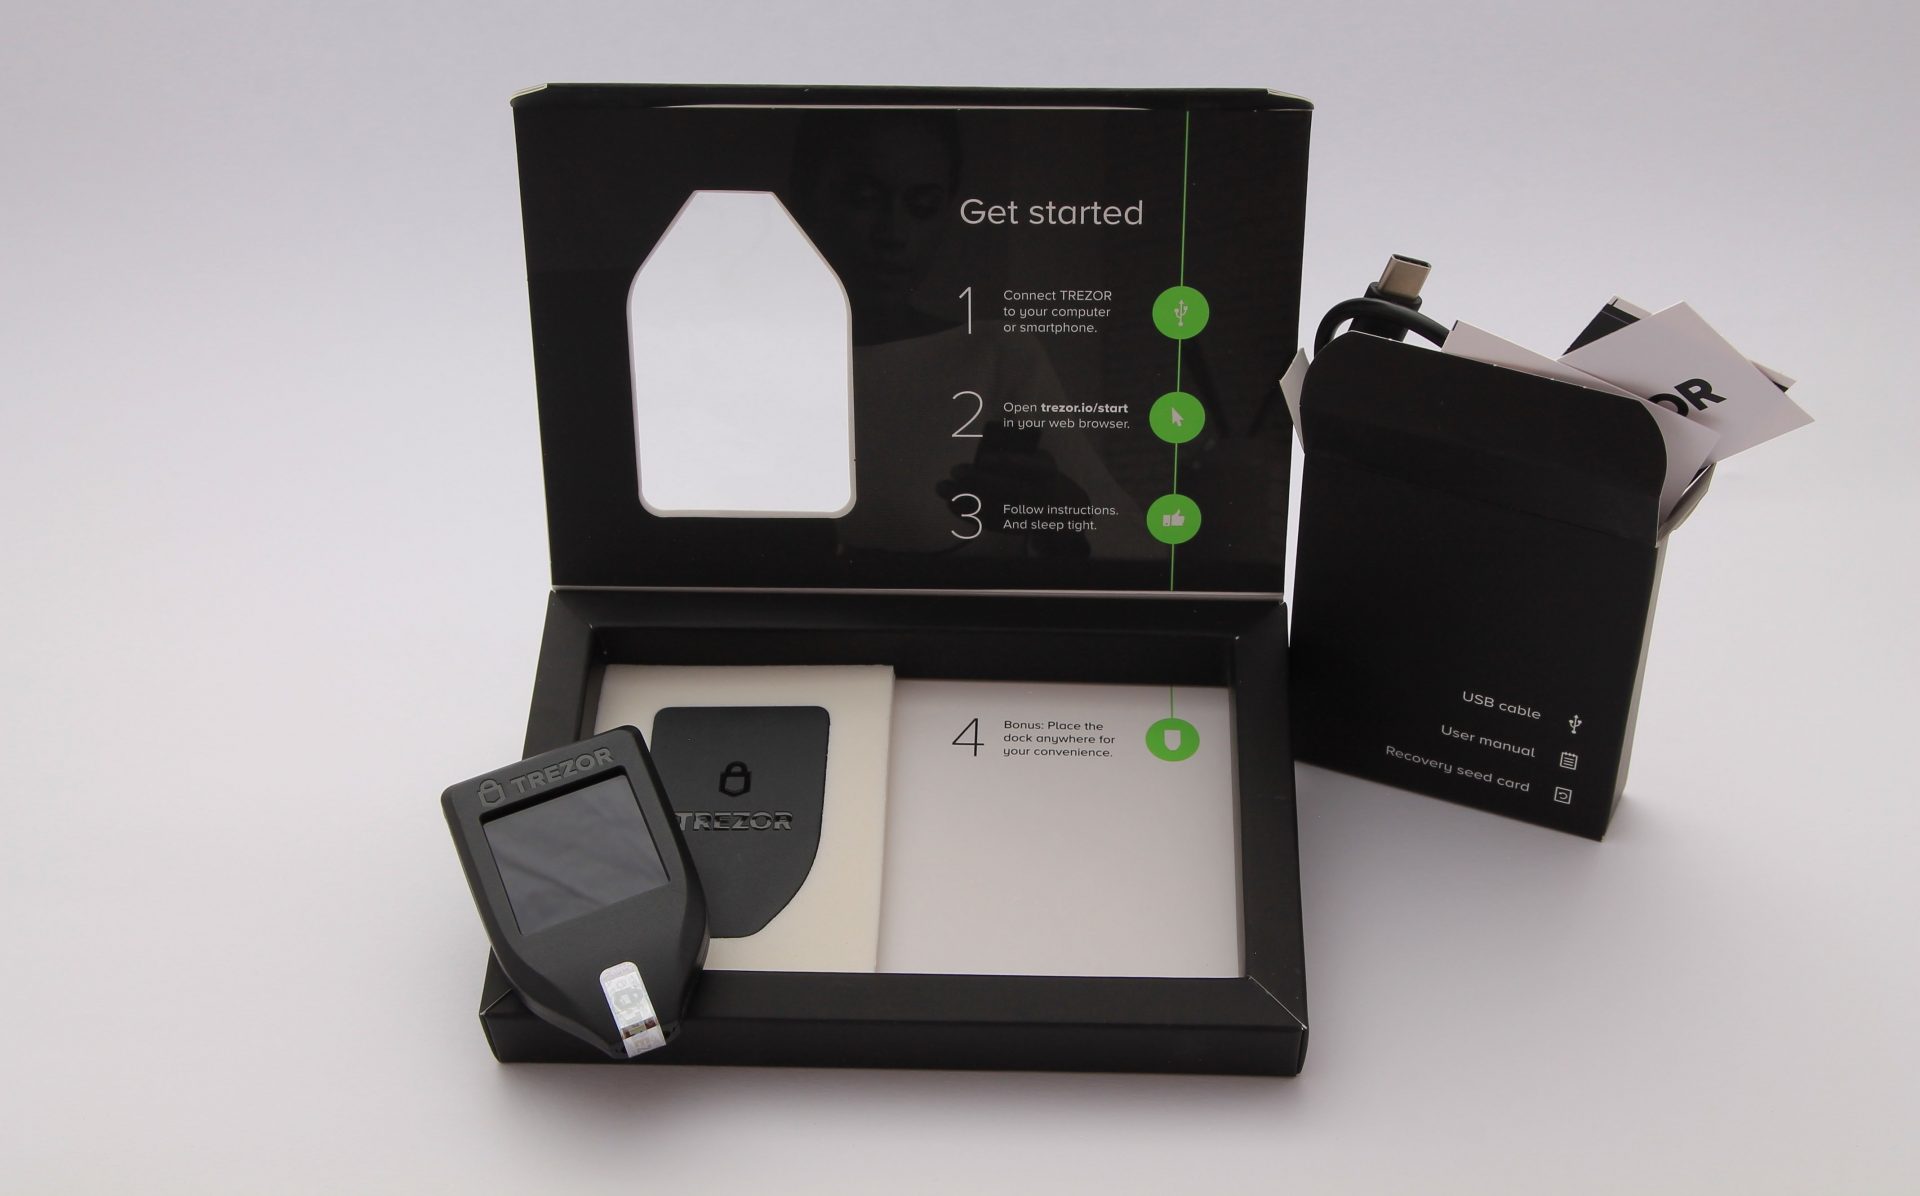
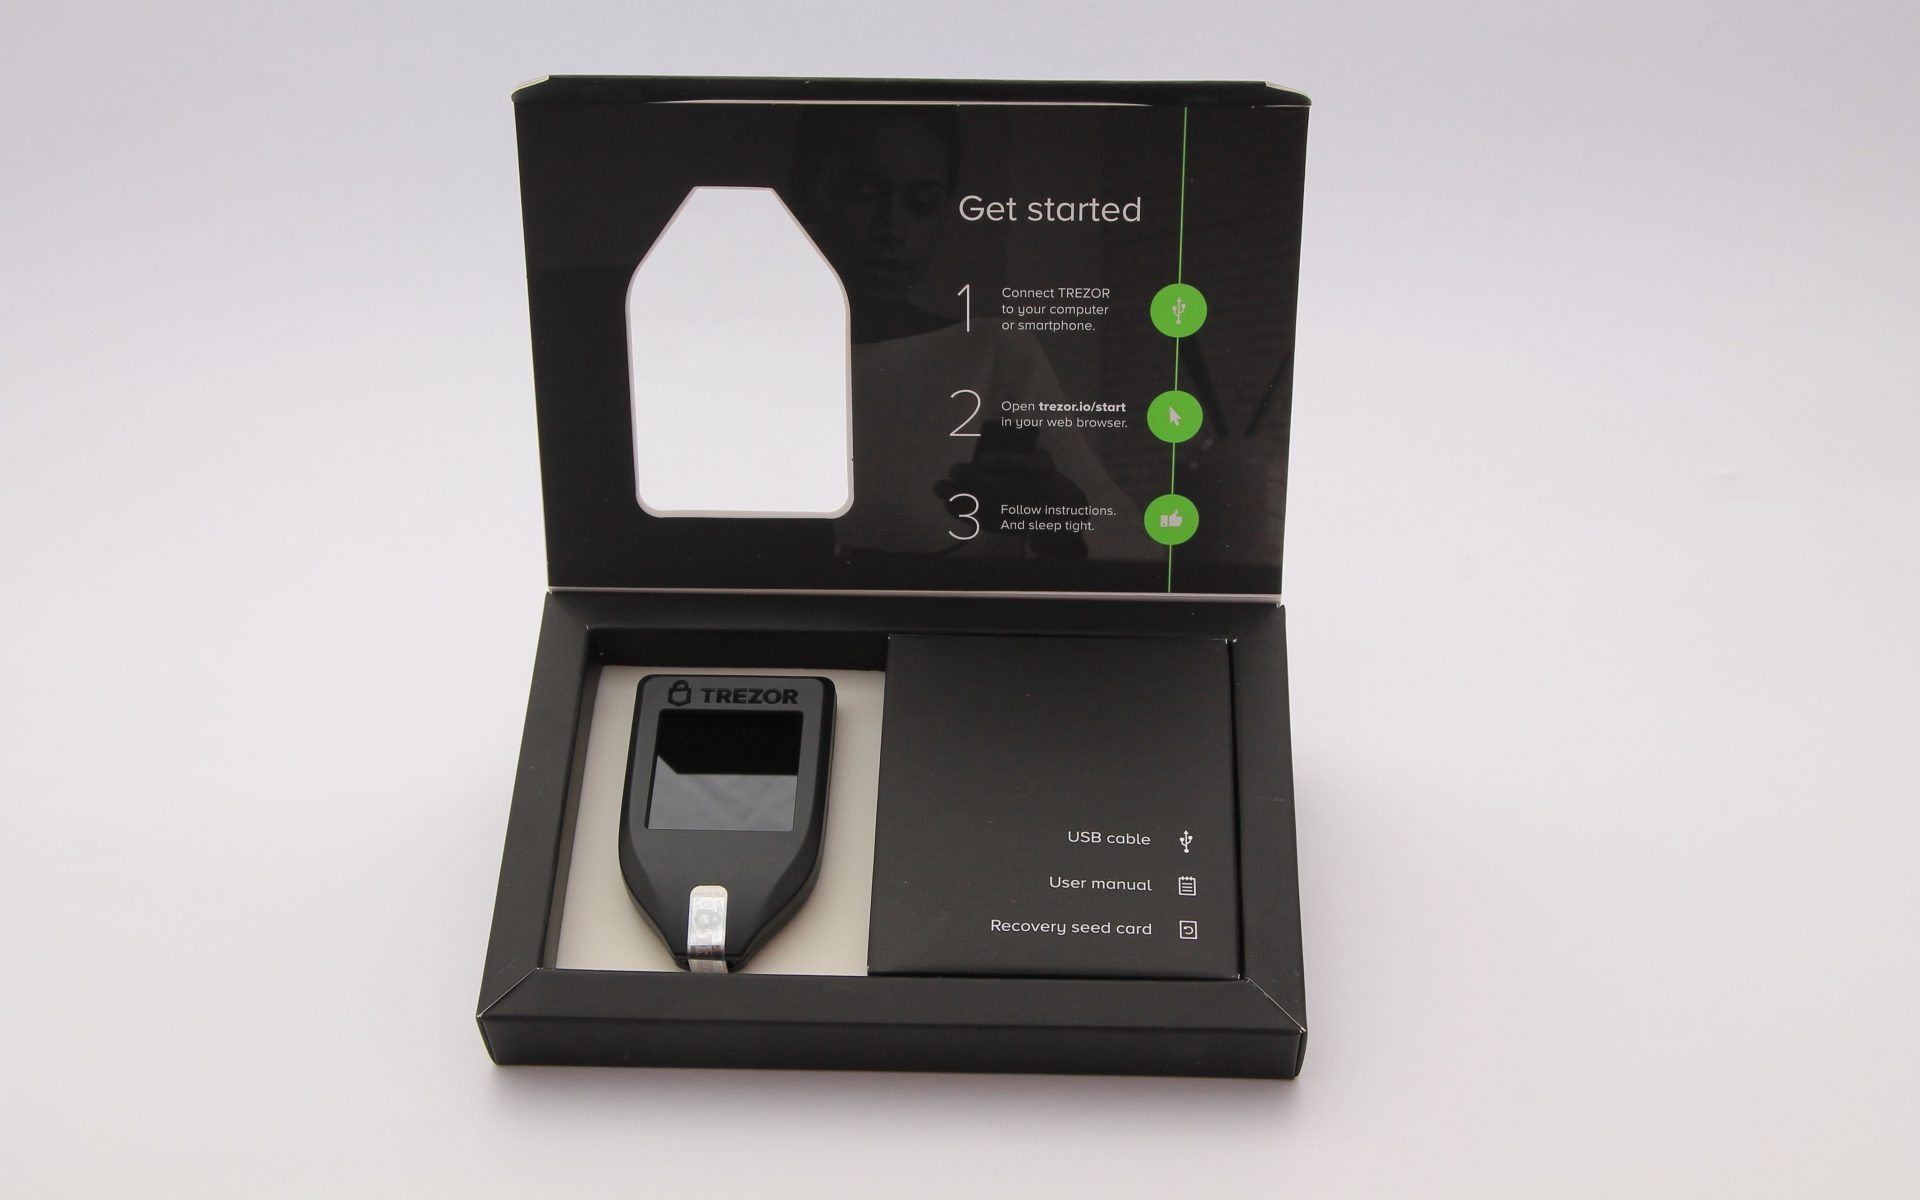
the entire contents of the box at a glance
If you open the lid, you can see the quick start guide on the inside, the accessories on the right and the TREZOR Model T on the left. The hardware wallet is held in position with the help of magnets and can be easily removed with a little force. The magnet does not damage the hardware wallet or the accessories.
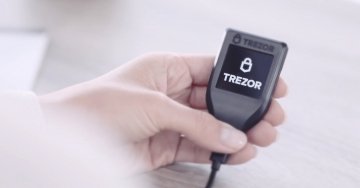
The hardware wallet


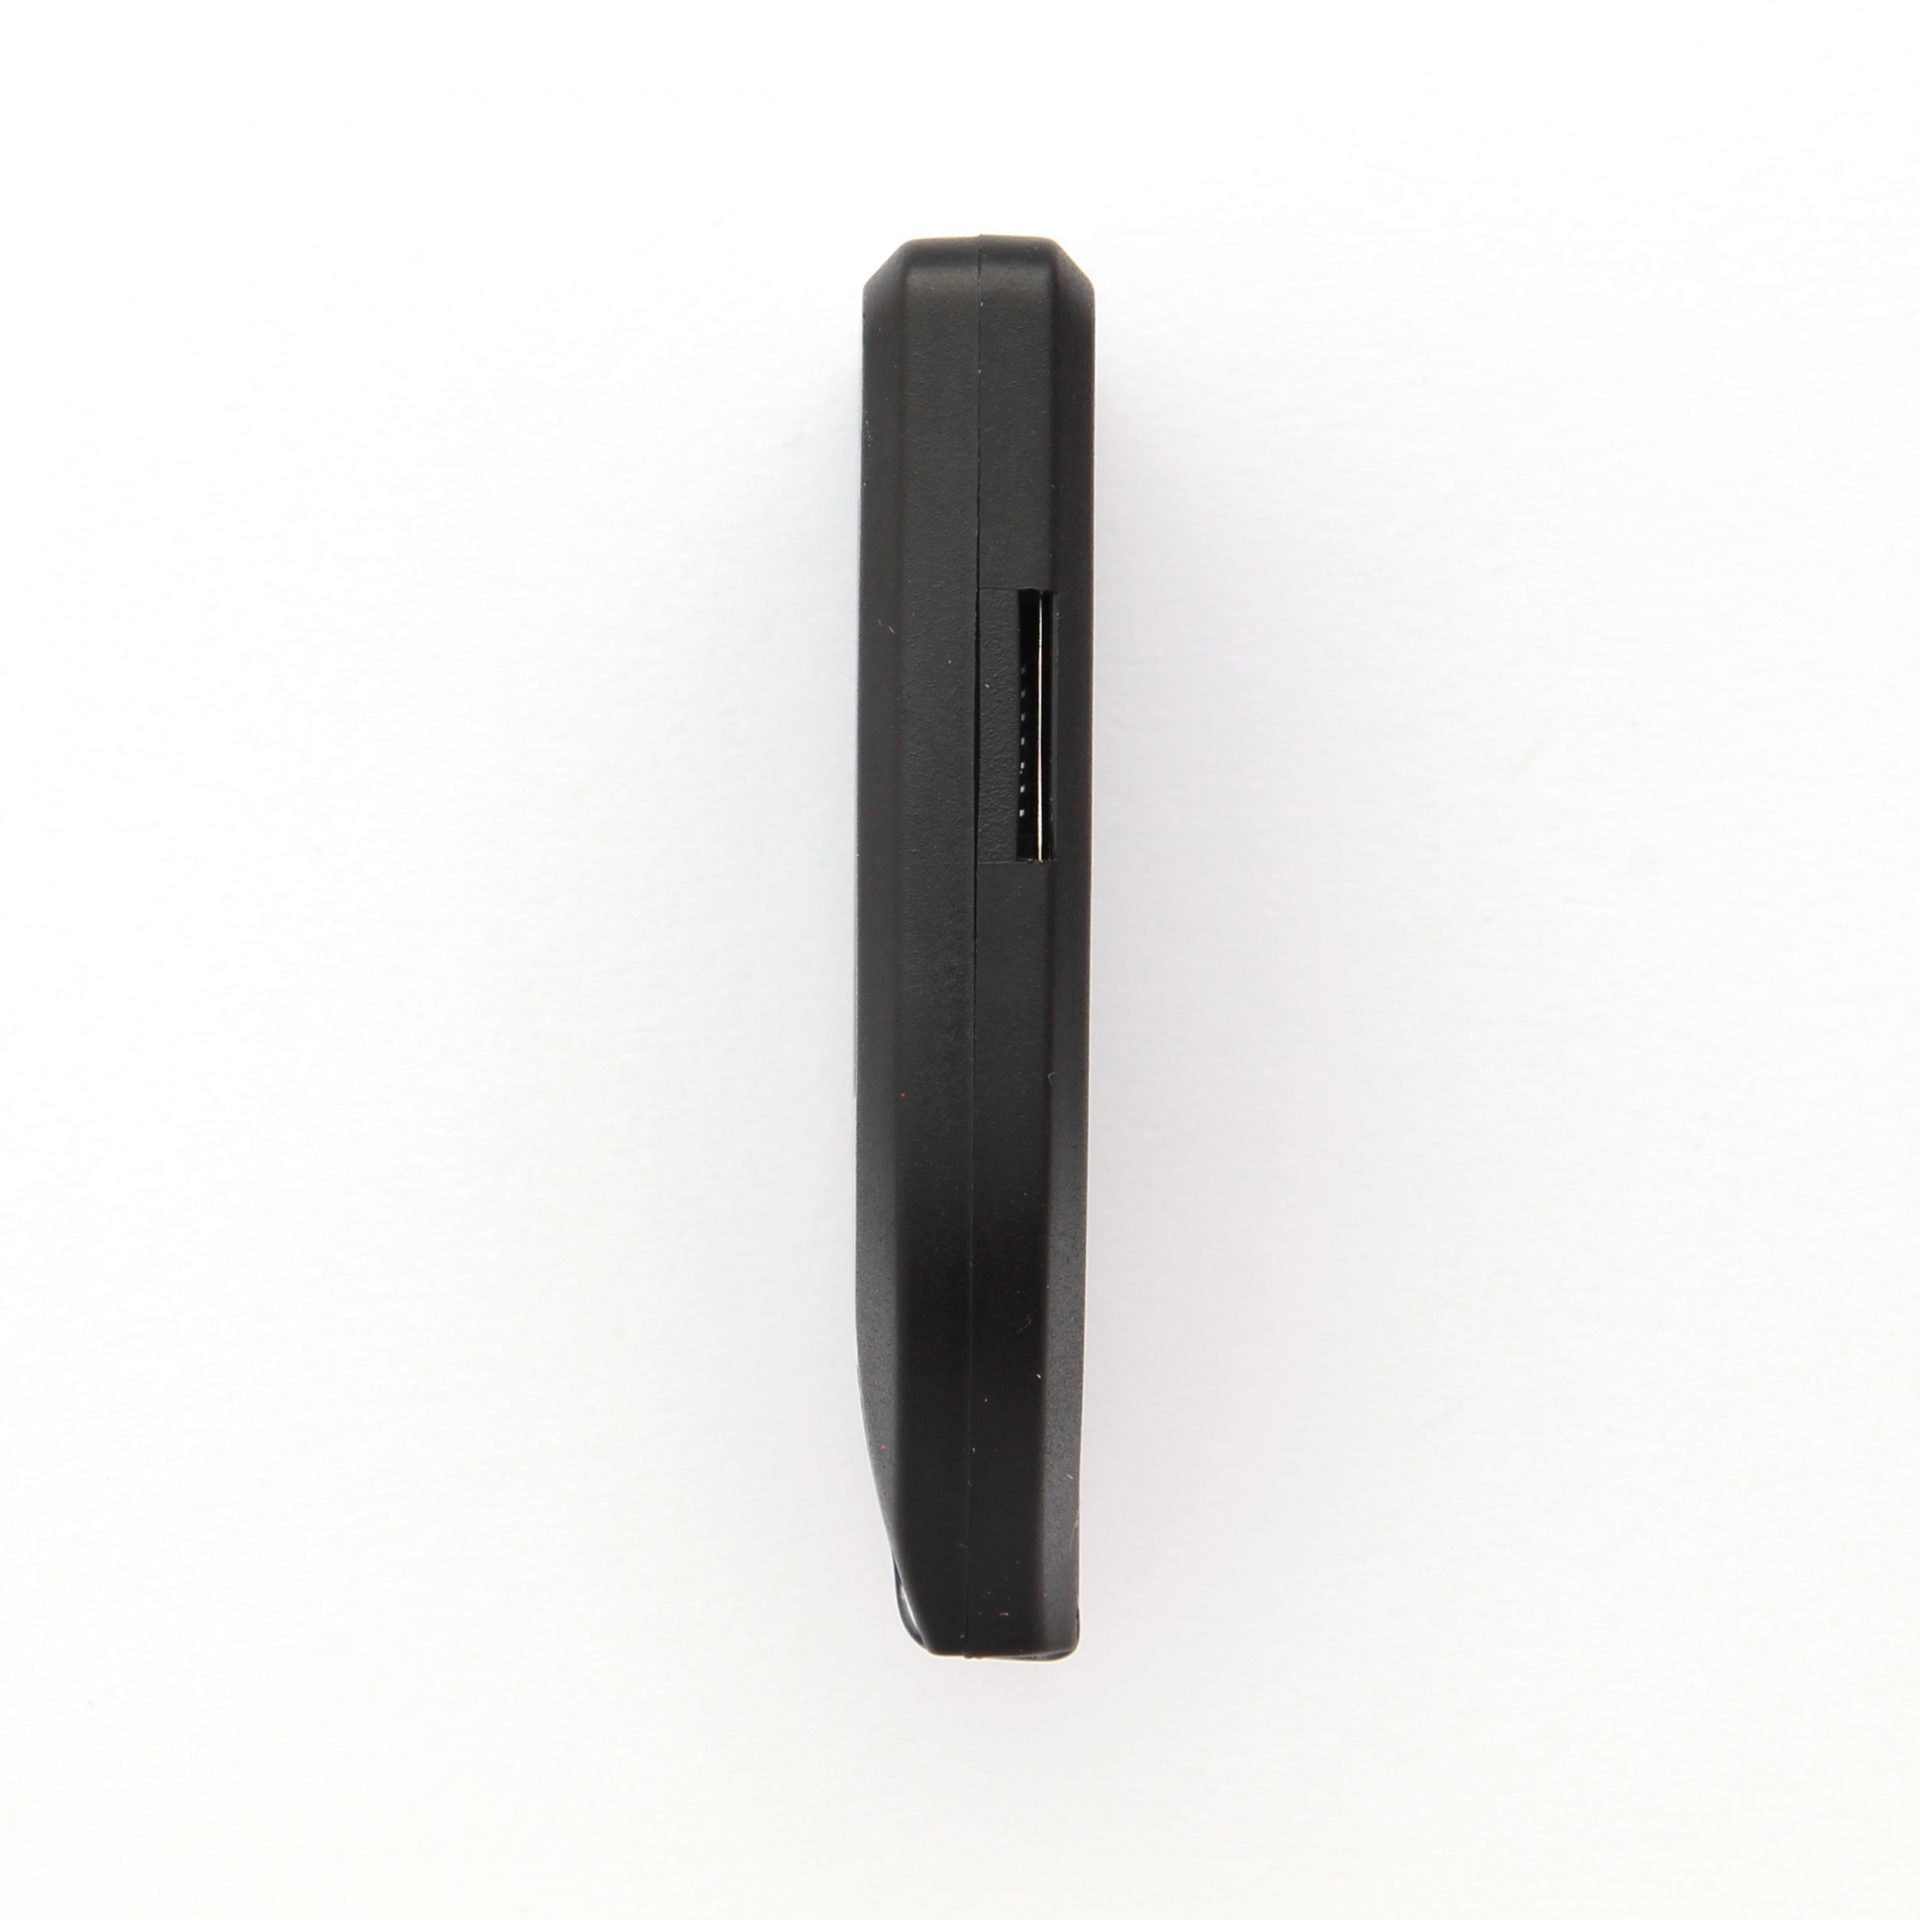
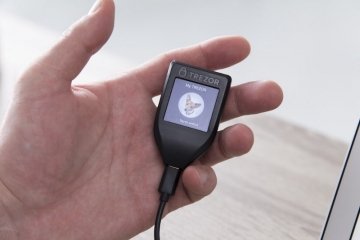
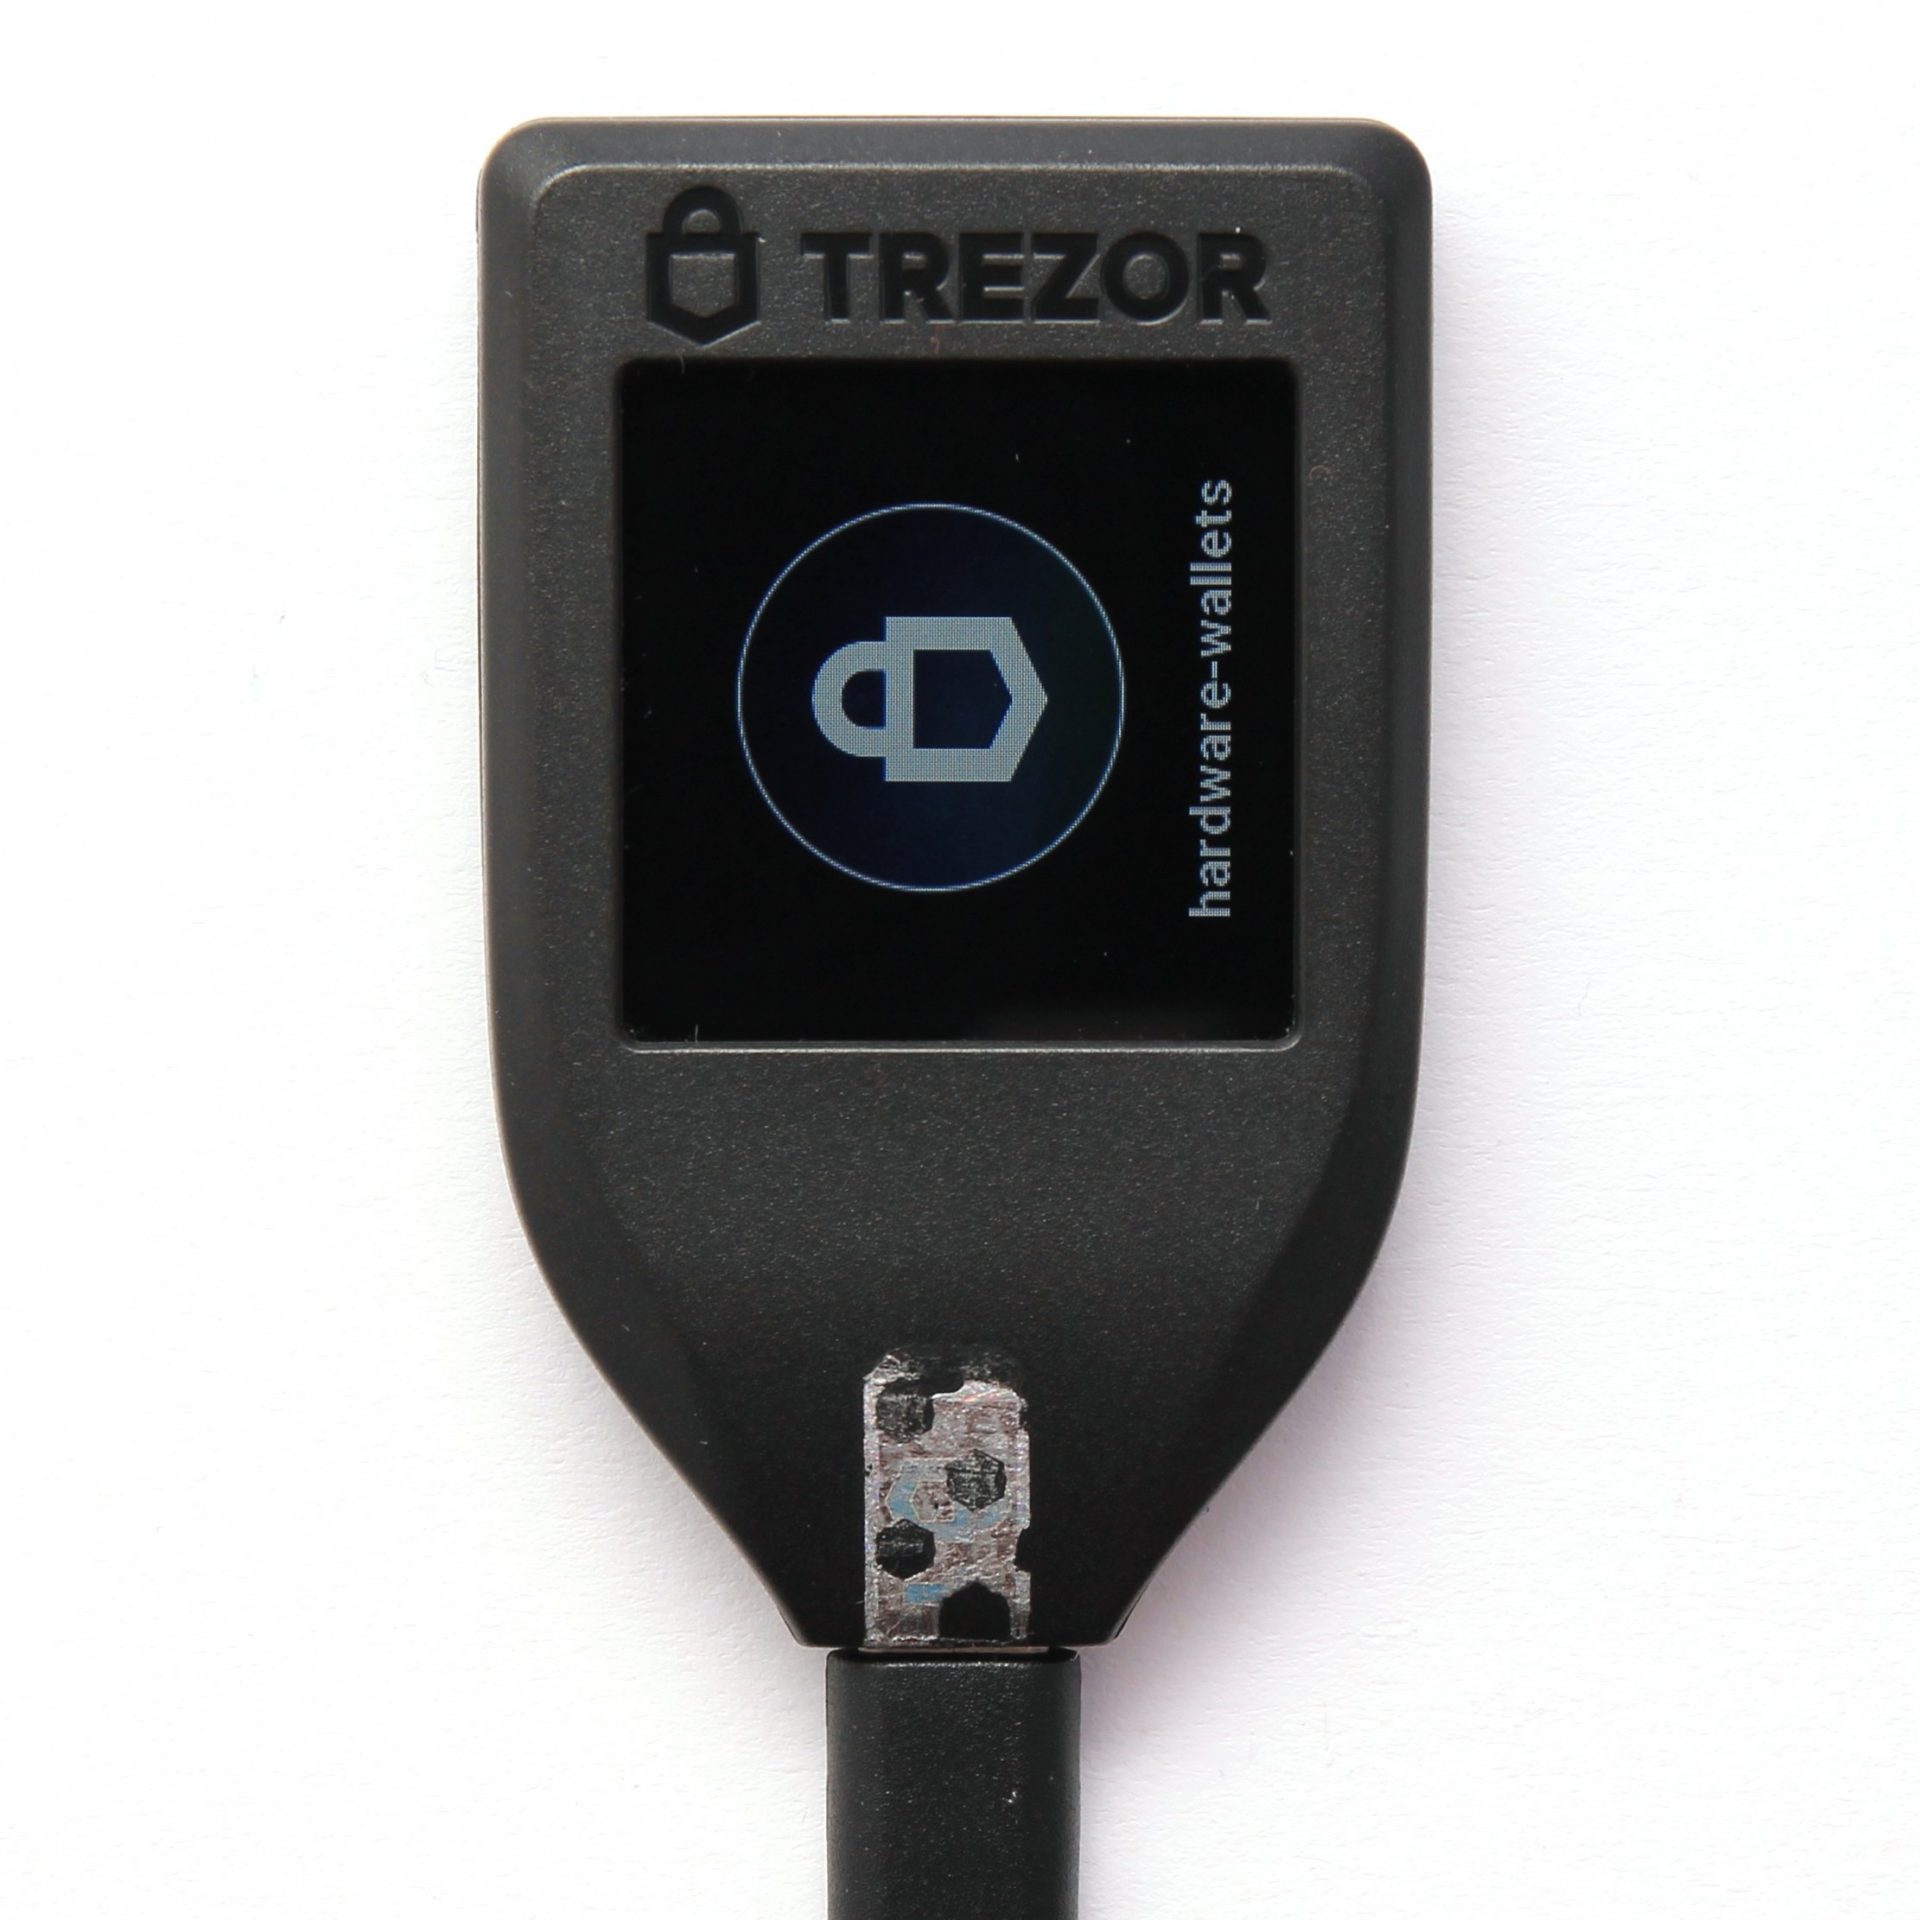
If you take the device into your hand, it already makes a valuable impression due to its weight of 15g. With a size of 64x39x10mm it is also slightly larger than its predecessor TREZOR One. This is of course due to the 240×240 pixel RGB LCD color touchscreen on the front panel. Above the display is the TREZOR logo.
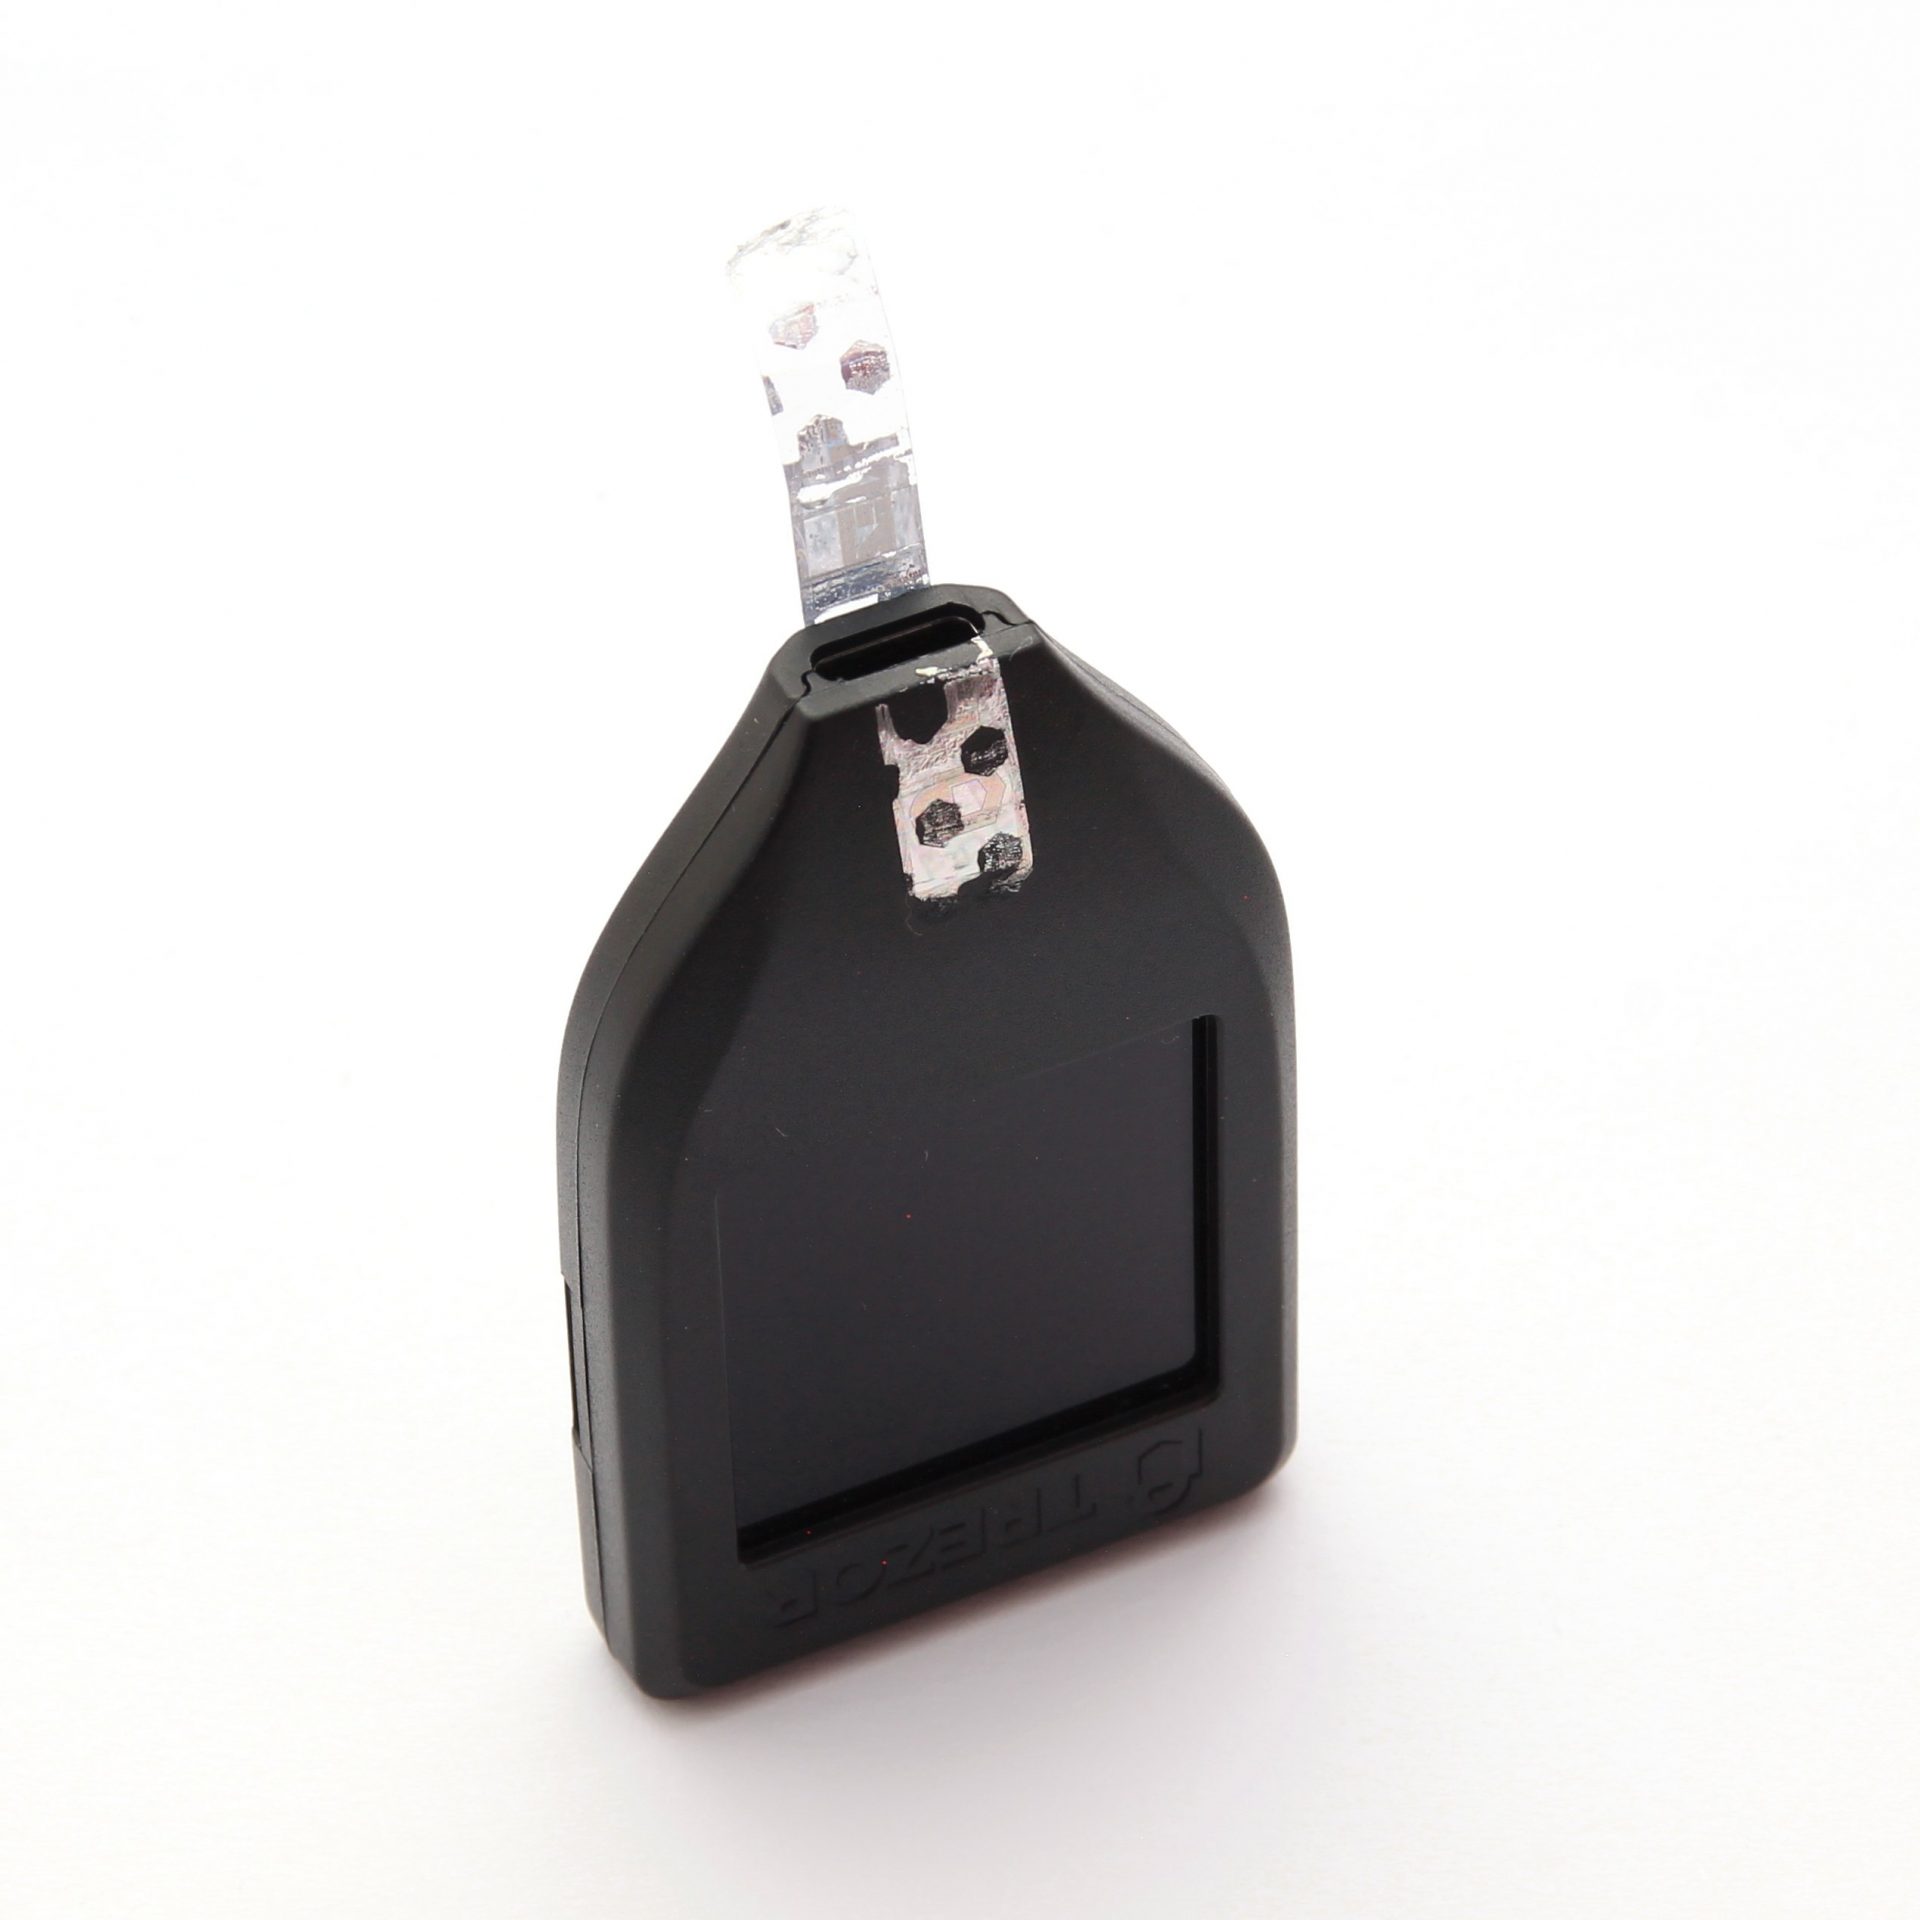
A female USB-C port with USB 2.0 is integrated on the underside, which is hidden under a hologram seal. The hologram should sit firmly over the USB-C port of the TREZOR. Once removed, it leaves traces on the device that are difficult or even impossible to remove.
On the right side there is another interface for a microSD card. This allows developers to install the bootloader manually. In the future, this interface will also be used for daily tasks with a new firmware. It is then imaginable to save the labeling on the SD card instead of uploading it encrypted to Dropbox (more later) or to sign files via SD card with a private key.
The Accessories
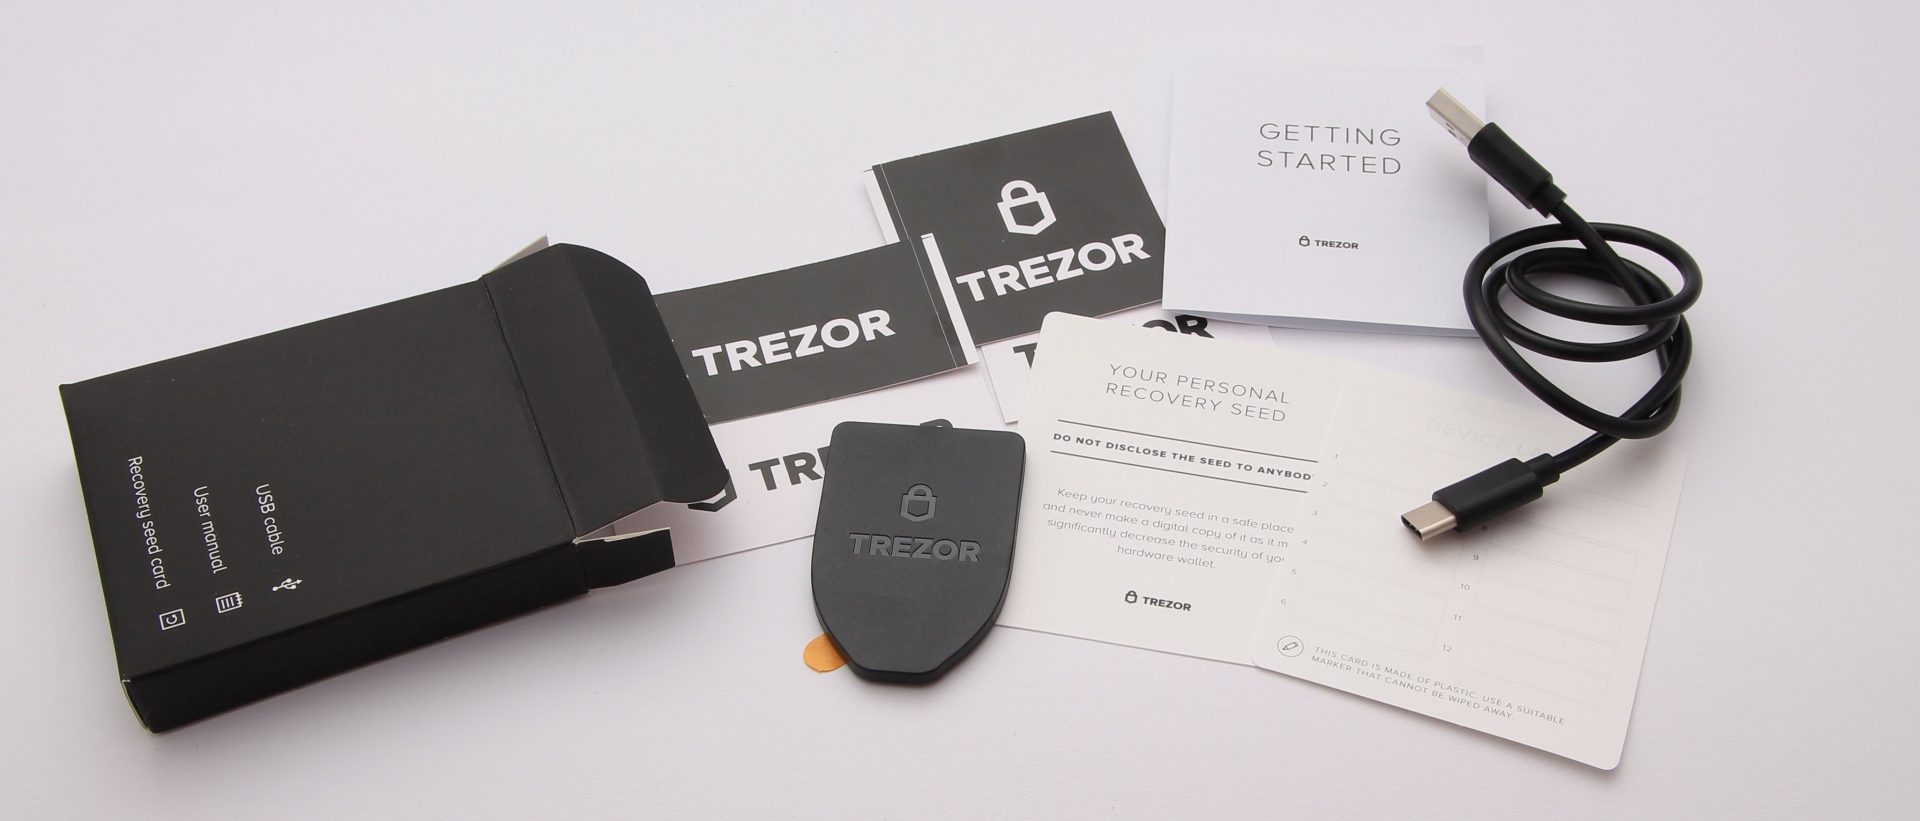
all accessories are in an extra box, except the magnetic holder
The USB-C cable and other accessories are located in the black box next to the device. To do this, take the accessory box out of the carton and open it. In addition to the 50cm long cable, here is also the guide “Getting Started” and two cards for recording the recovery seed (backup). Of course they are stickers included again.
But that’s not all! Because the black piece of plastic under the TREZOR Model T has a second purpose: it is a kind of magnetic holder for the new hardware wallet. The double-sided adhesive tape on the reverse side can be glued to any firm base. Thanks to the magnetism, you can now dock the TREZOR Model T there and see the screen at any time.
First Impression: Conclusion
In my opinion, TREZOR has made good progress with the new packaging and has given it more thought. The lighter design is much more appealing and the content is also better organized. The use of magnets to close the lid immediately makes a valuable impression.
At first glance, the TREZOR Model T hardware wallet is more robust than its predecessor. Here I particularly like the fact that a USB-C connection is set. The residues of the seal are annoying, as they are difficult or impossible to remove from the hardware wallet. With regard to the additional security I can bear it. In addition, my test model did not have a spring in the MicroSD card slot, so that the SD card disappeared in the slot and could only be removed with the help of needles.
The included docking station is a nice accessory, because you can hang the TREZOR T in its field of vision.
How to Set-Up TREZOR Model T
Never use a hardware wallet that is already set up. You must choose your own PIN code or password and do the backup yourself. This is not given by anyone!
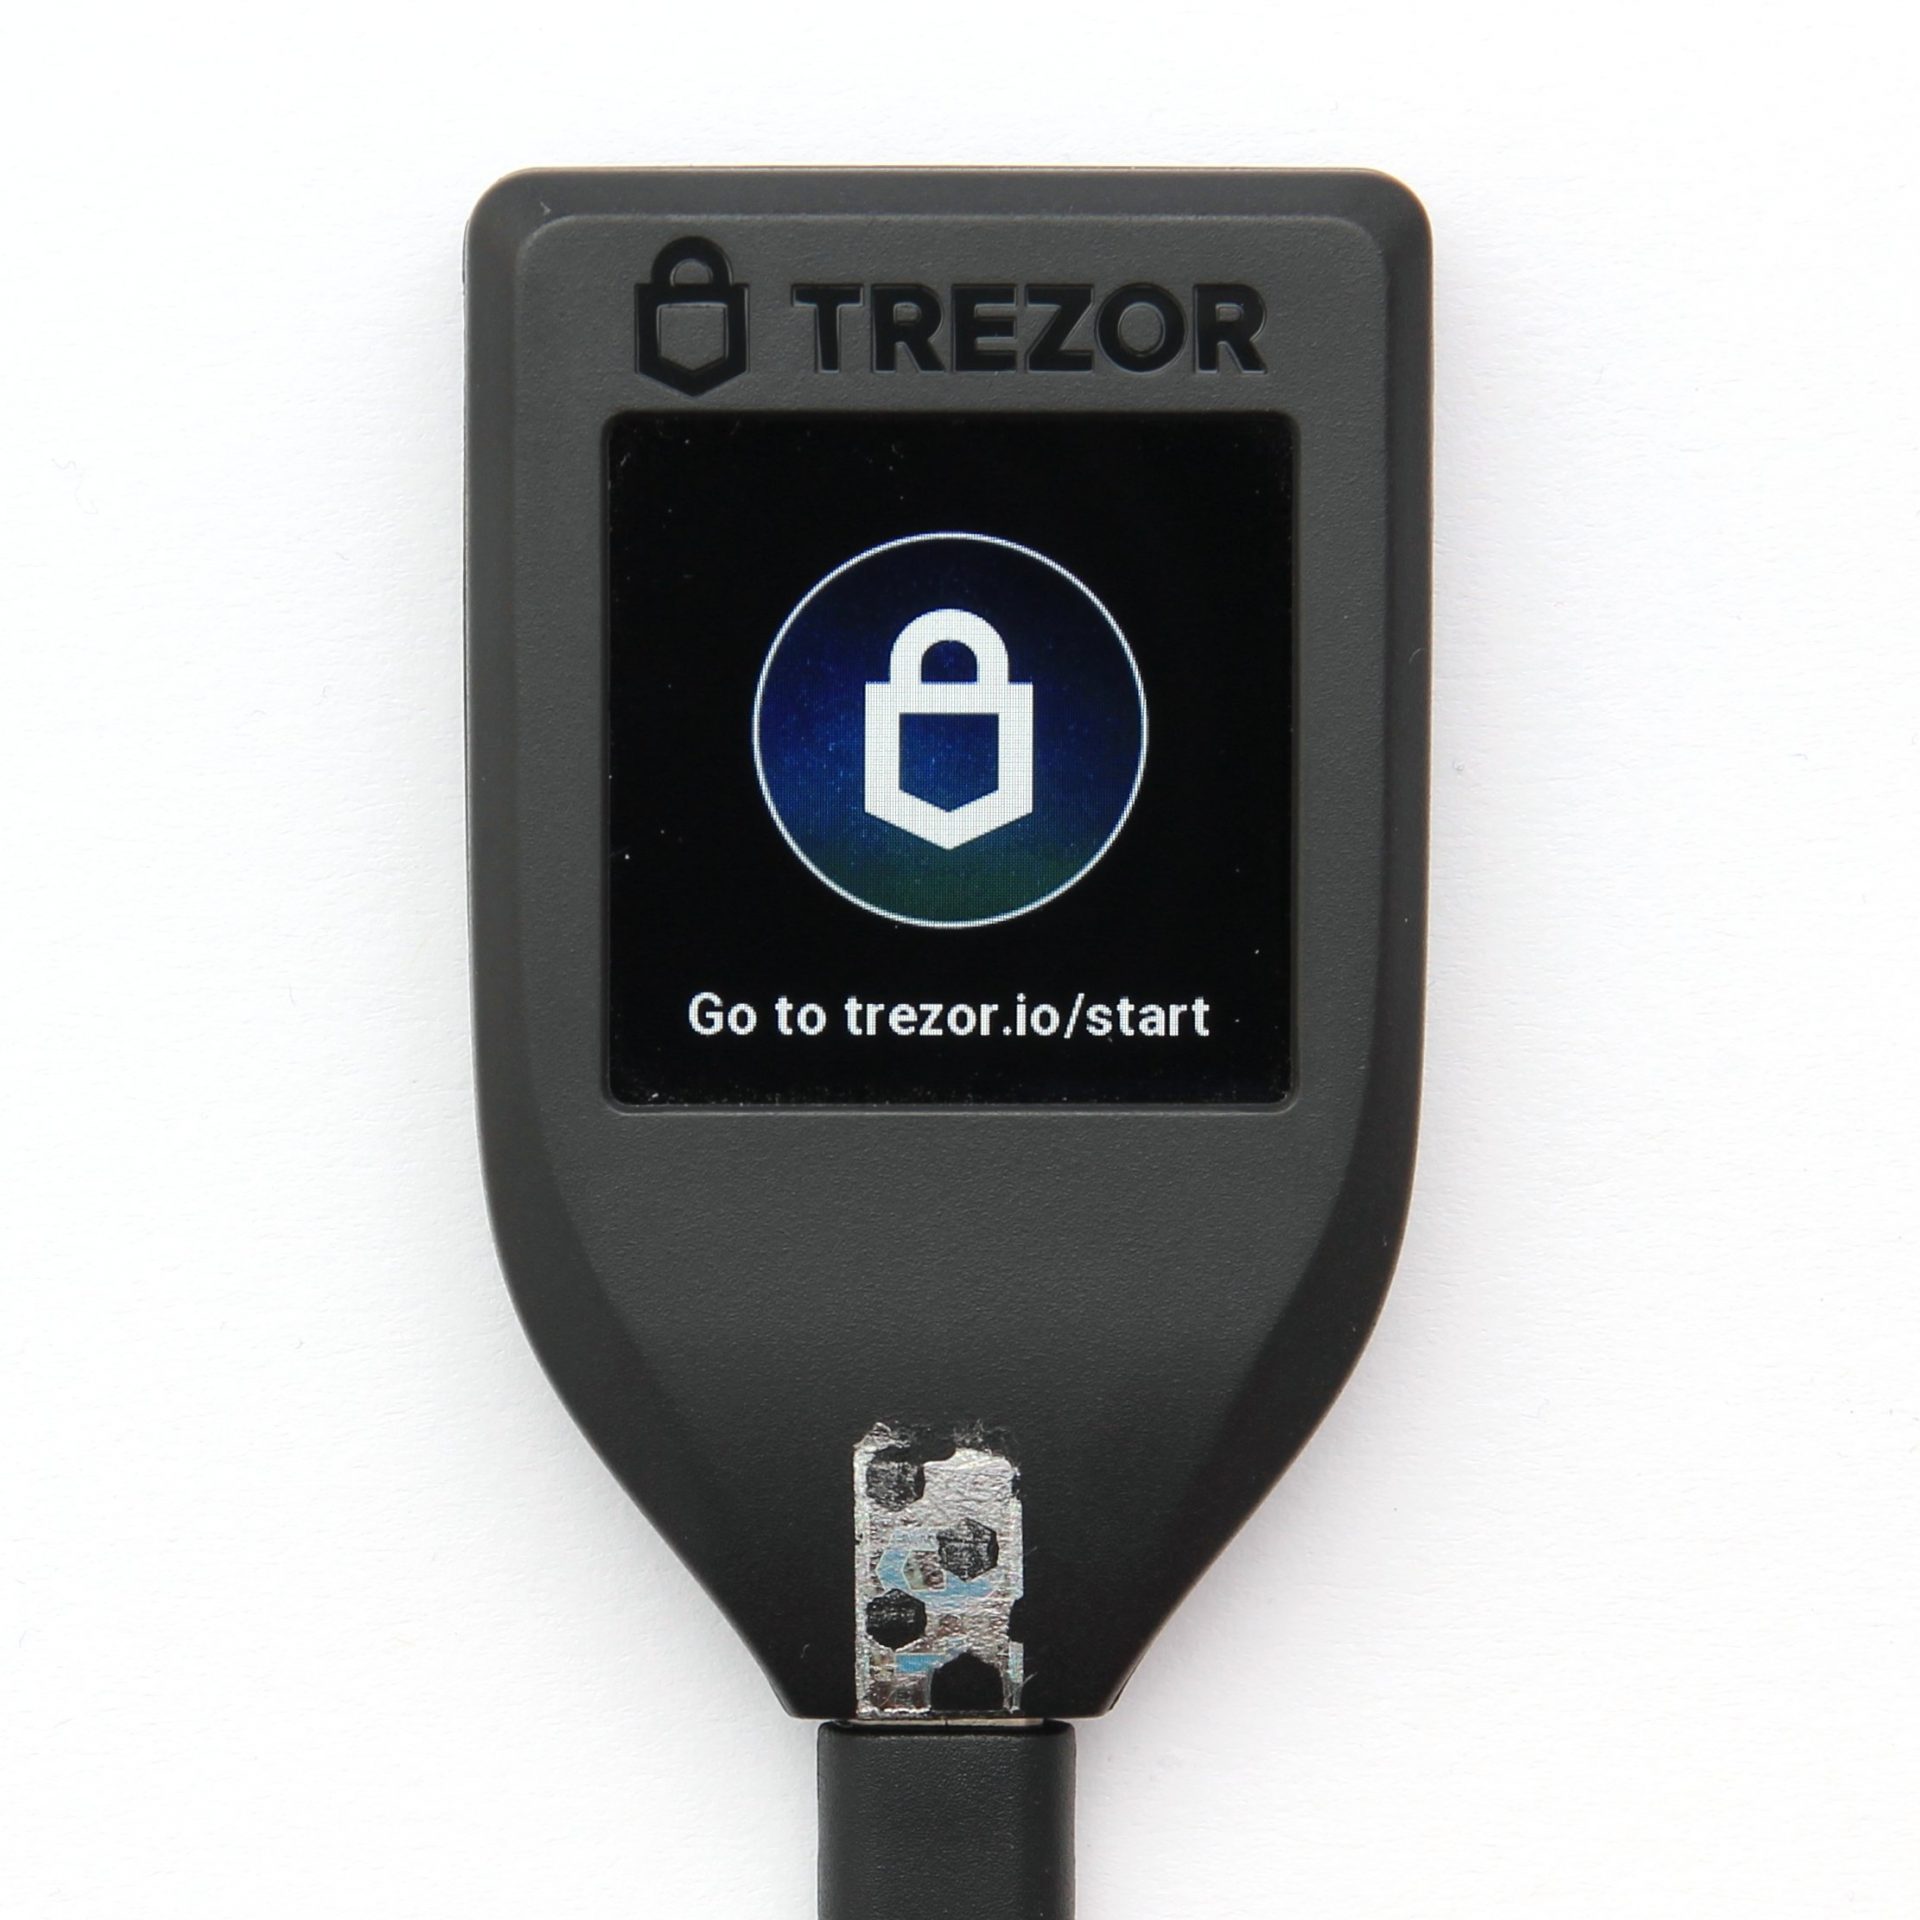
The TREZOR Model T must first be connected to a computer as indicated on the packaging and in the Quick Start Guide. The display of the hardware wallet then also shows a welcome message and the instruction to go to the trezor.io/start website.
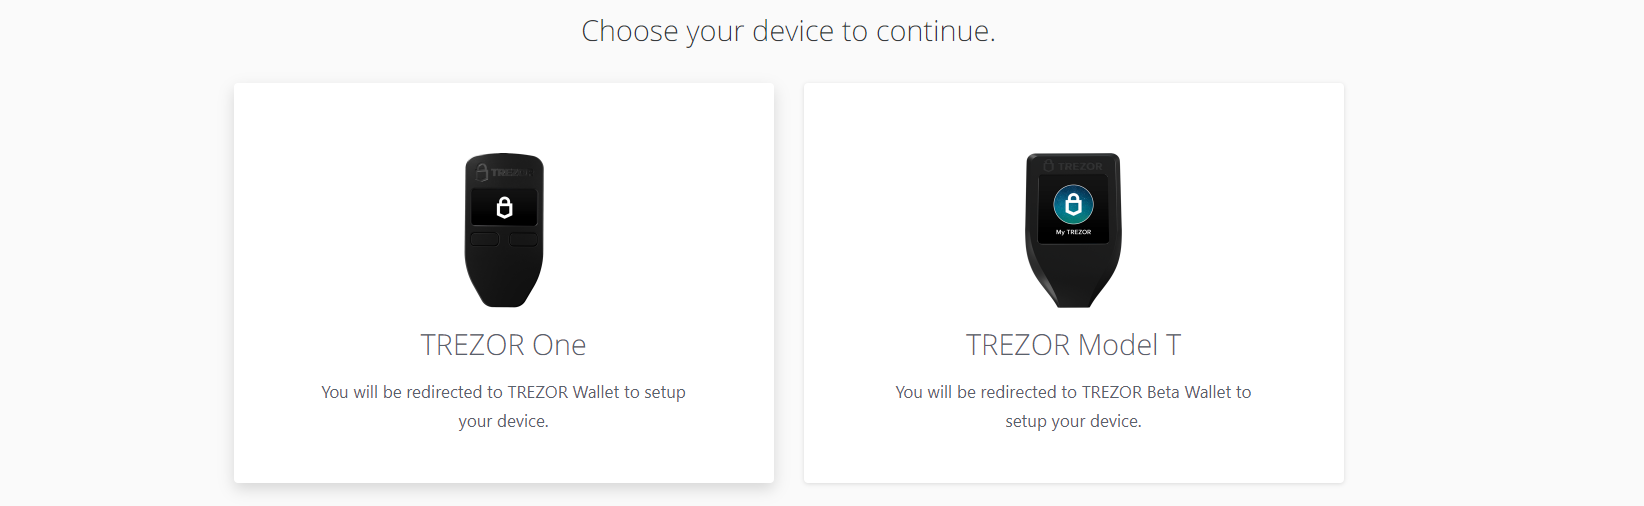
TREZOR Model T must be selected on trezor.io/start
Now select the TREZOR Model T and continue with the setup.
Install the TREZOR Bridge
First, depending on the operating system, the appropriate TREZOR bridge must be downloaded. It is available for Windows, Mac OS and Linux.

TREZOR bridge enables the communication between wallet and hardware
This is the link between the computer and the hardware wallet. This is a software that runs in the background. Once the software is installed, the page needs to be reloaded. Now you will be automatically forwarded to TREZOR wallet.
Installing the Firmware
As soon as the TREZOR Wallet detects the device, it automatically offers to install the firmware for TREZOR Model T.
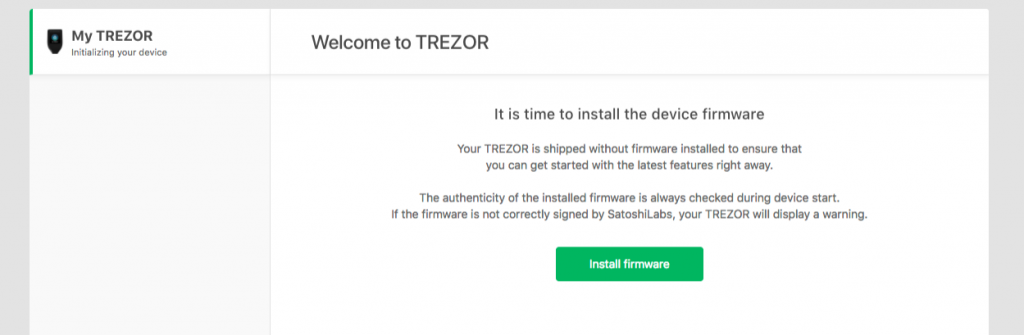
with the new TREZOR Model T, the firmware must be installed first
The TREZOR Model T is delivered without firmware. This ensures that the latest firmware is started immediately. In addition, the firmware is checked for authenticity at every startup. In addition, the firmware is checked for its authenticity every time it starts. If something has been tampered with, you are immediately warned. Click on the button to start the installation.

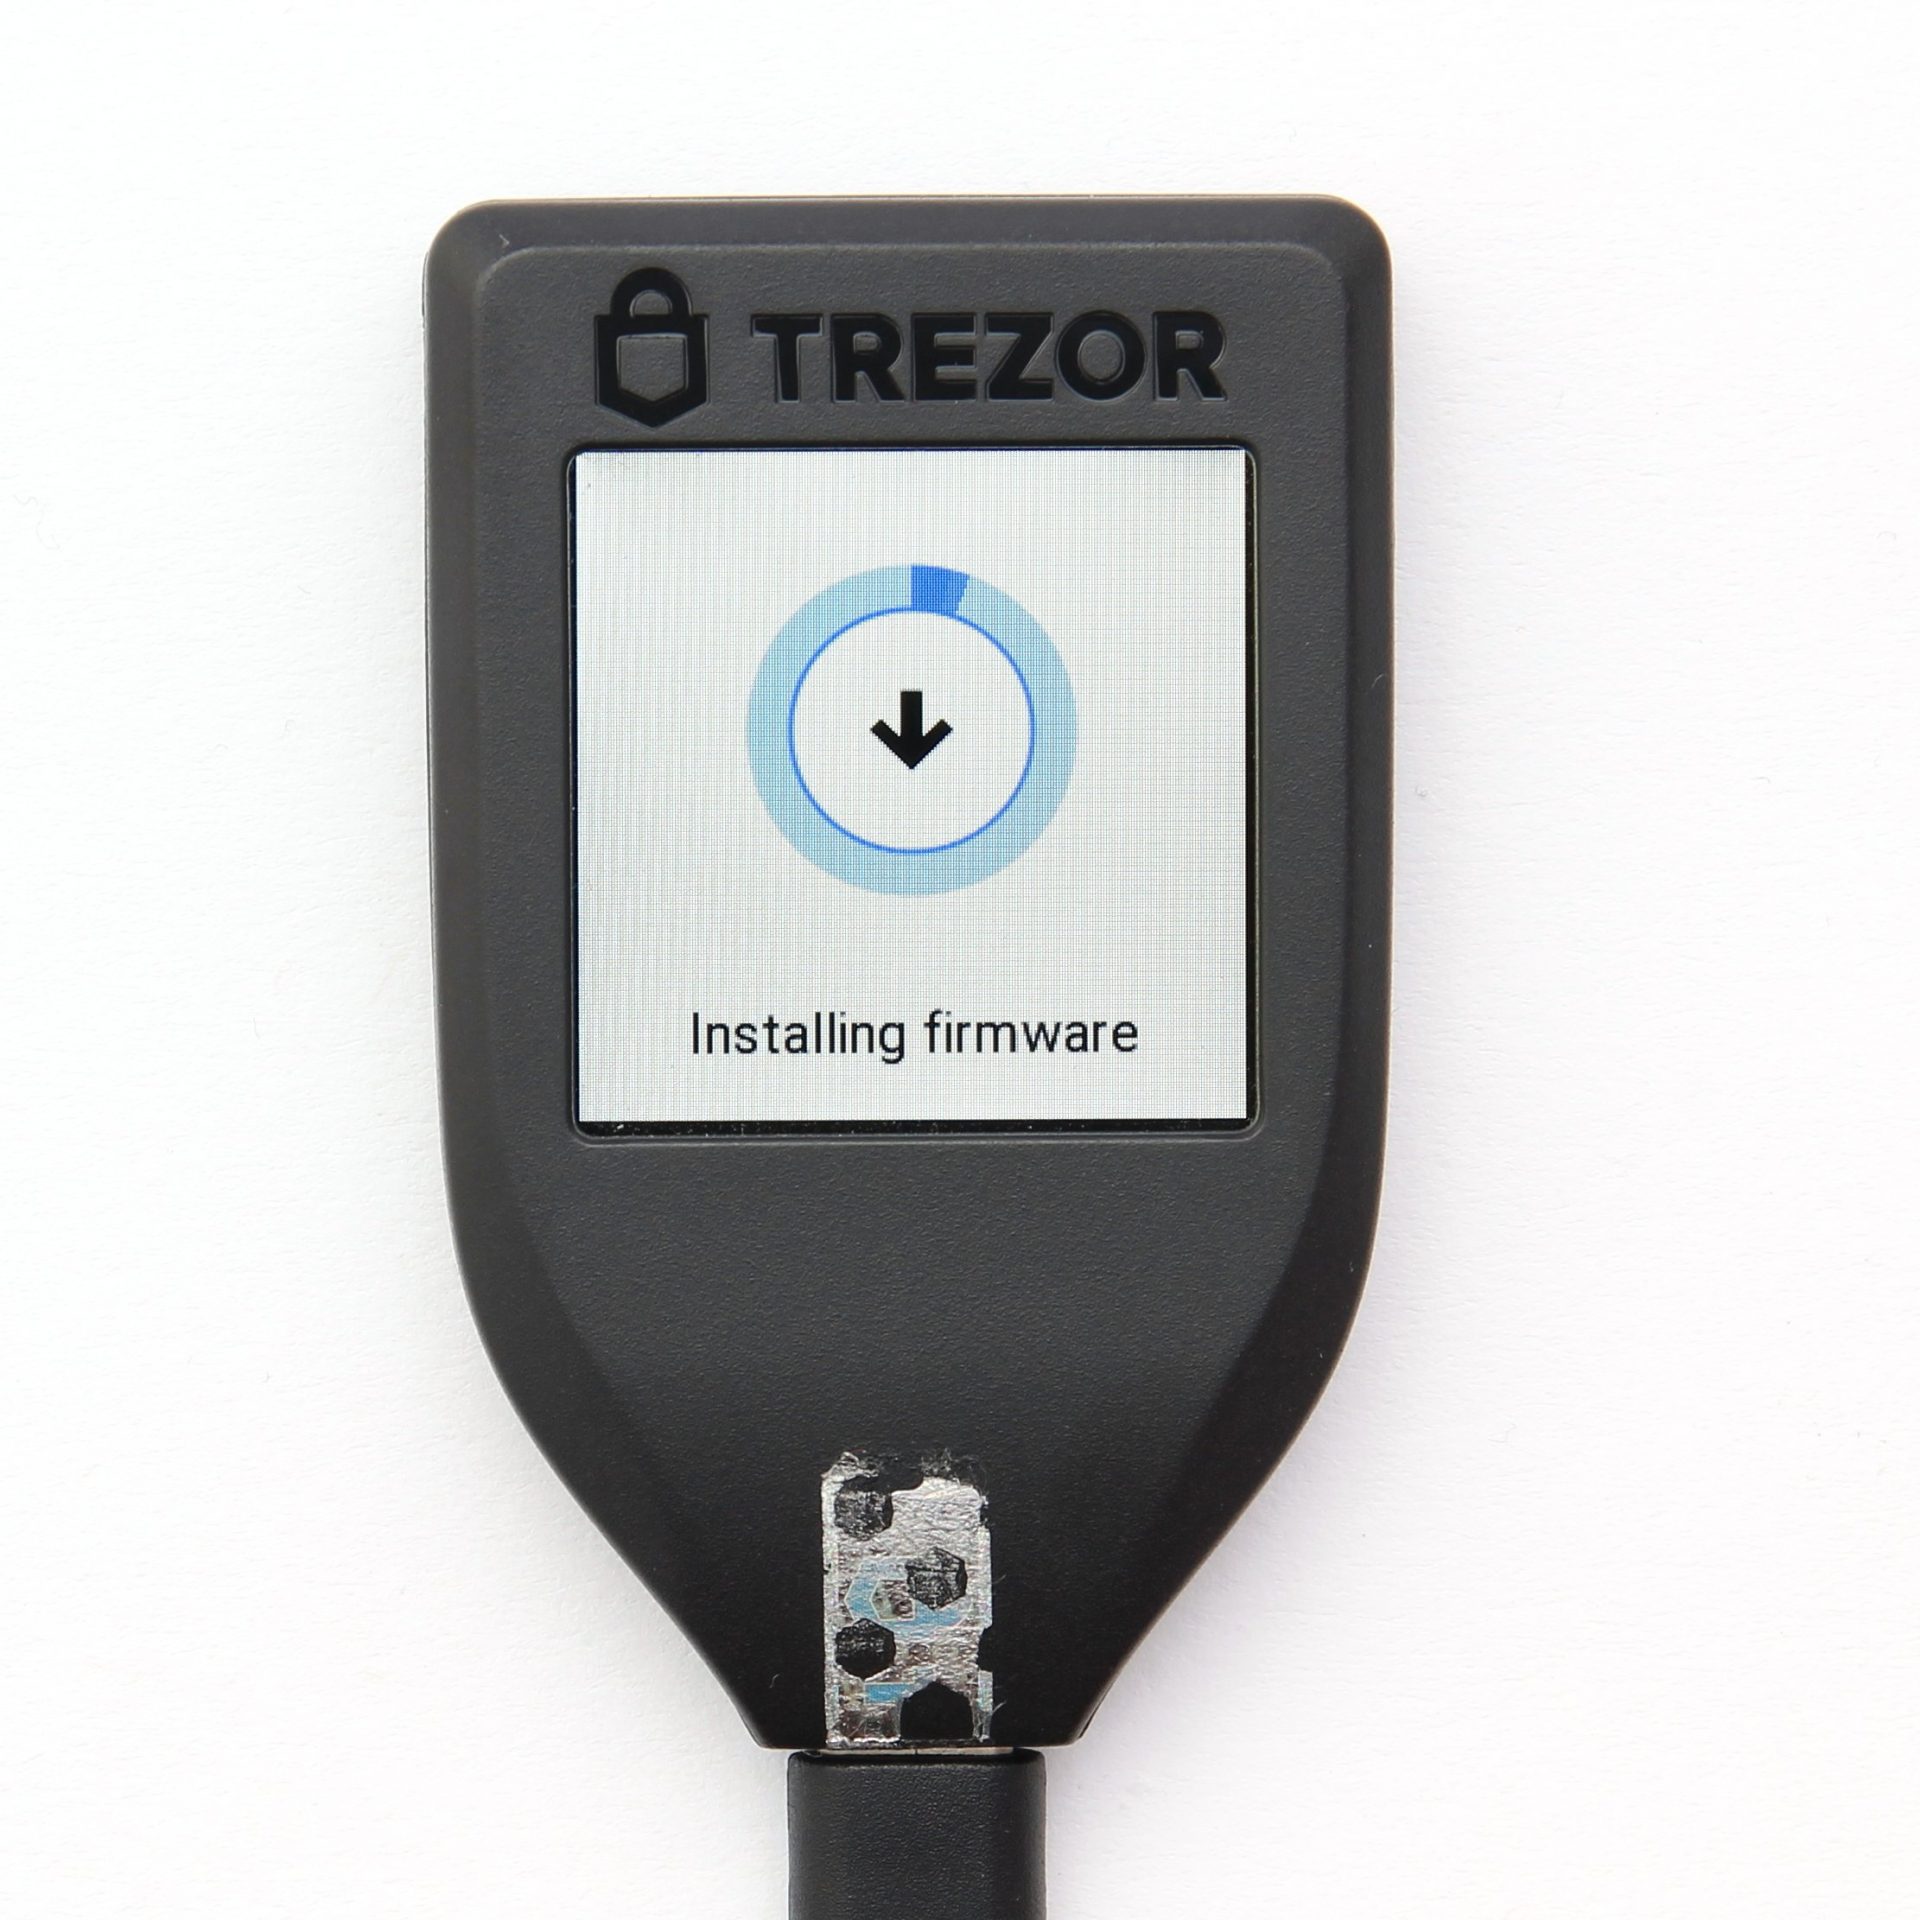
No interaction with the hardware wallet is required. The installation runs independently.
Create a new Wallet or import old Ones
Now you can either create a new wallet or import an existing one. The latter can be done to import any BIP39 Recovery Seed. For example, it is possible to switch from TREZOR One to the new model or from a competitor product such as the Ledger Nano S. However, it is recommended to generate a new wallet, unless there is no doubt that the previous one was safe.
To learn how to import an old wallet, see the Security section of this review. In the following a new wallet is generated.
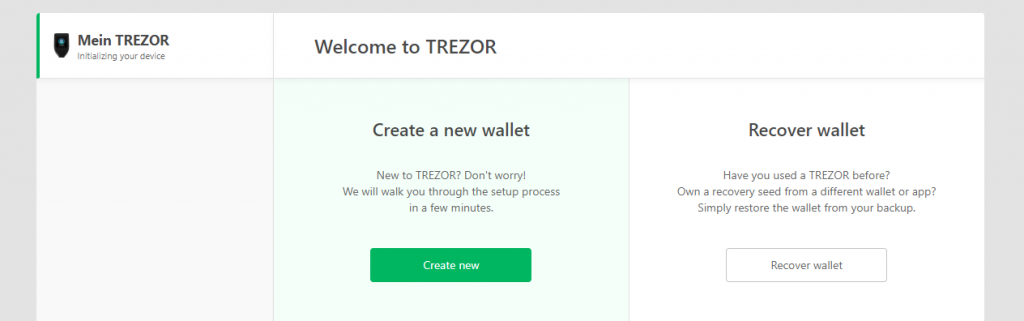
click the green button on the left to create a new wallet
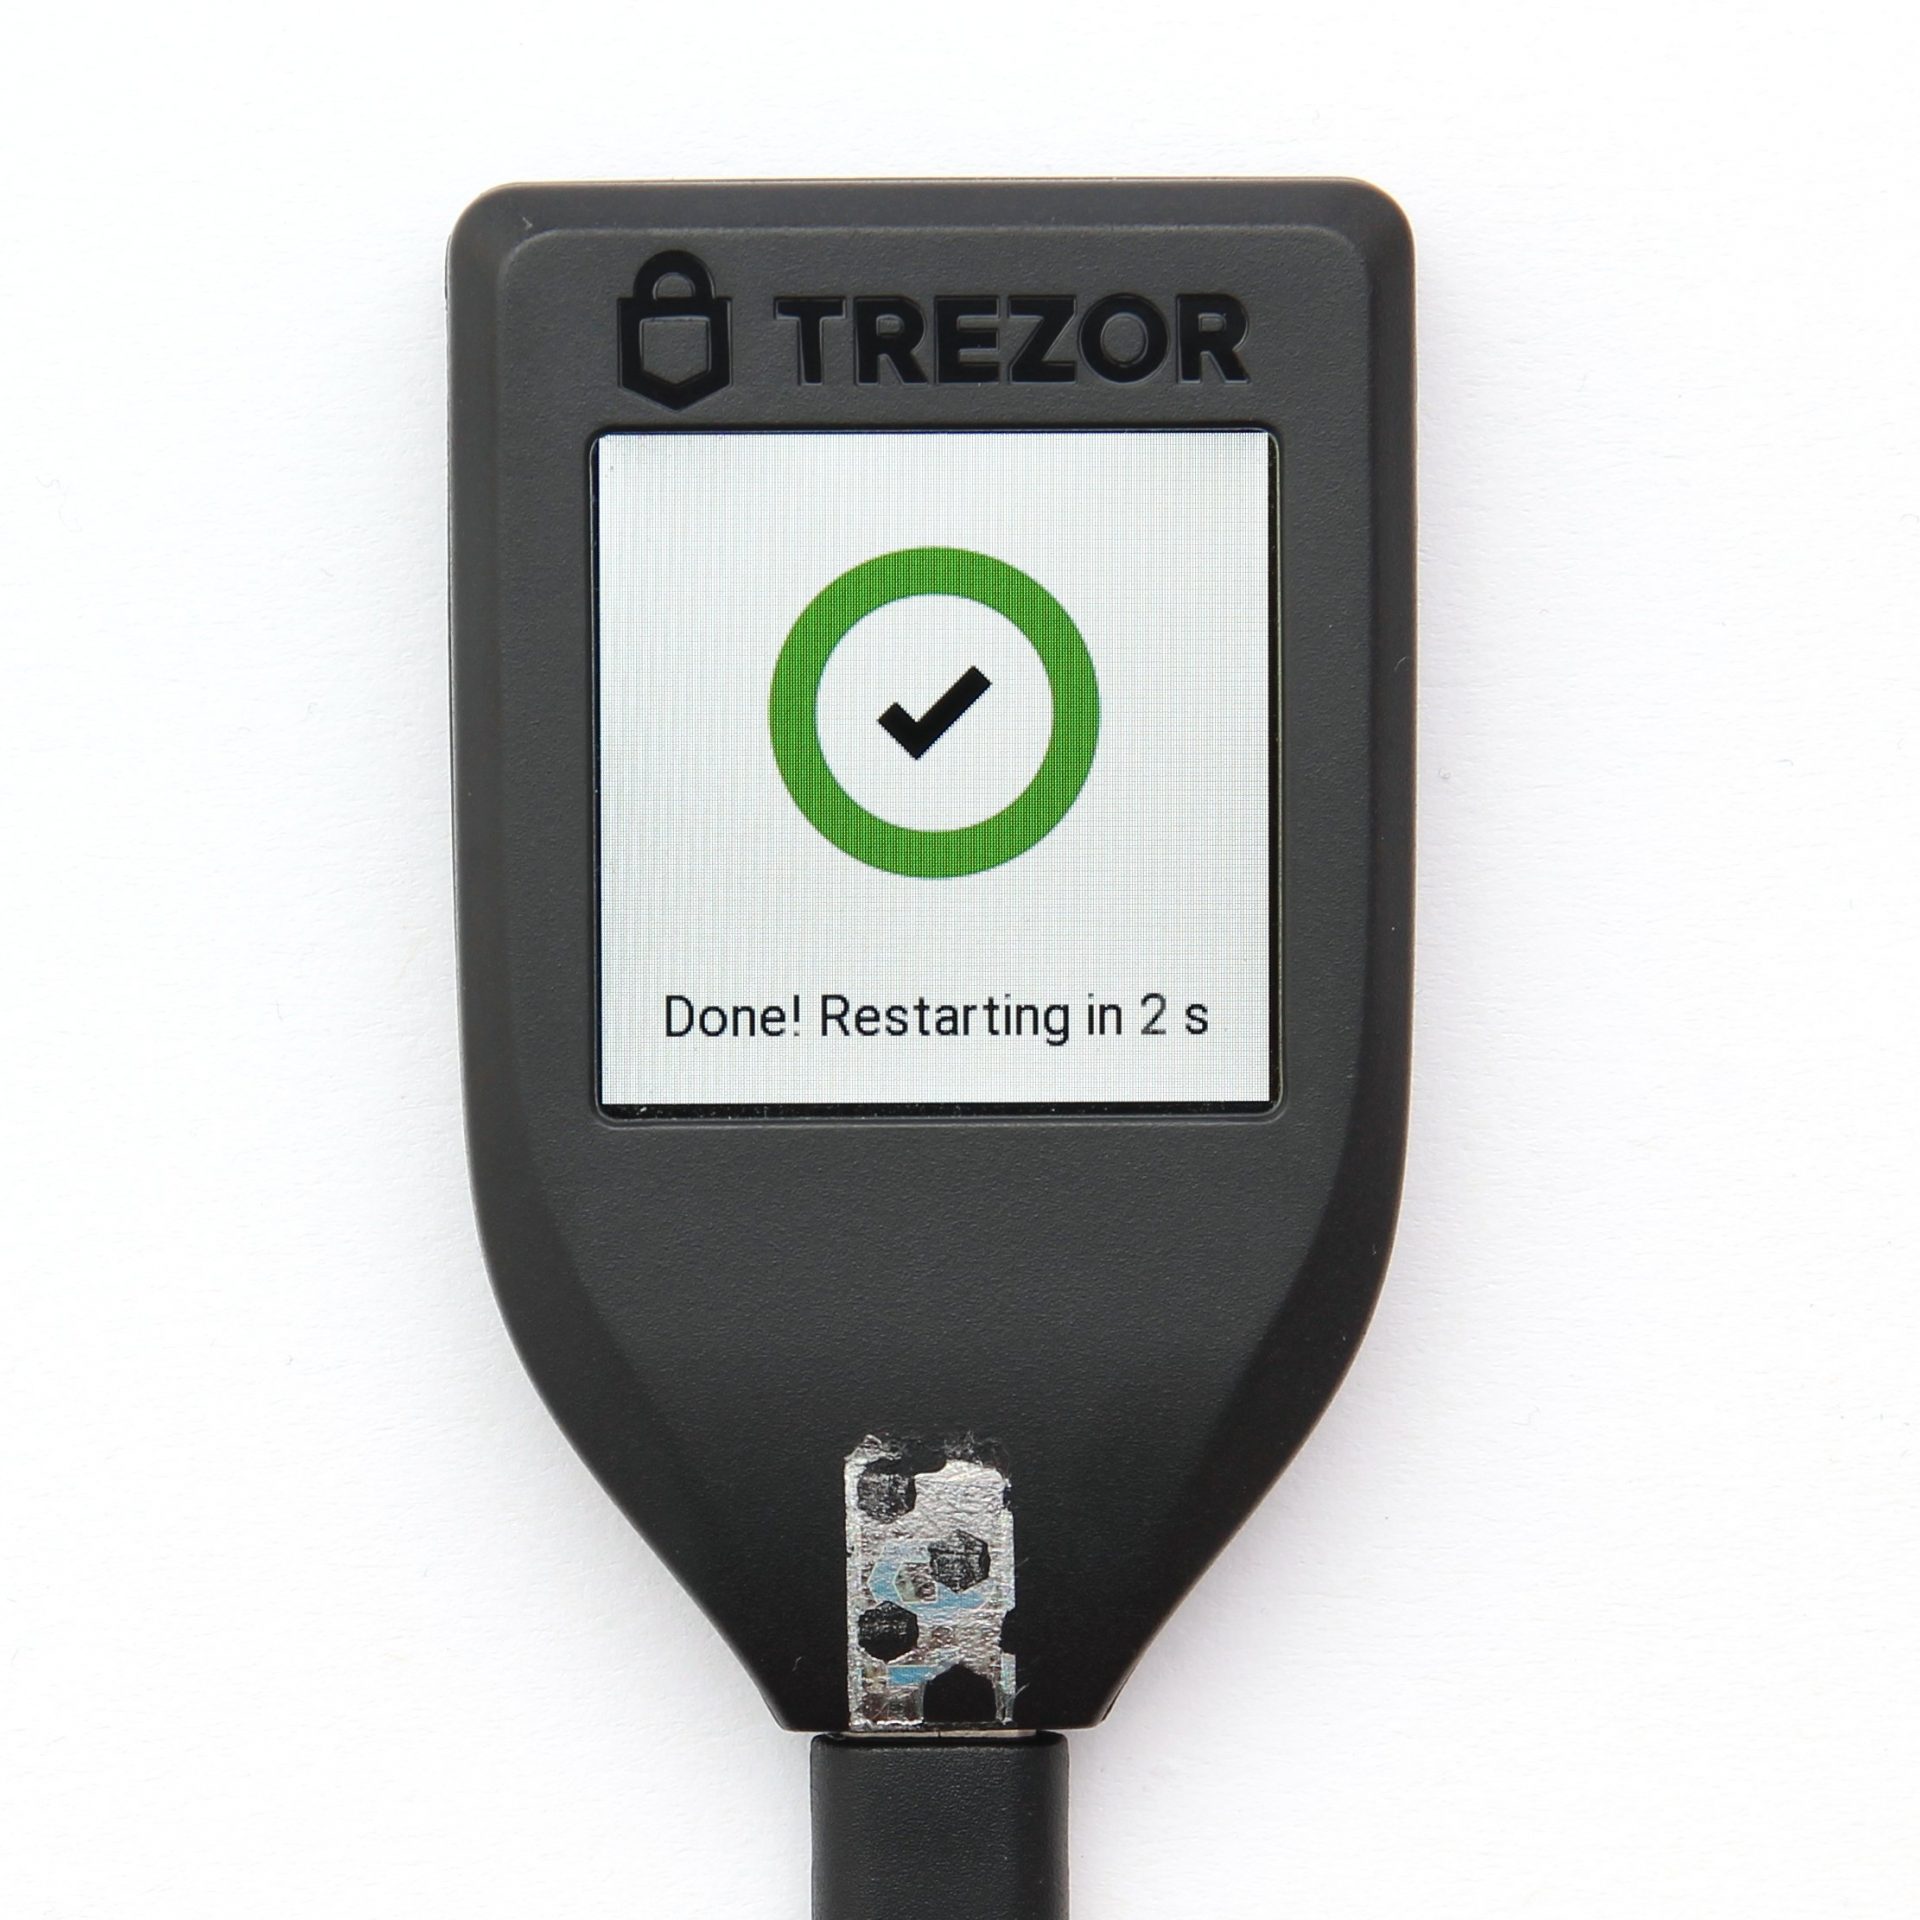
After clicking on “Create new”, the hardware wallet is ready for use after just a few seconds. However, there are still a few steps left to complete the setup process and make the hardware wallet secure.
Further Steps of the Setup Process
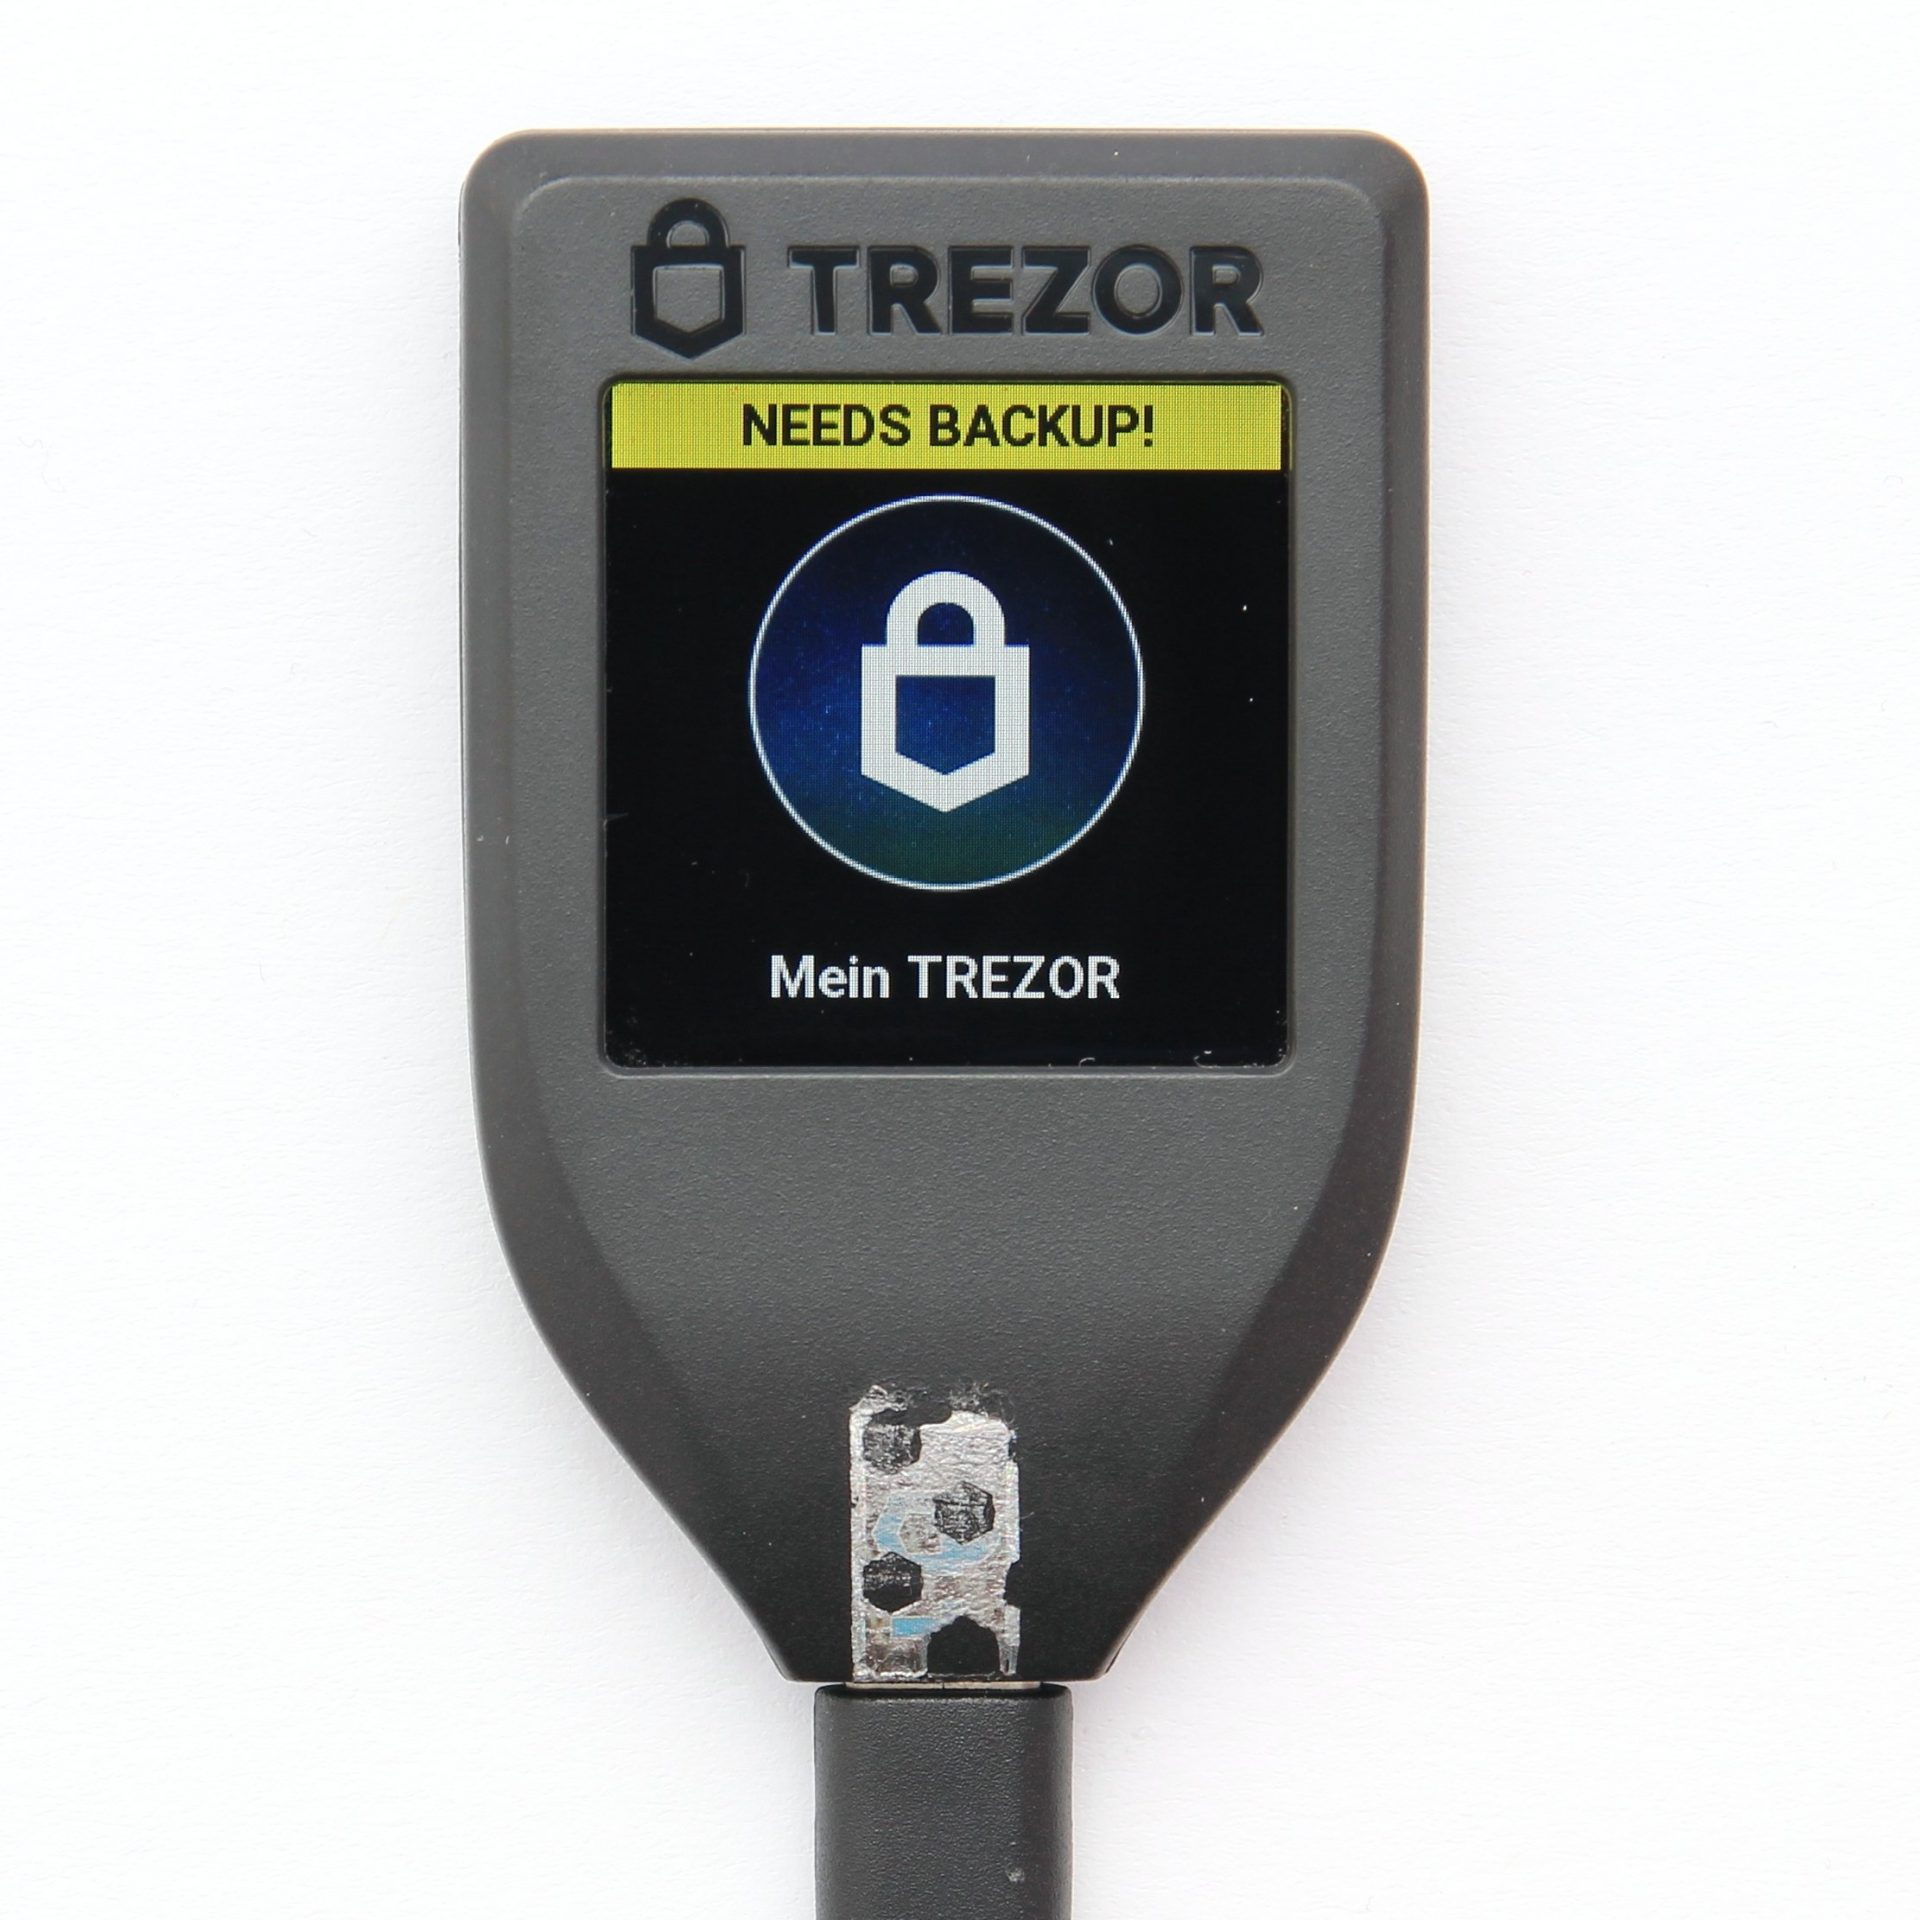
Both the TREZOR Wallet and the display of the hardware wallet now show a message that a backup is required.
Creating a Backup

The most important and first point of the setup process is of course the backup. This is created to prevent the loss of all coins in the event of a loss or defect in the TREZOR Model T hardware wallet. Because this backup can be imported into other hardware or software wallets and you get access to all cryptocurrencies again.
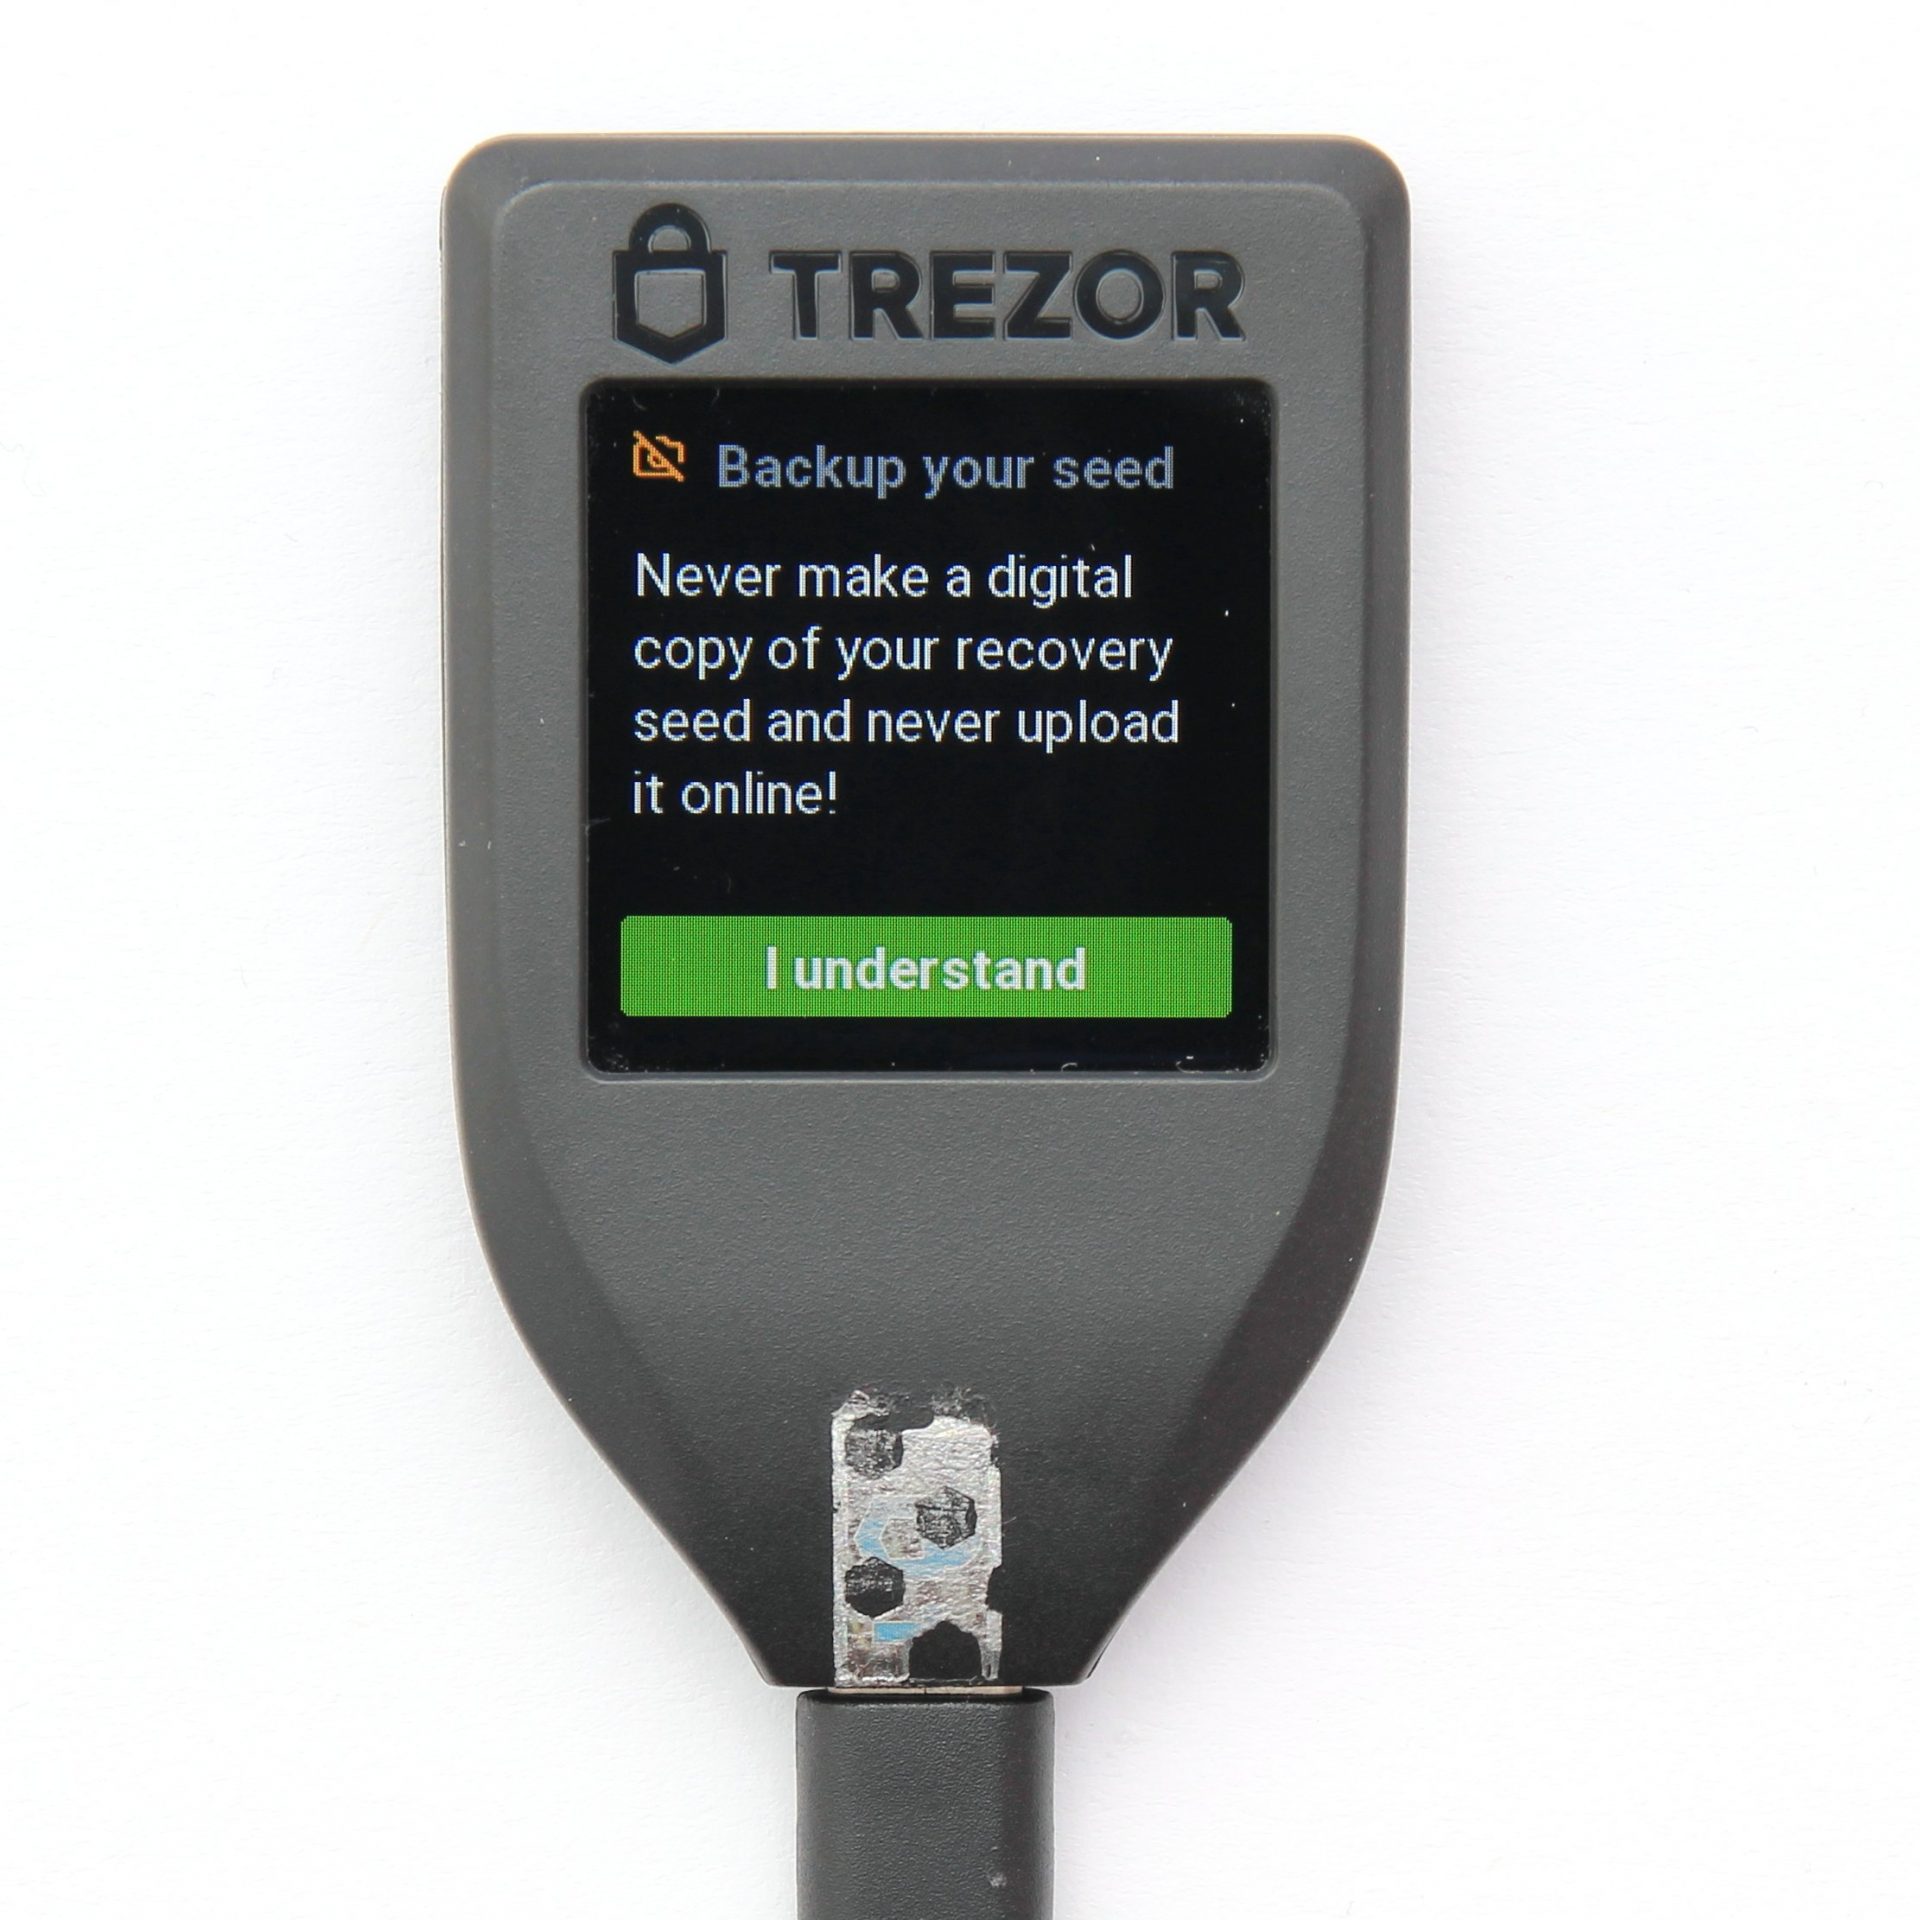
Your Recovery Seed is the backup key to all your cryptocurrencies and apps. The Recovery Seed (backup) can only be viewed once. Never make a digital copy of the Recovery Seed and never upload it online. Keep the Recovery Seed in a safe place, ideally also safe from fire and water. Special backup products, for example Billfodl are suitable for this.
No one but yourself can be held liable for any financial losses caused by improper handling of sensitive data.
To start the backup process, click “Create a backup in 3 minutes”. Afterwards, it is necessary to confirm that you have understood the importance of the recovery seed and that you have not photographed it or stored it digitally in any other way.
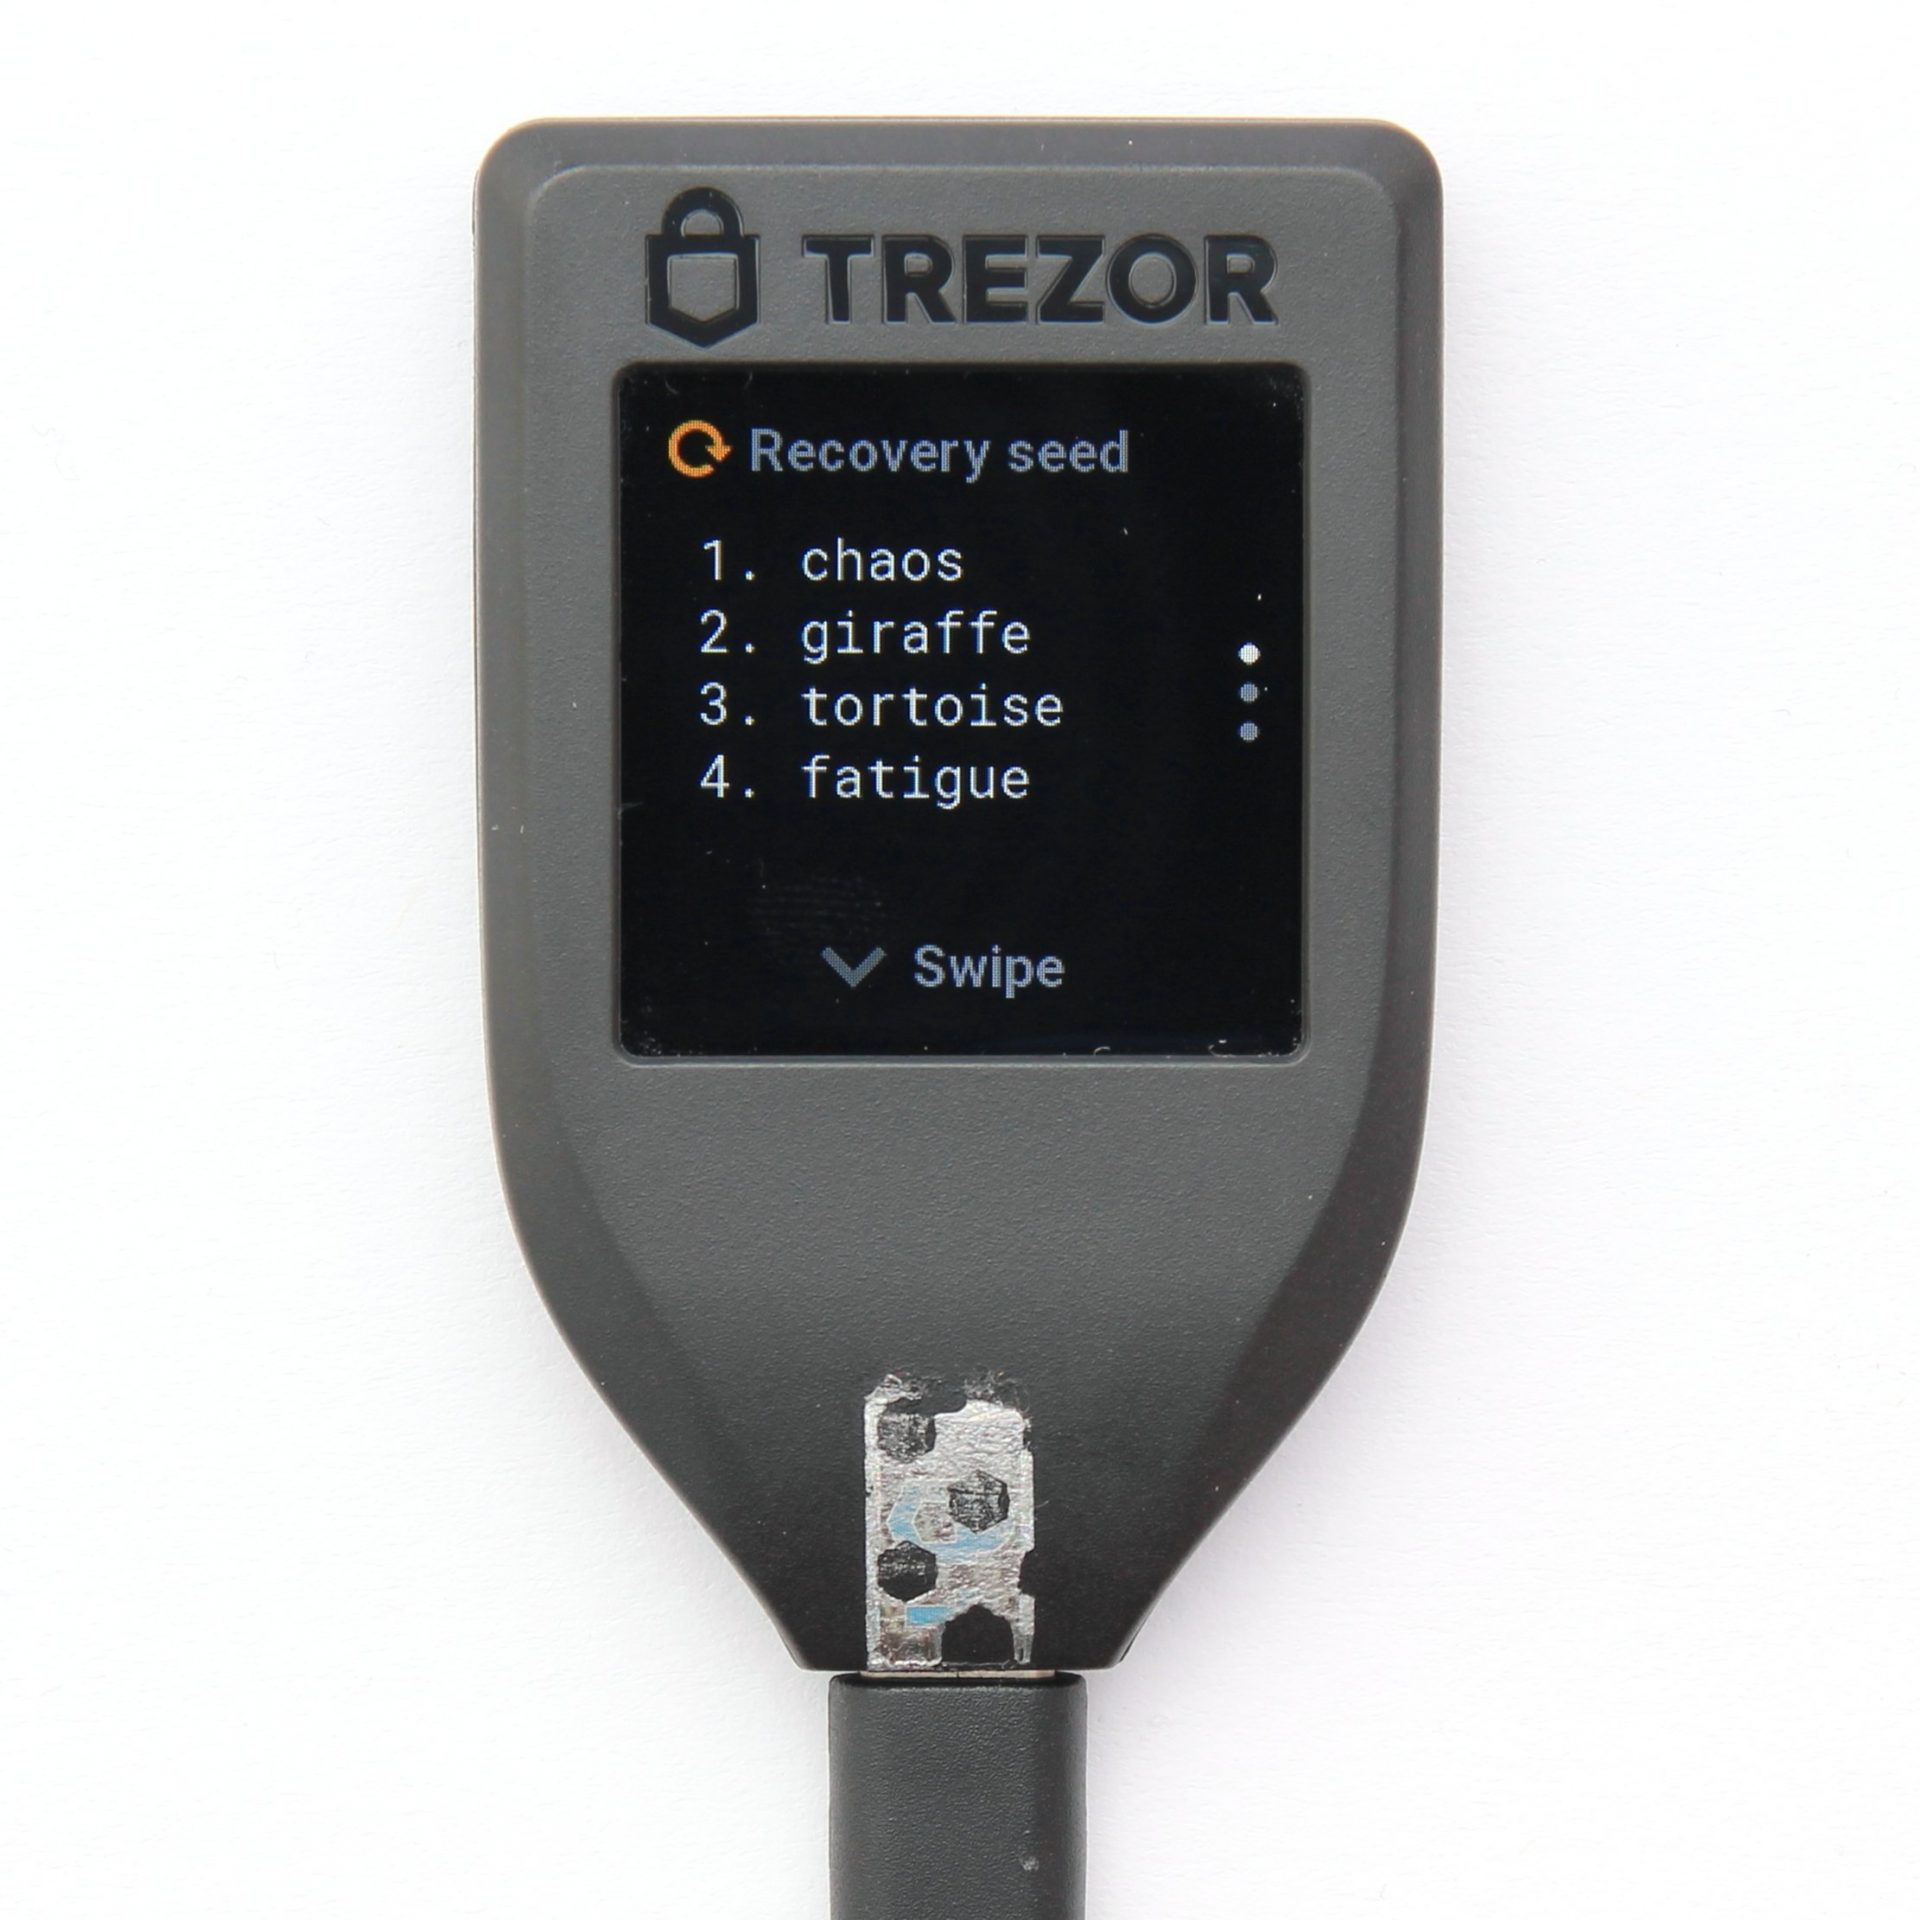
The TREZOR Model T now generates a unique recovery seed in the form of 12 words. The words are divided into three pages, so you have to swipe through the list. The words can be written on one of the included recovery seed cards.
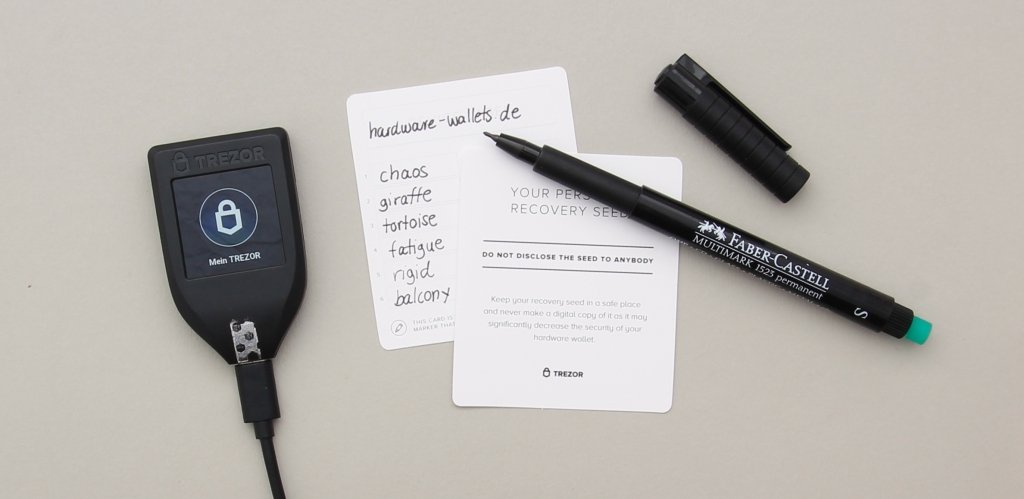
with the enclosed sheets you have to use a permanent marker
A waterproof foil pencil must be used, as the cards are made of waterproof and tear-resistant plastic paper. Alternatively, the words can also be stamped into metal, or a special ready-made set of Cryptosteel can be used.
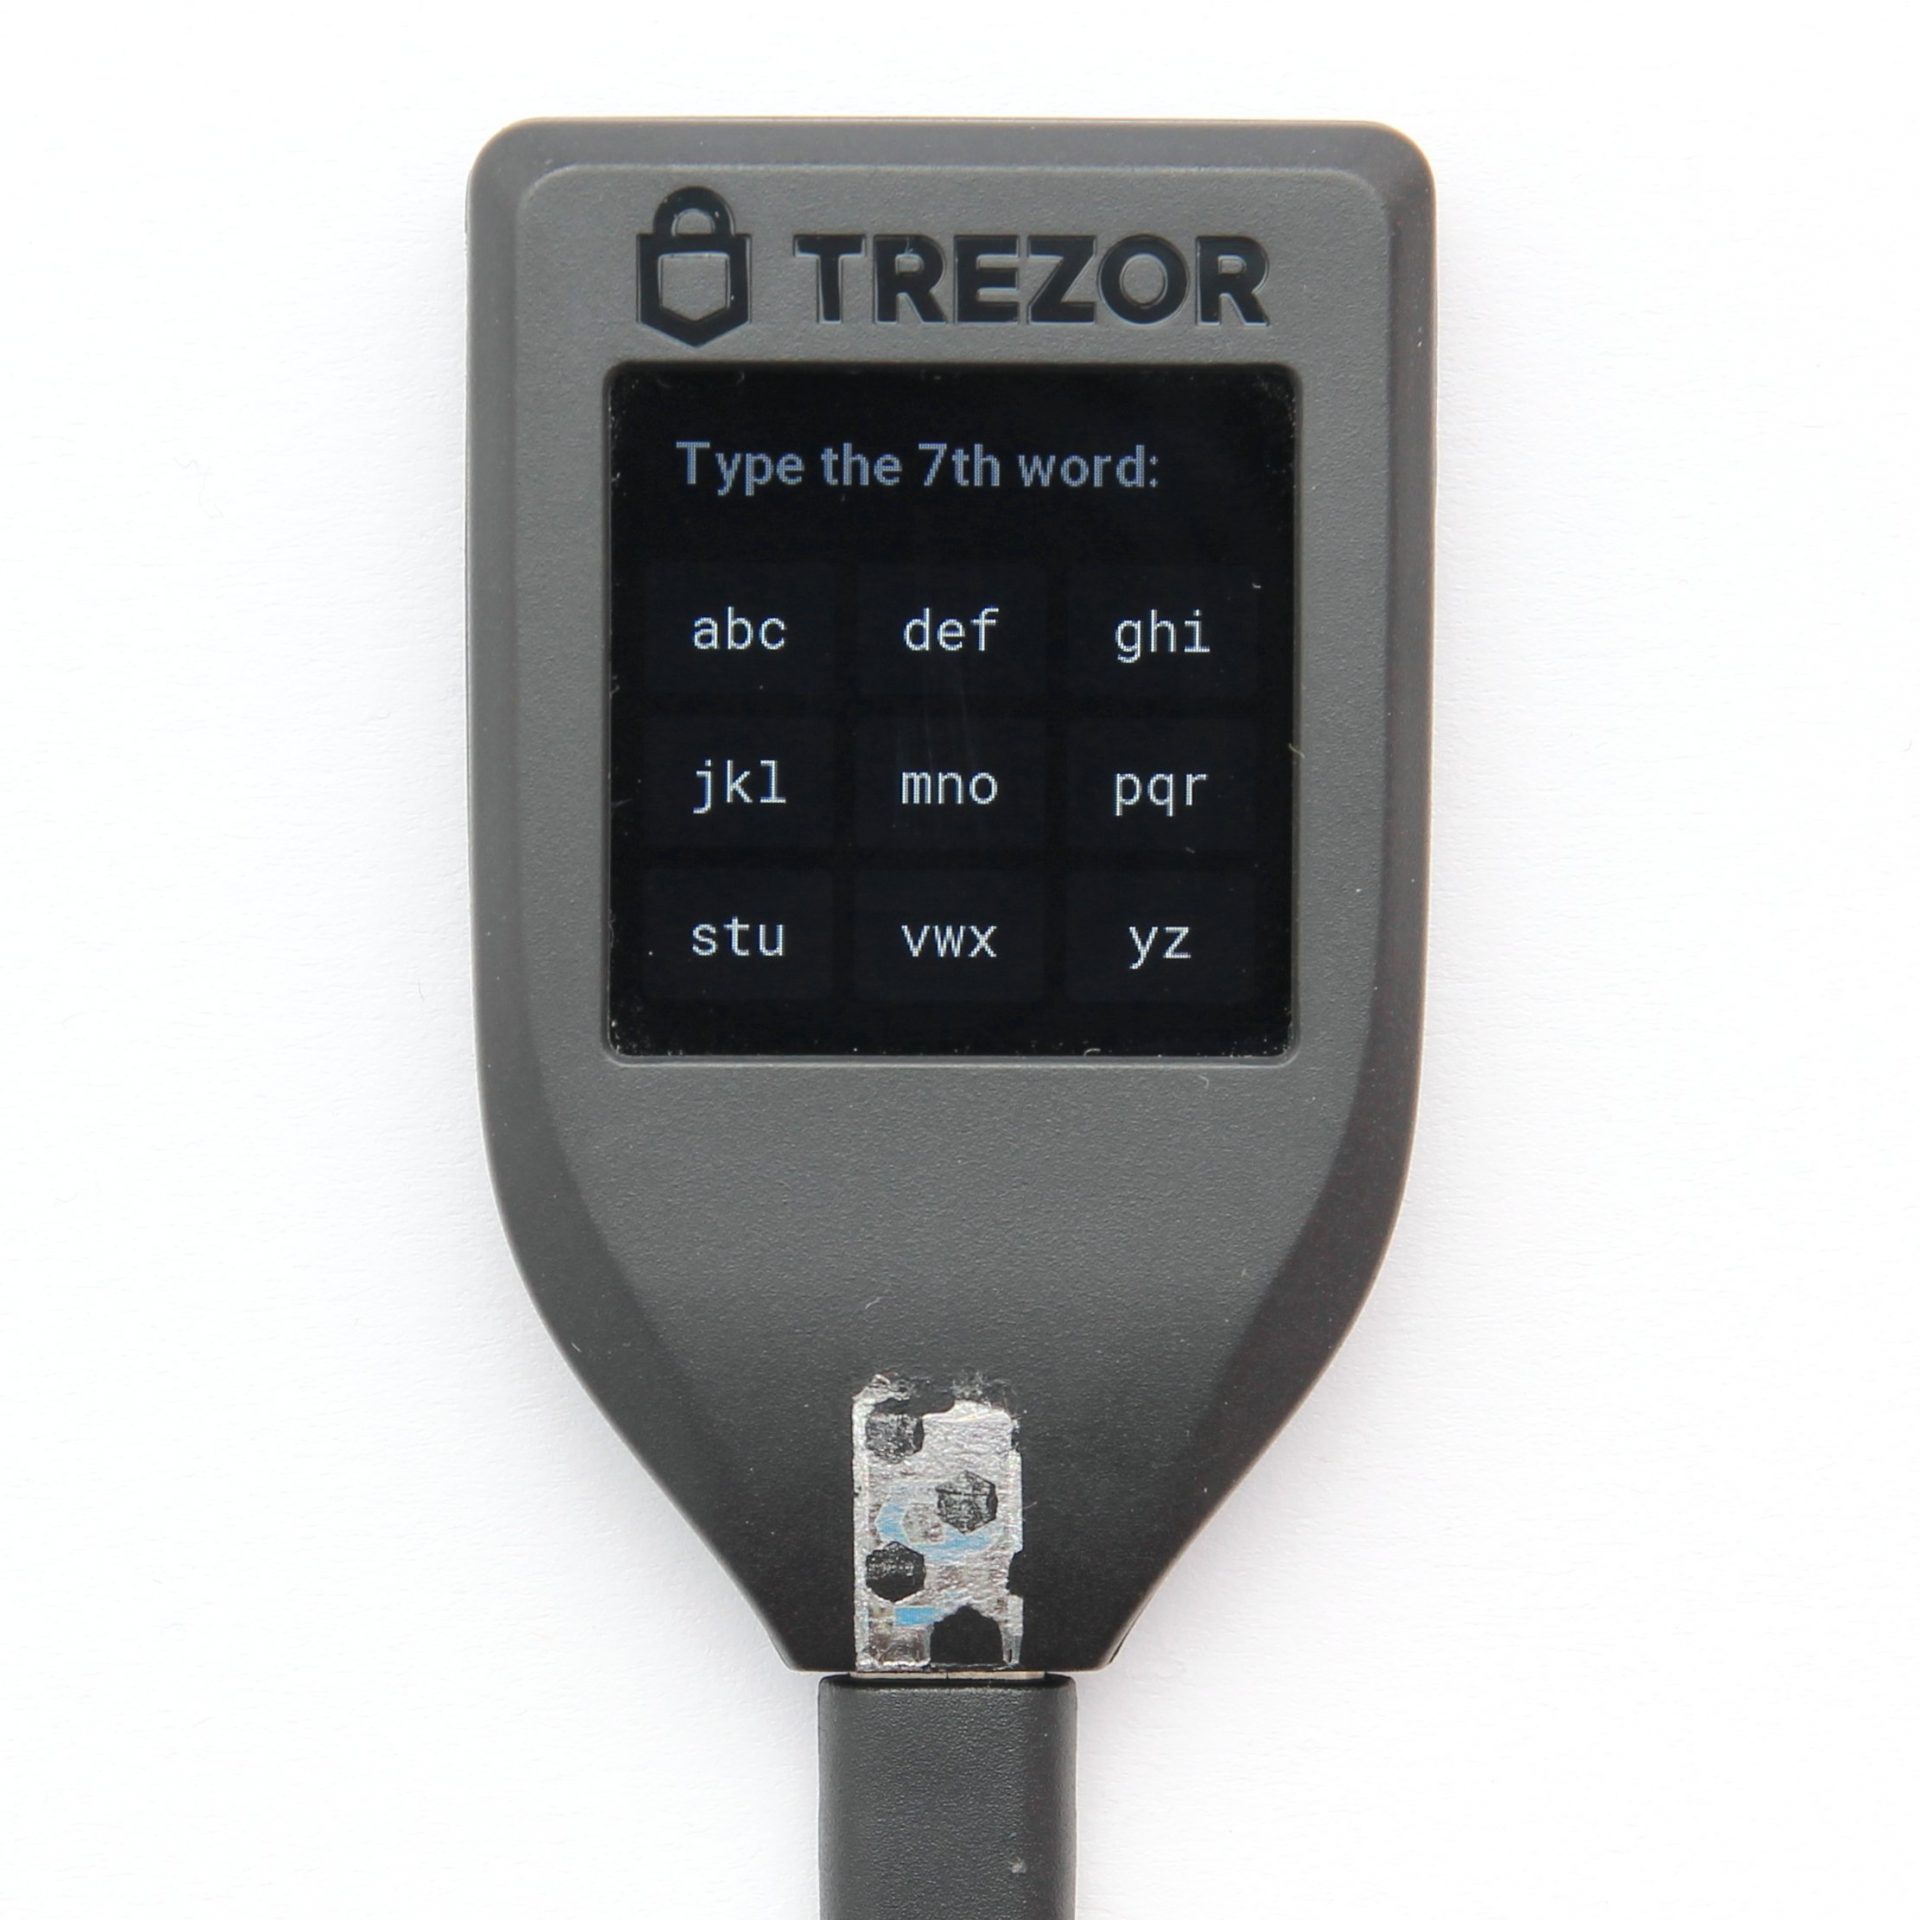
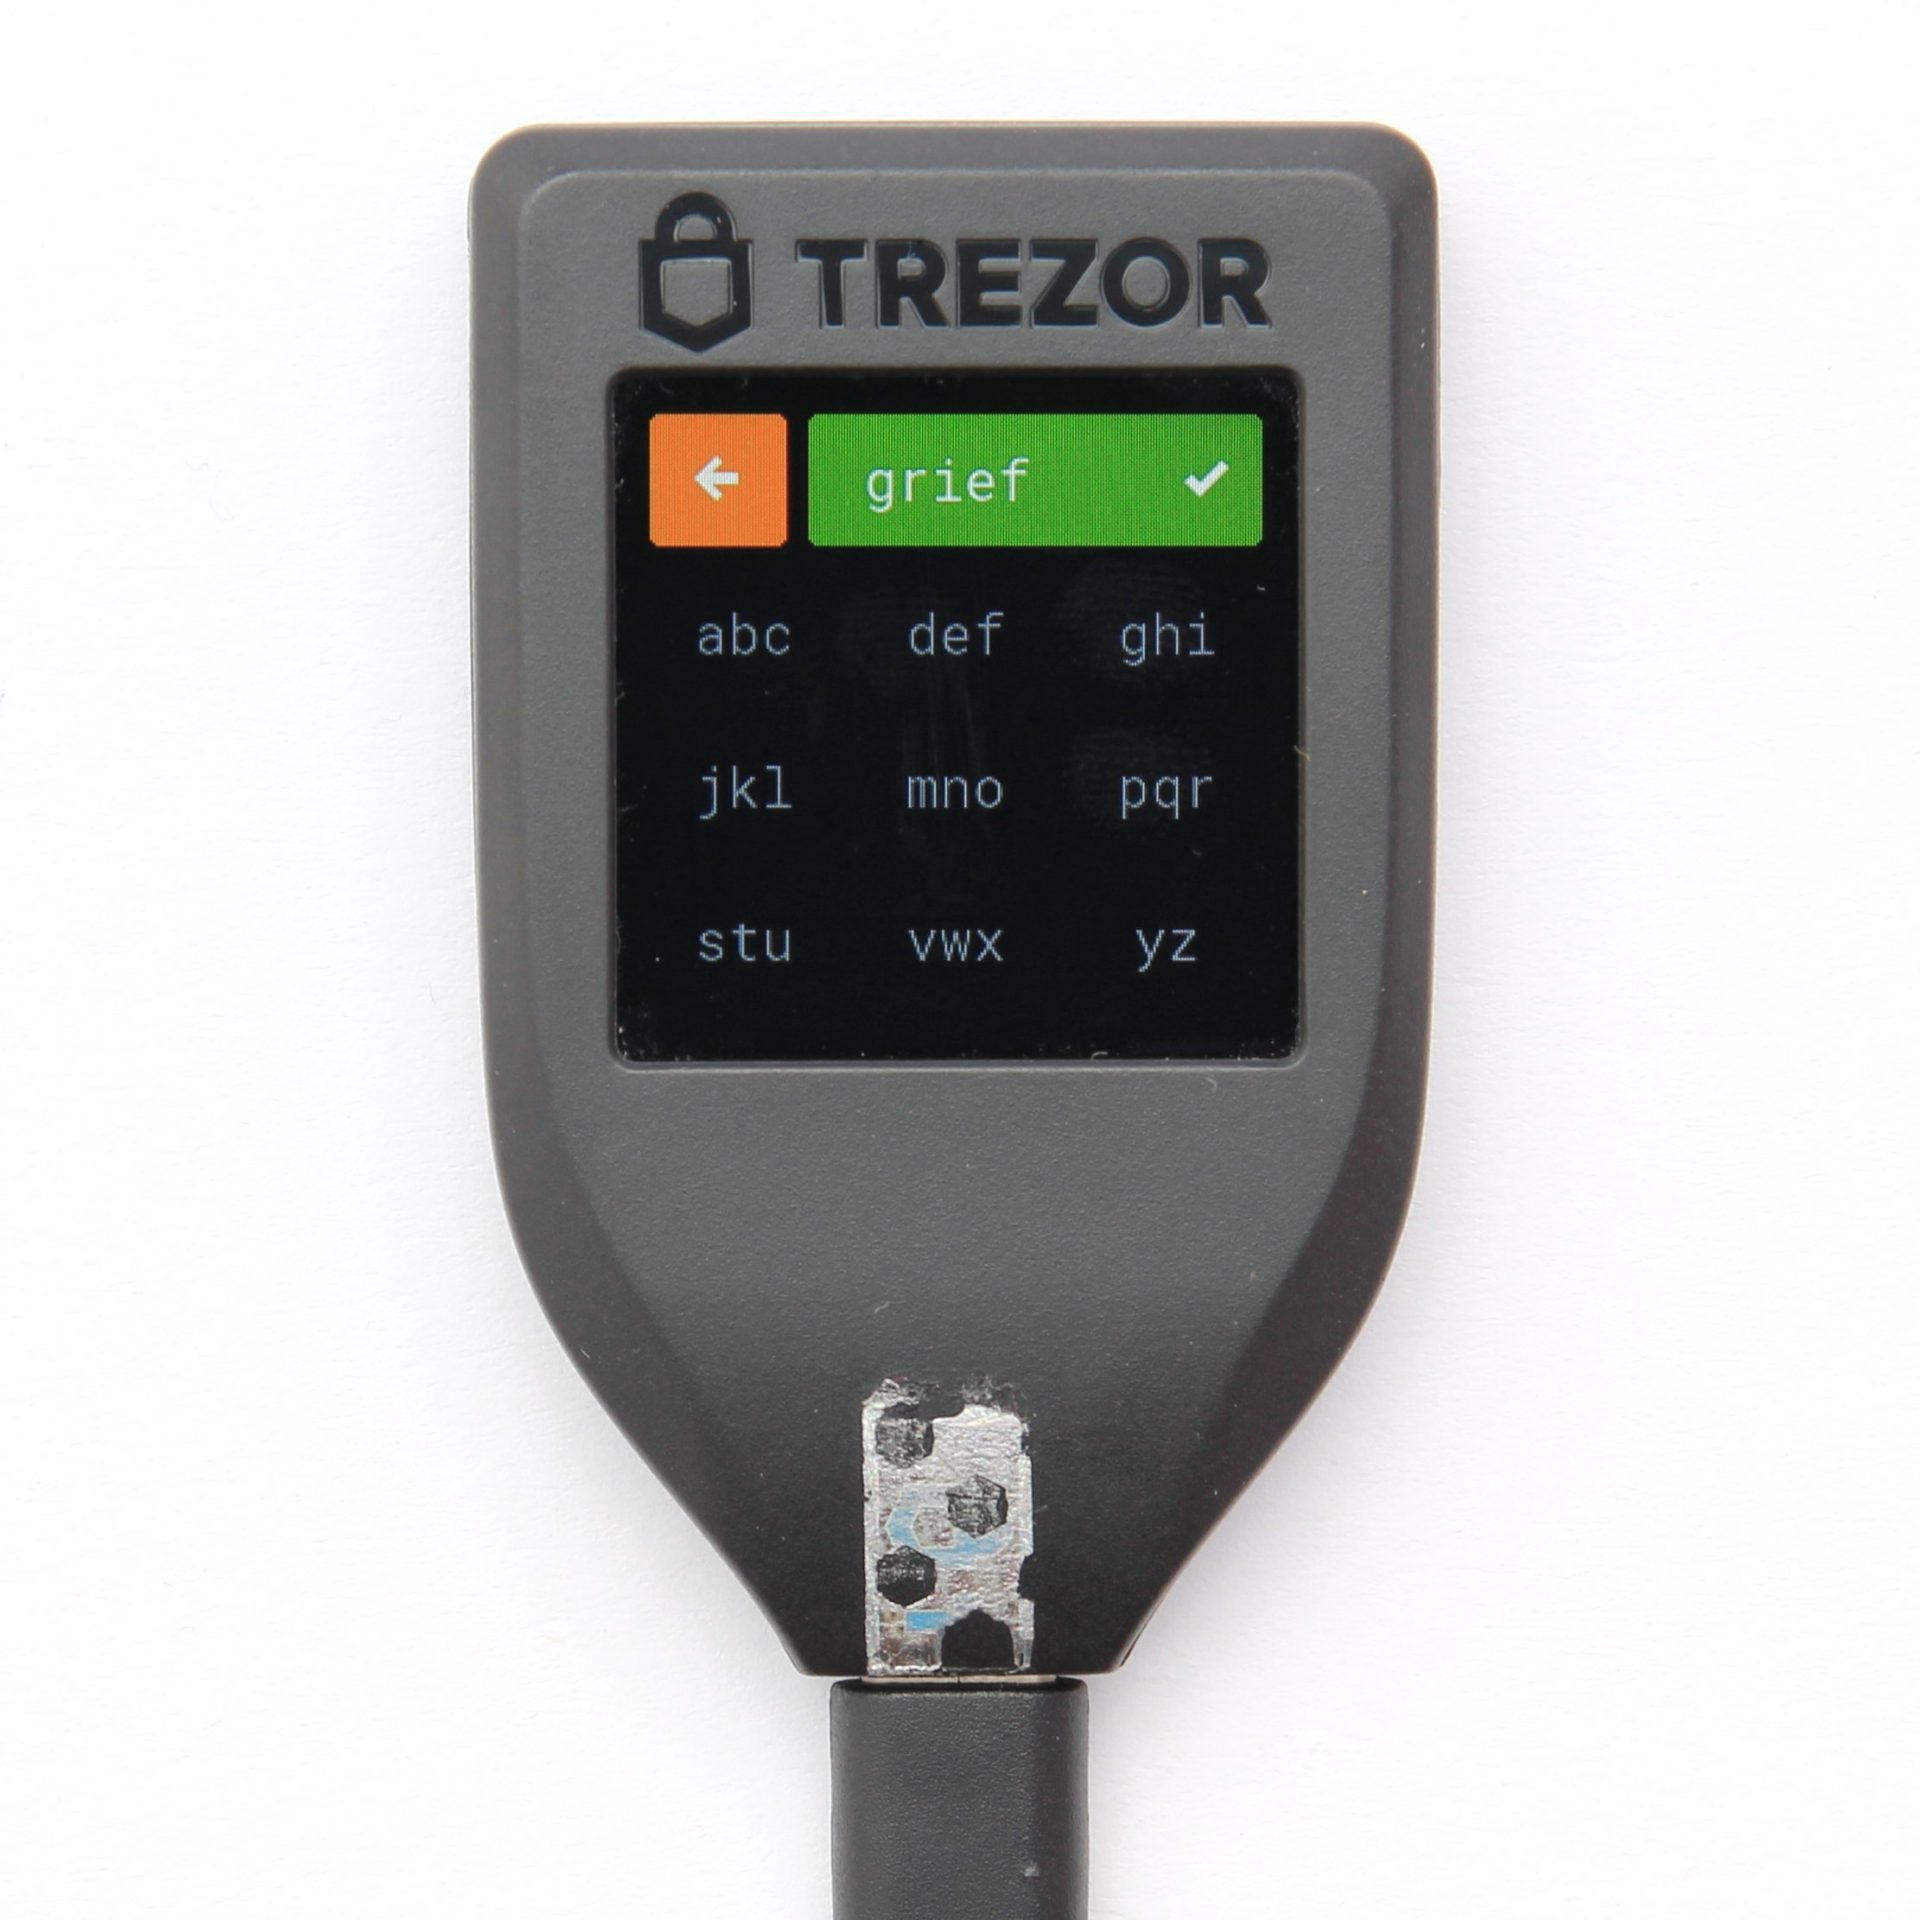
After confirming that the words have been completely written down, TREZOR randomly selects two words and prompts the owner to re-enter them on the screen for verification. The T9 keyboard layout is used, so that the words can be typed in quickly with just nine keys. After just a few letters, a word is suggested, which can be selected at the top of the screen and then confirmed. If one of the words is typed incorrectly, all words are displayed again. This ensures that the words are actually written down.
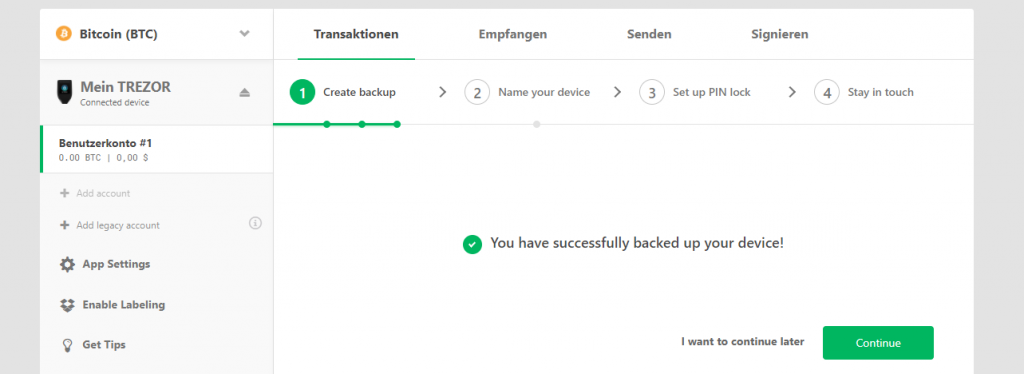
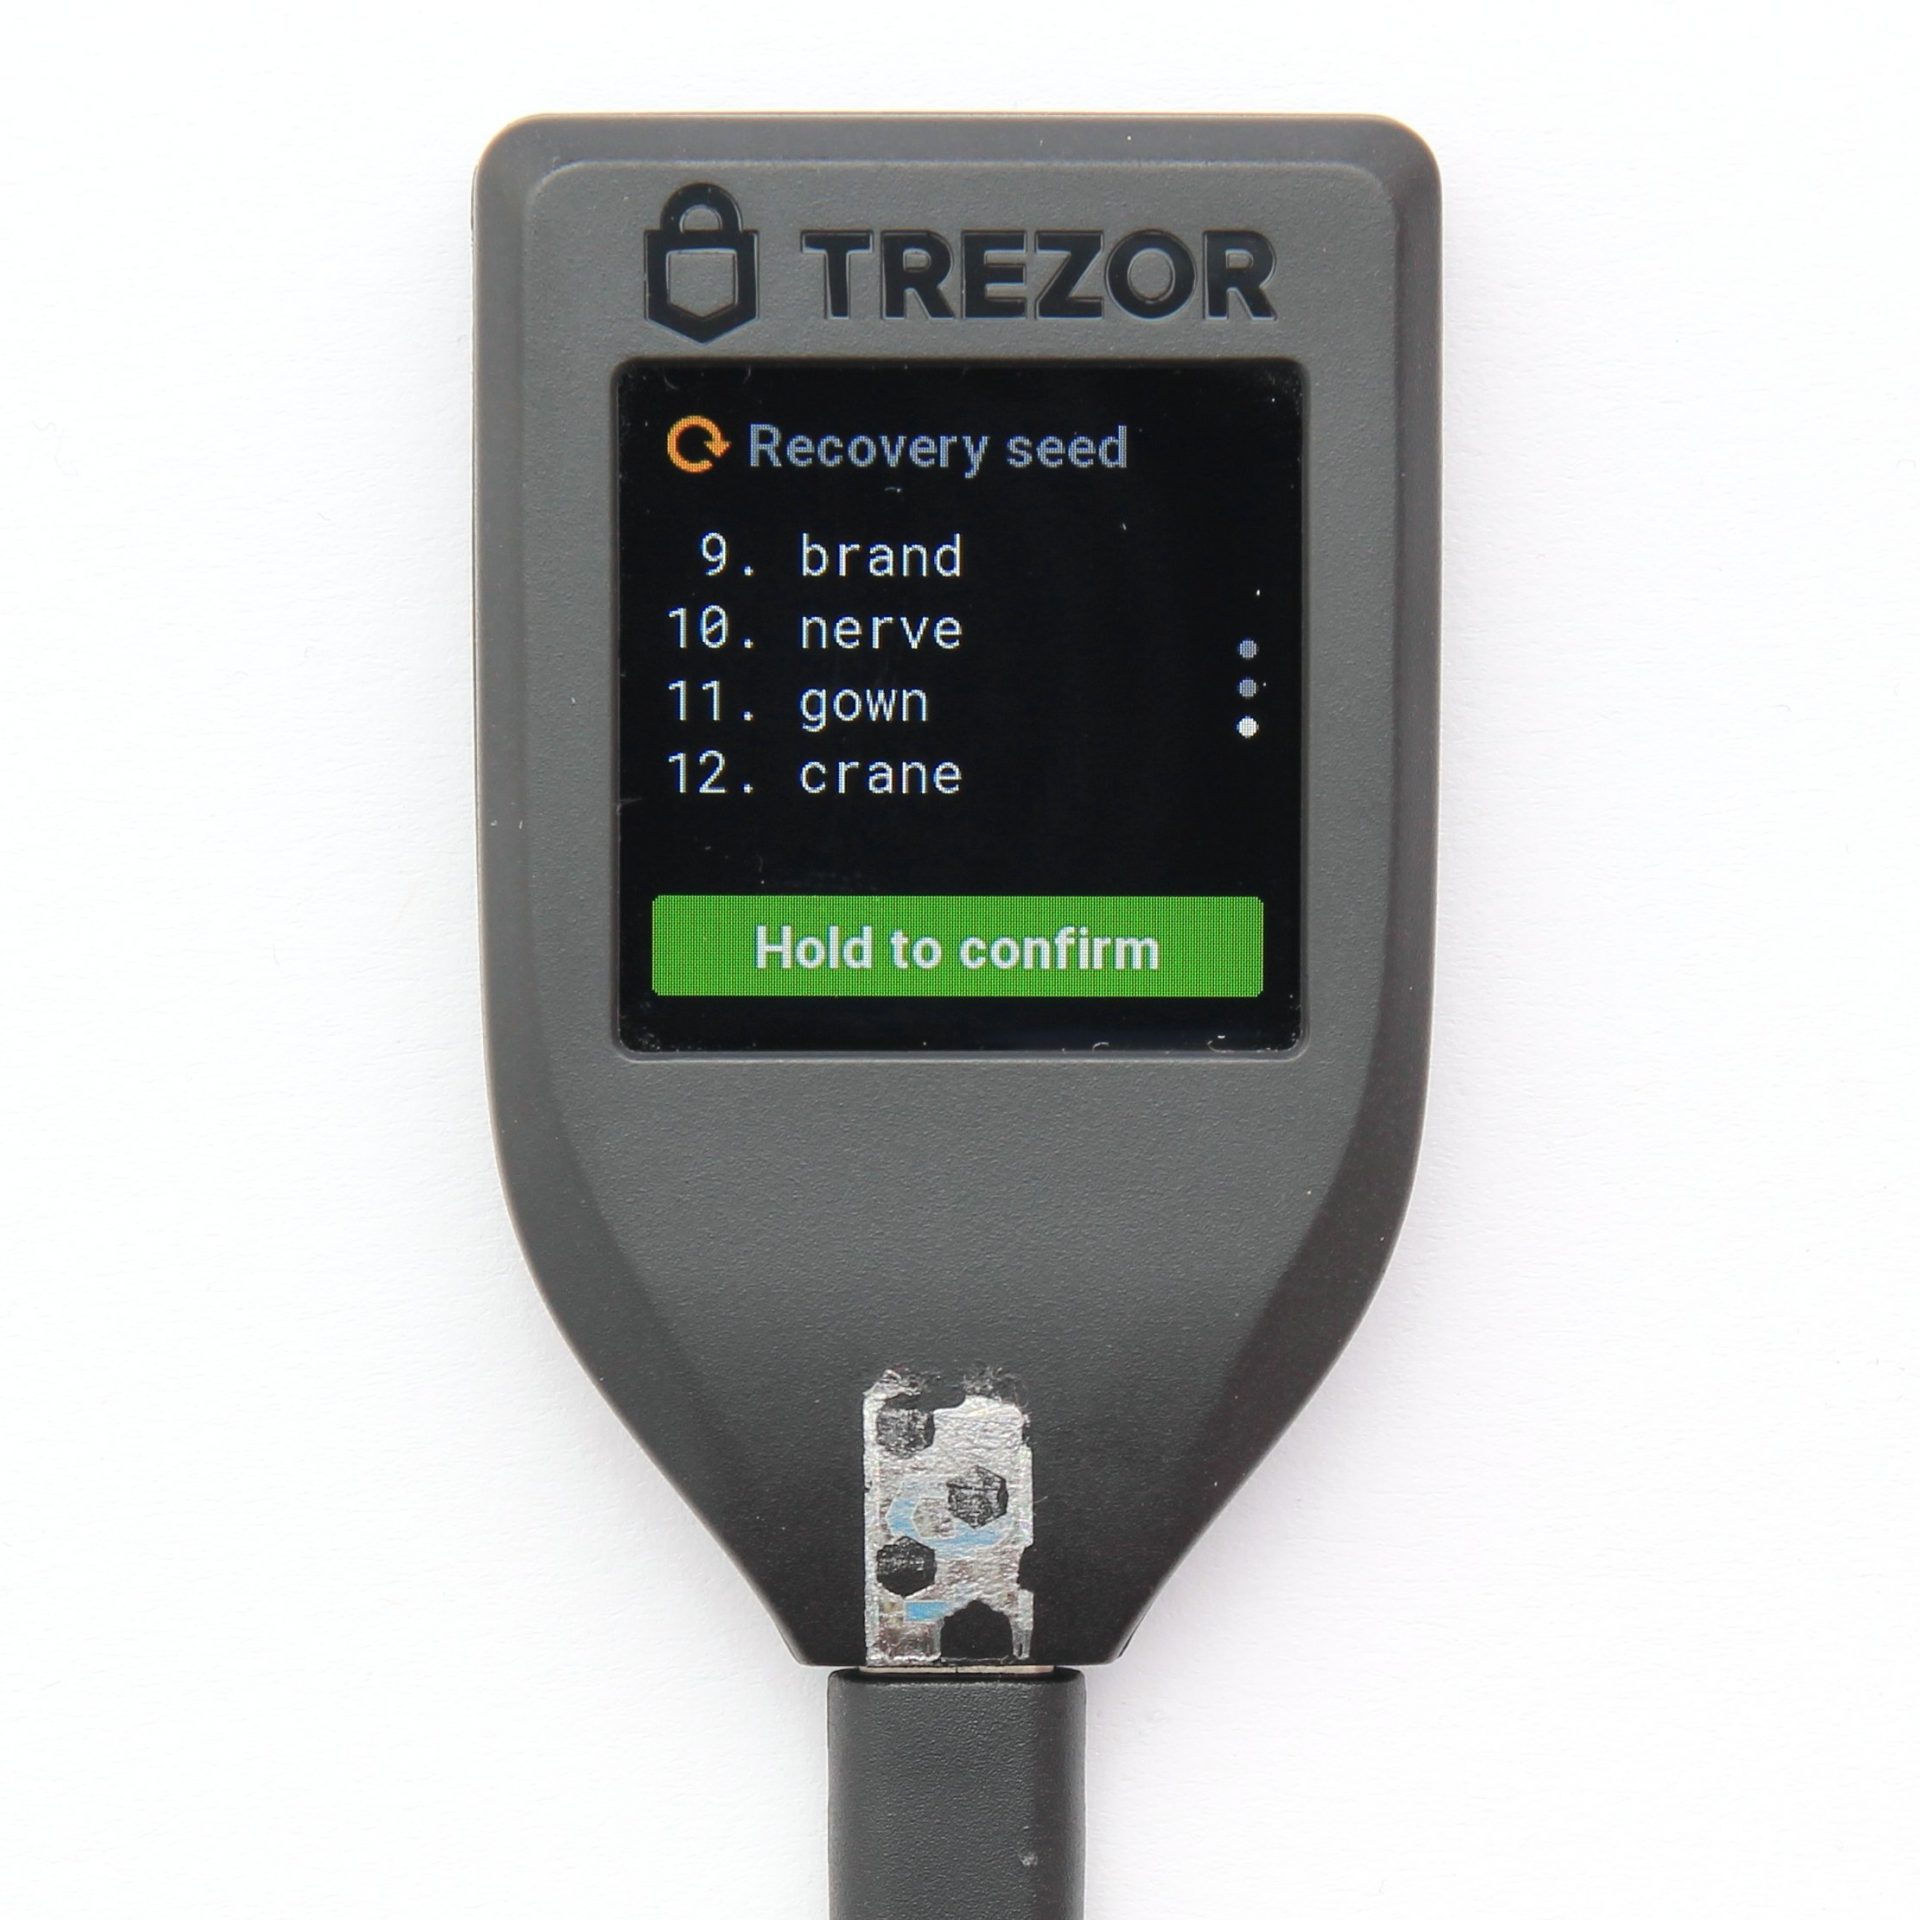
the backup was successfully completed
If both words are repeated correctly, the backup is complete and the yellow bar on the hardware wallet disappears. Now follows the next step: Specify a name.
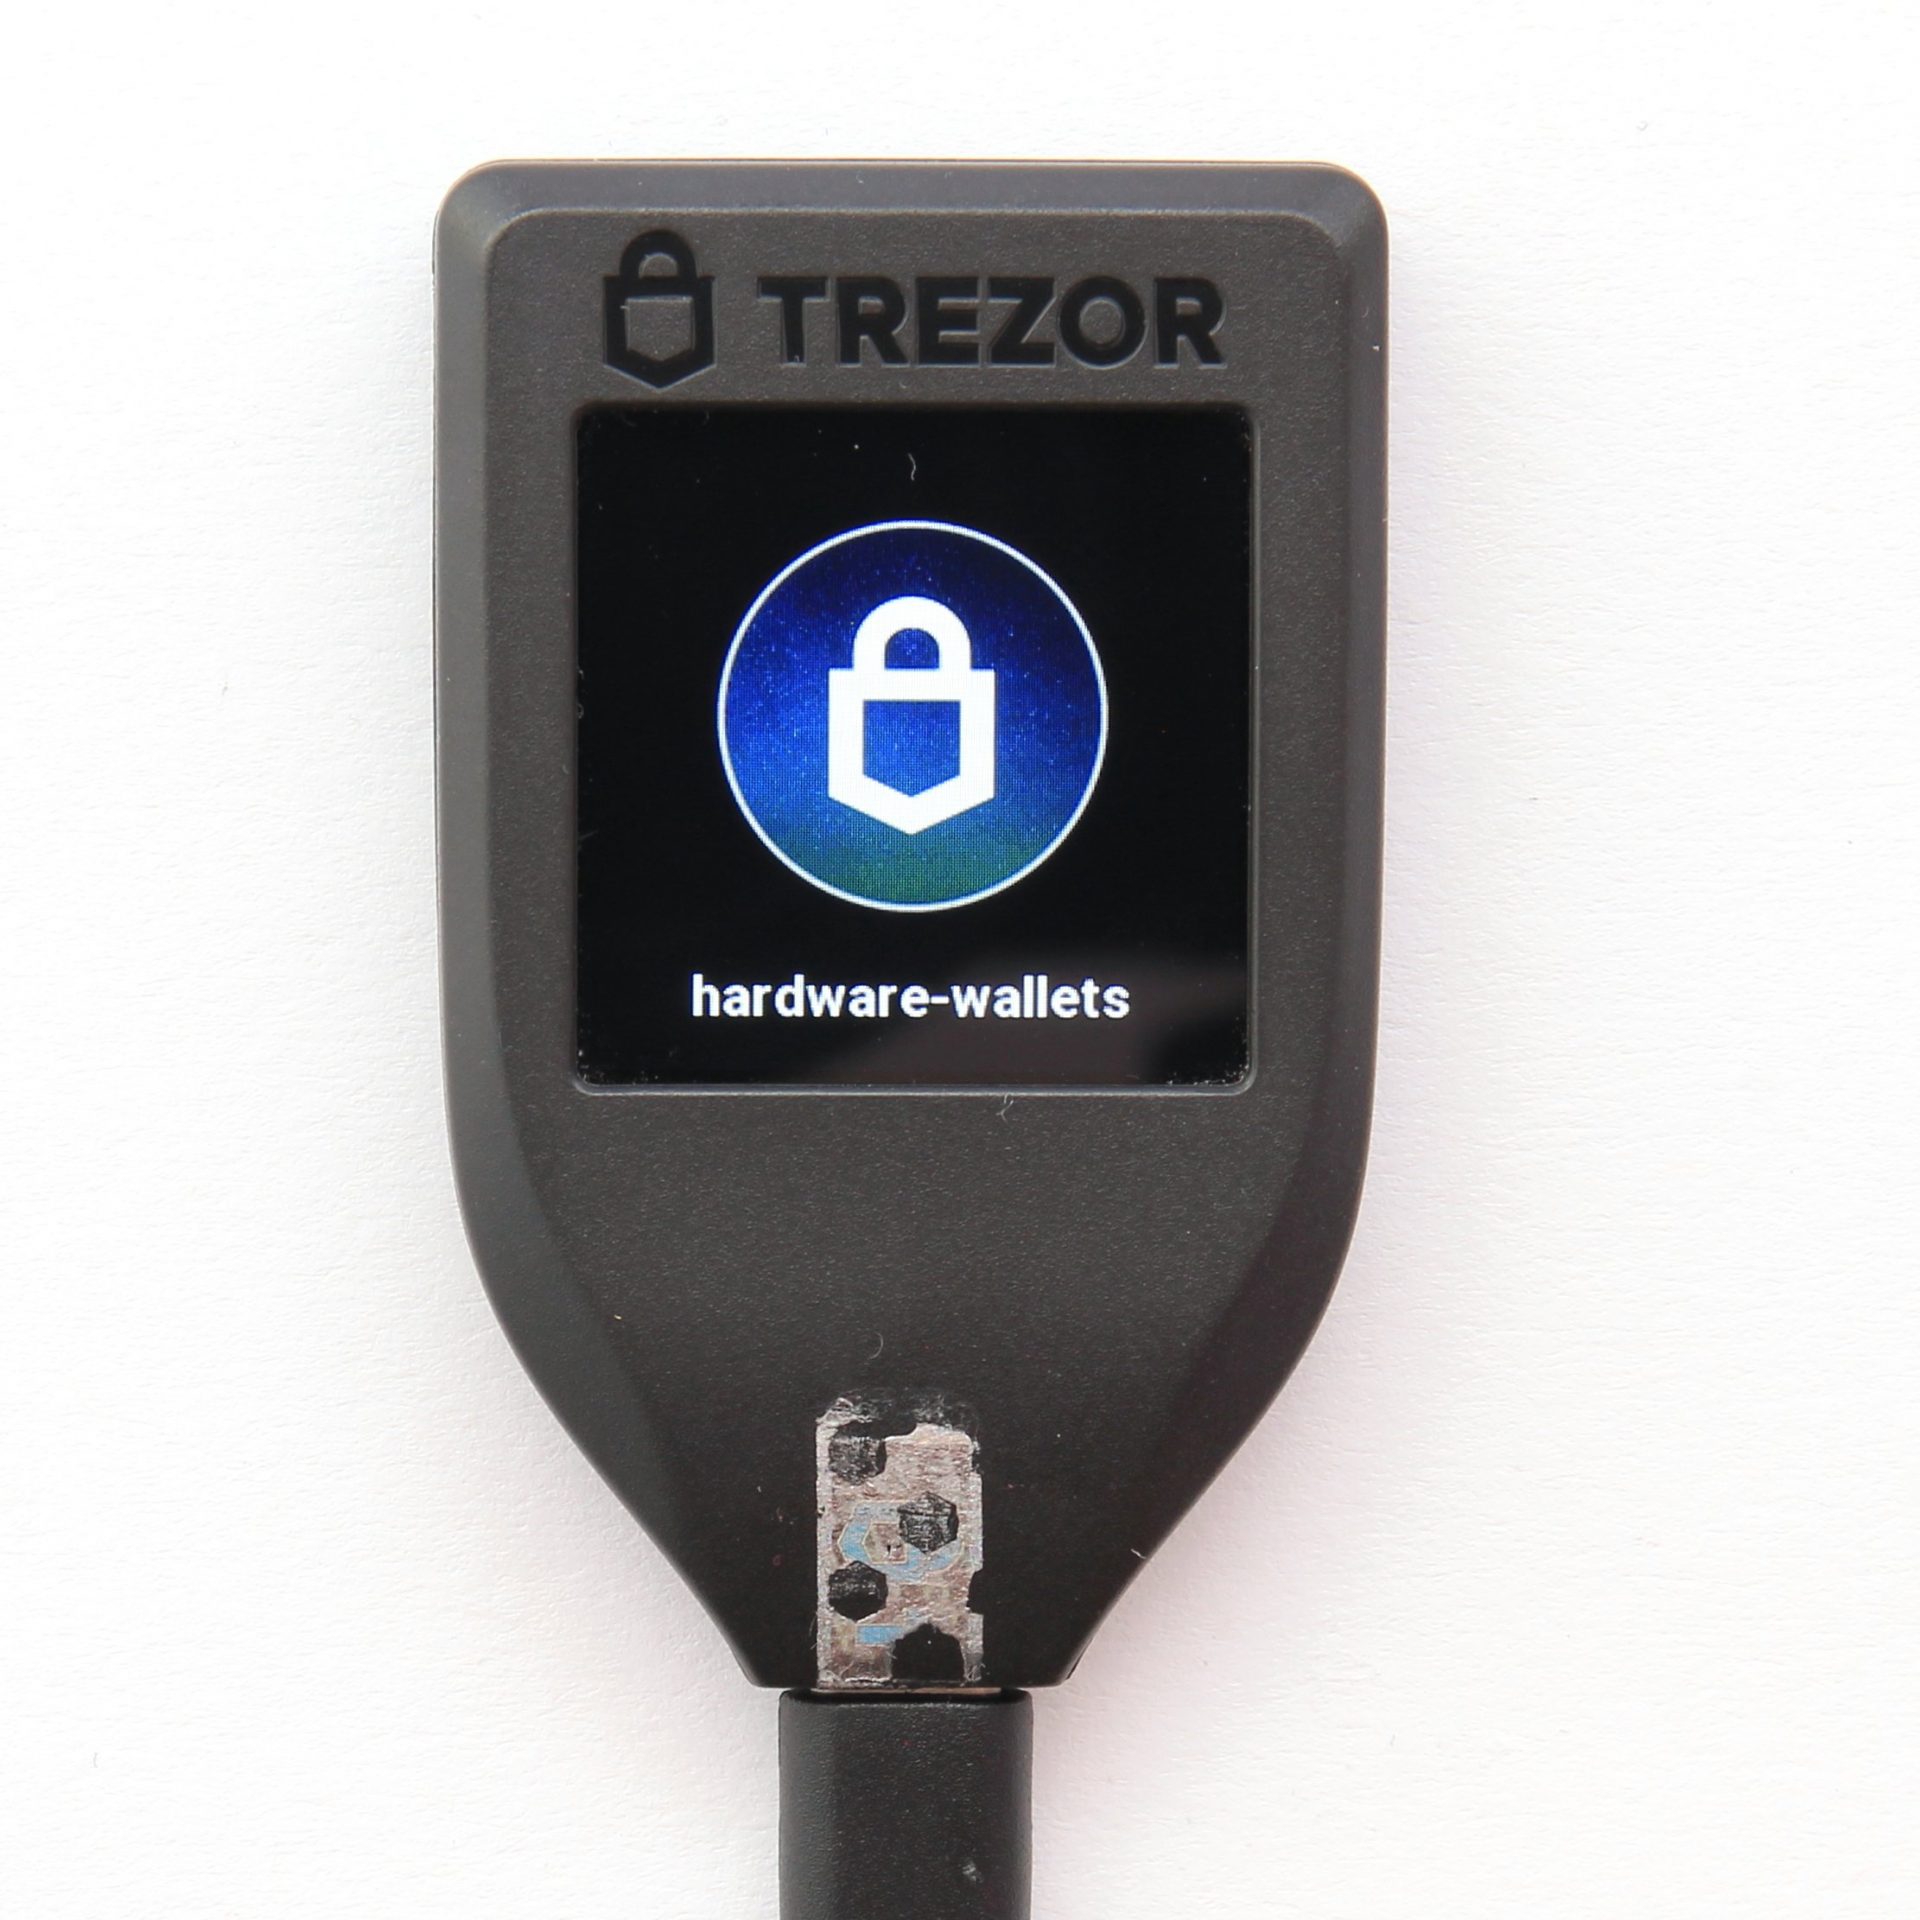
Choose a Name
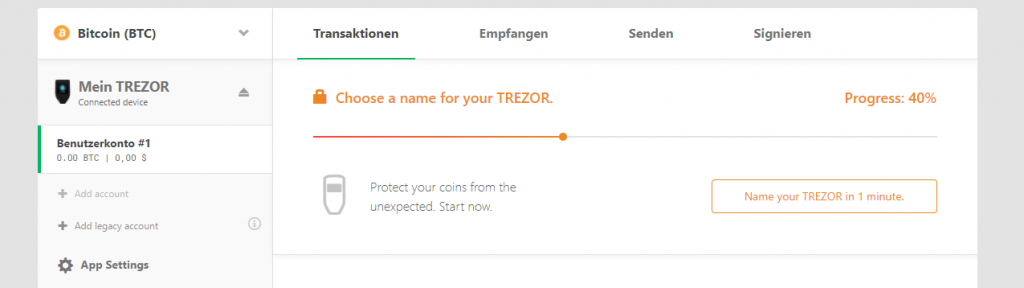
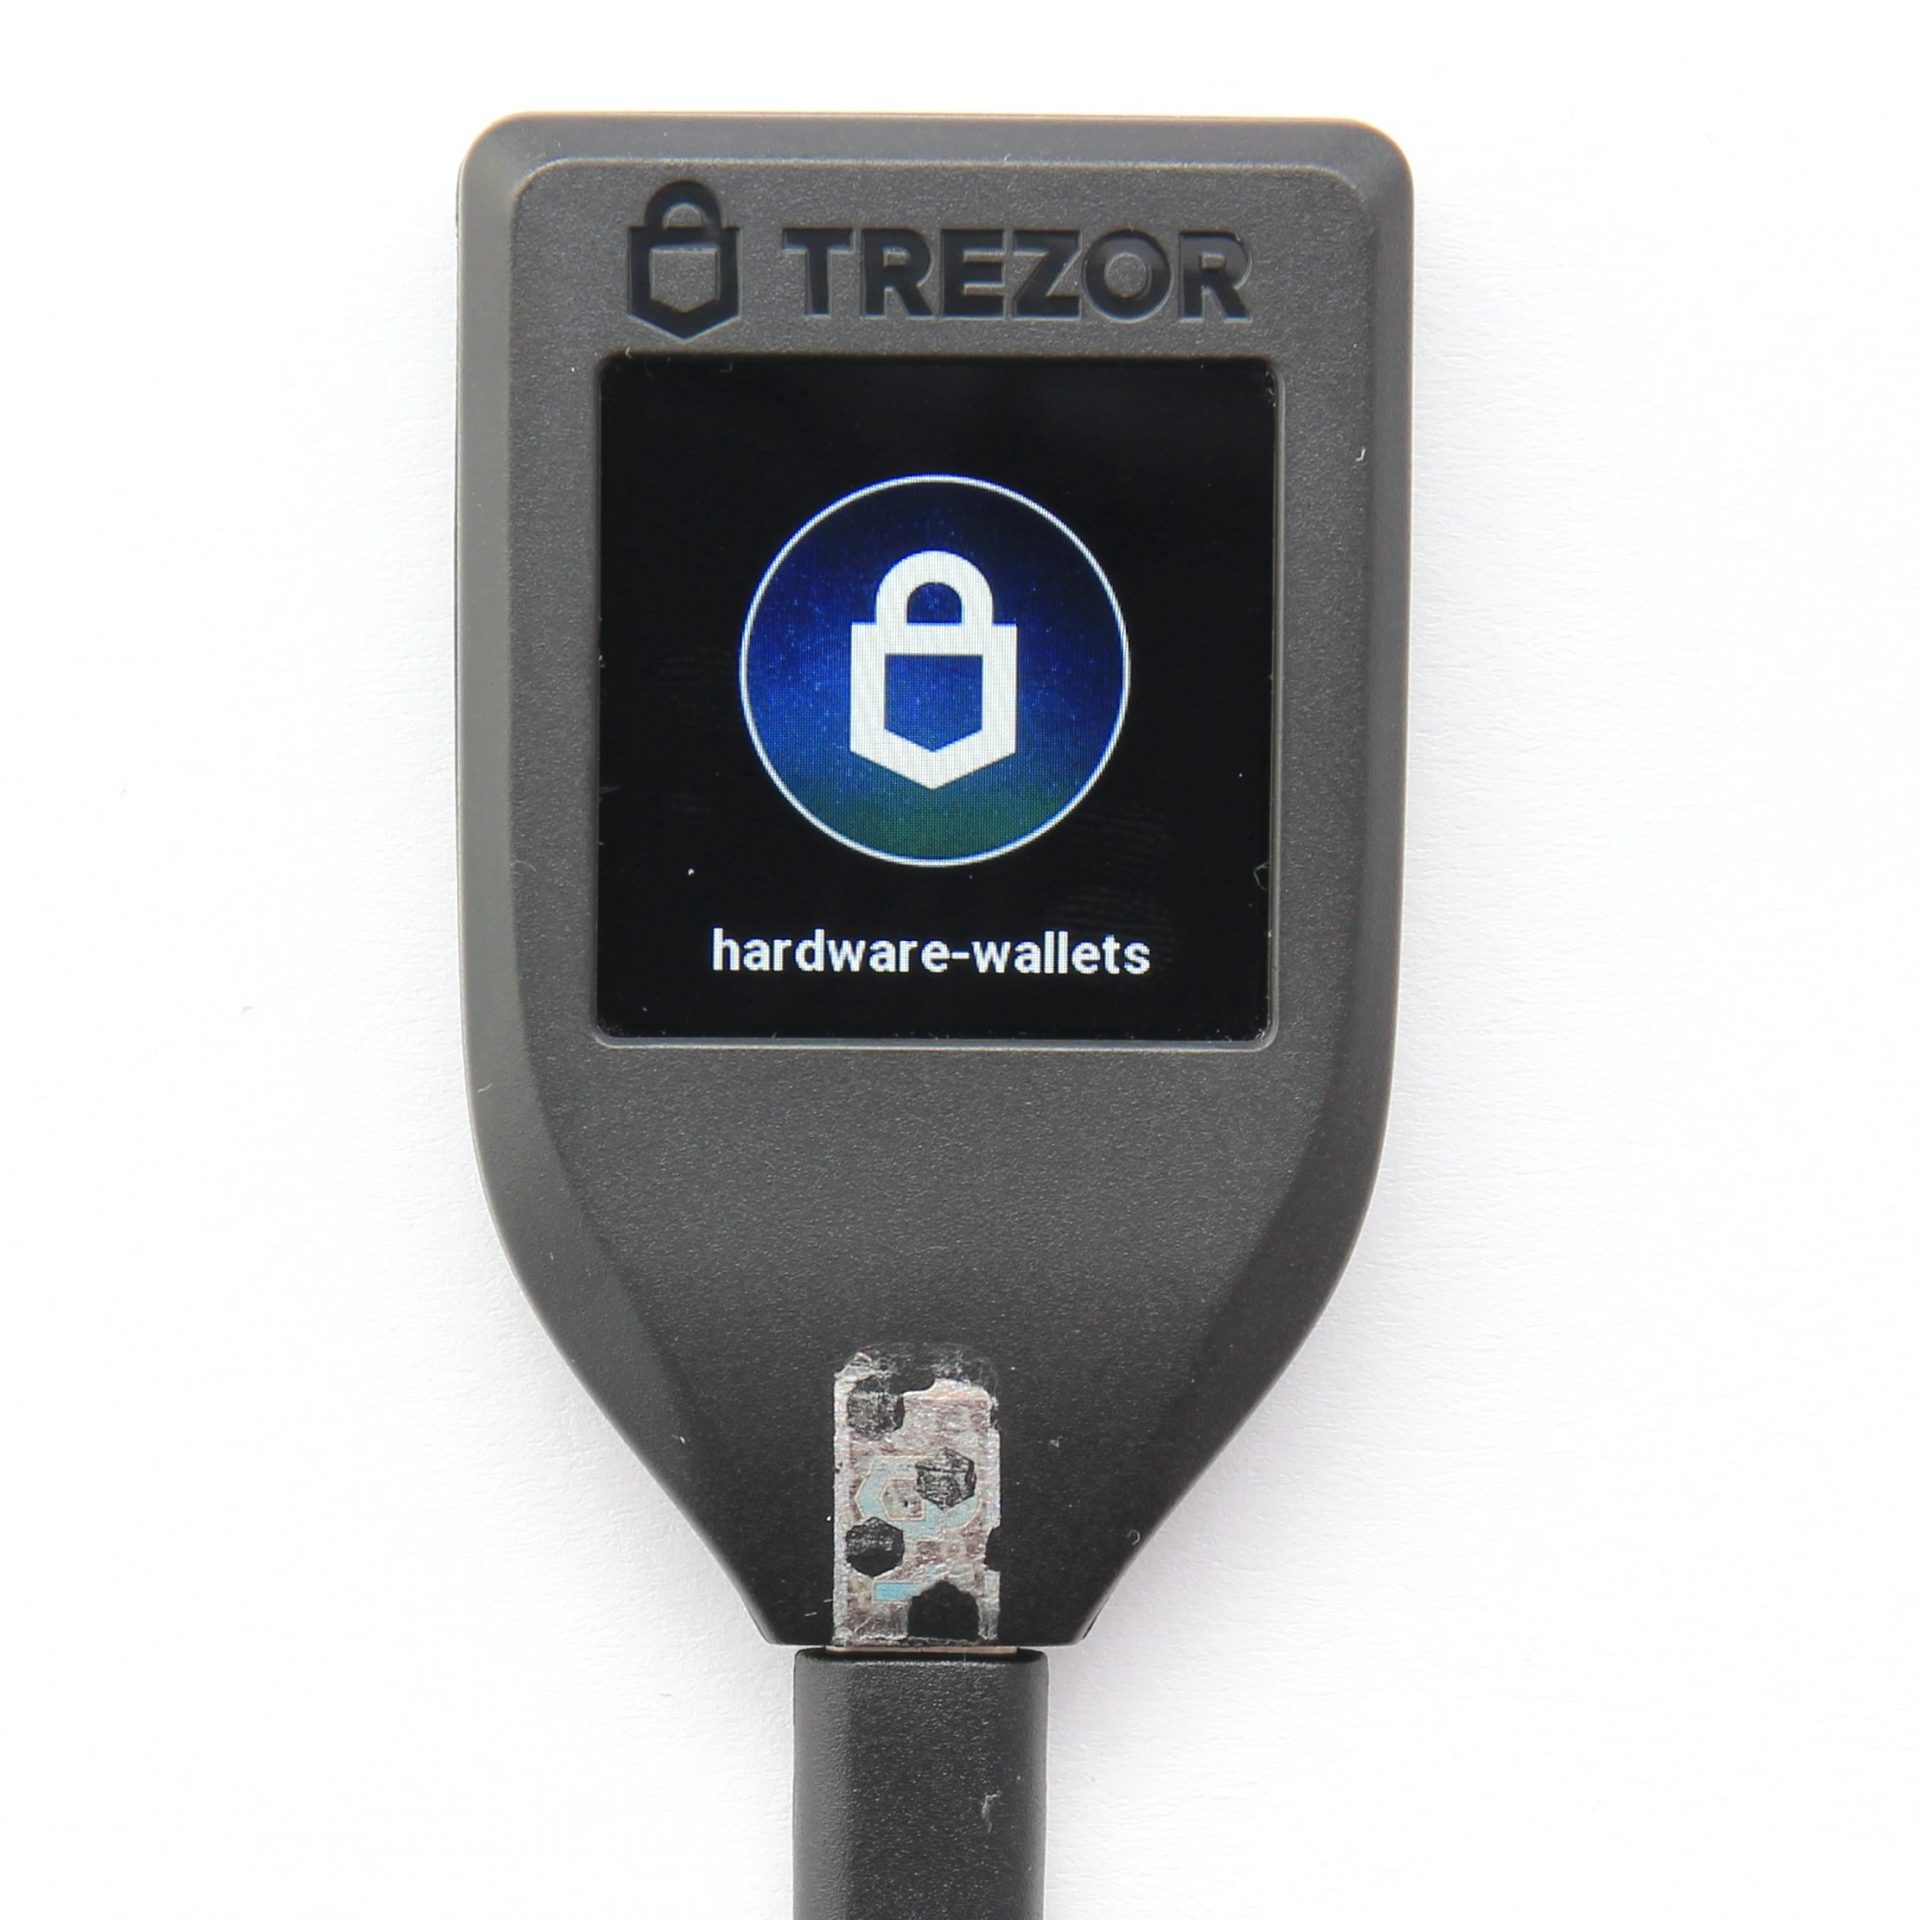
Once the backup process is complete, it becomes a bit more creative. A name can now be specified for the hardware wallet. By adapting the device name, the device can be assigned to its owner without any doubt. In addition, several TREZOR devices can be distinguished from each other.

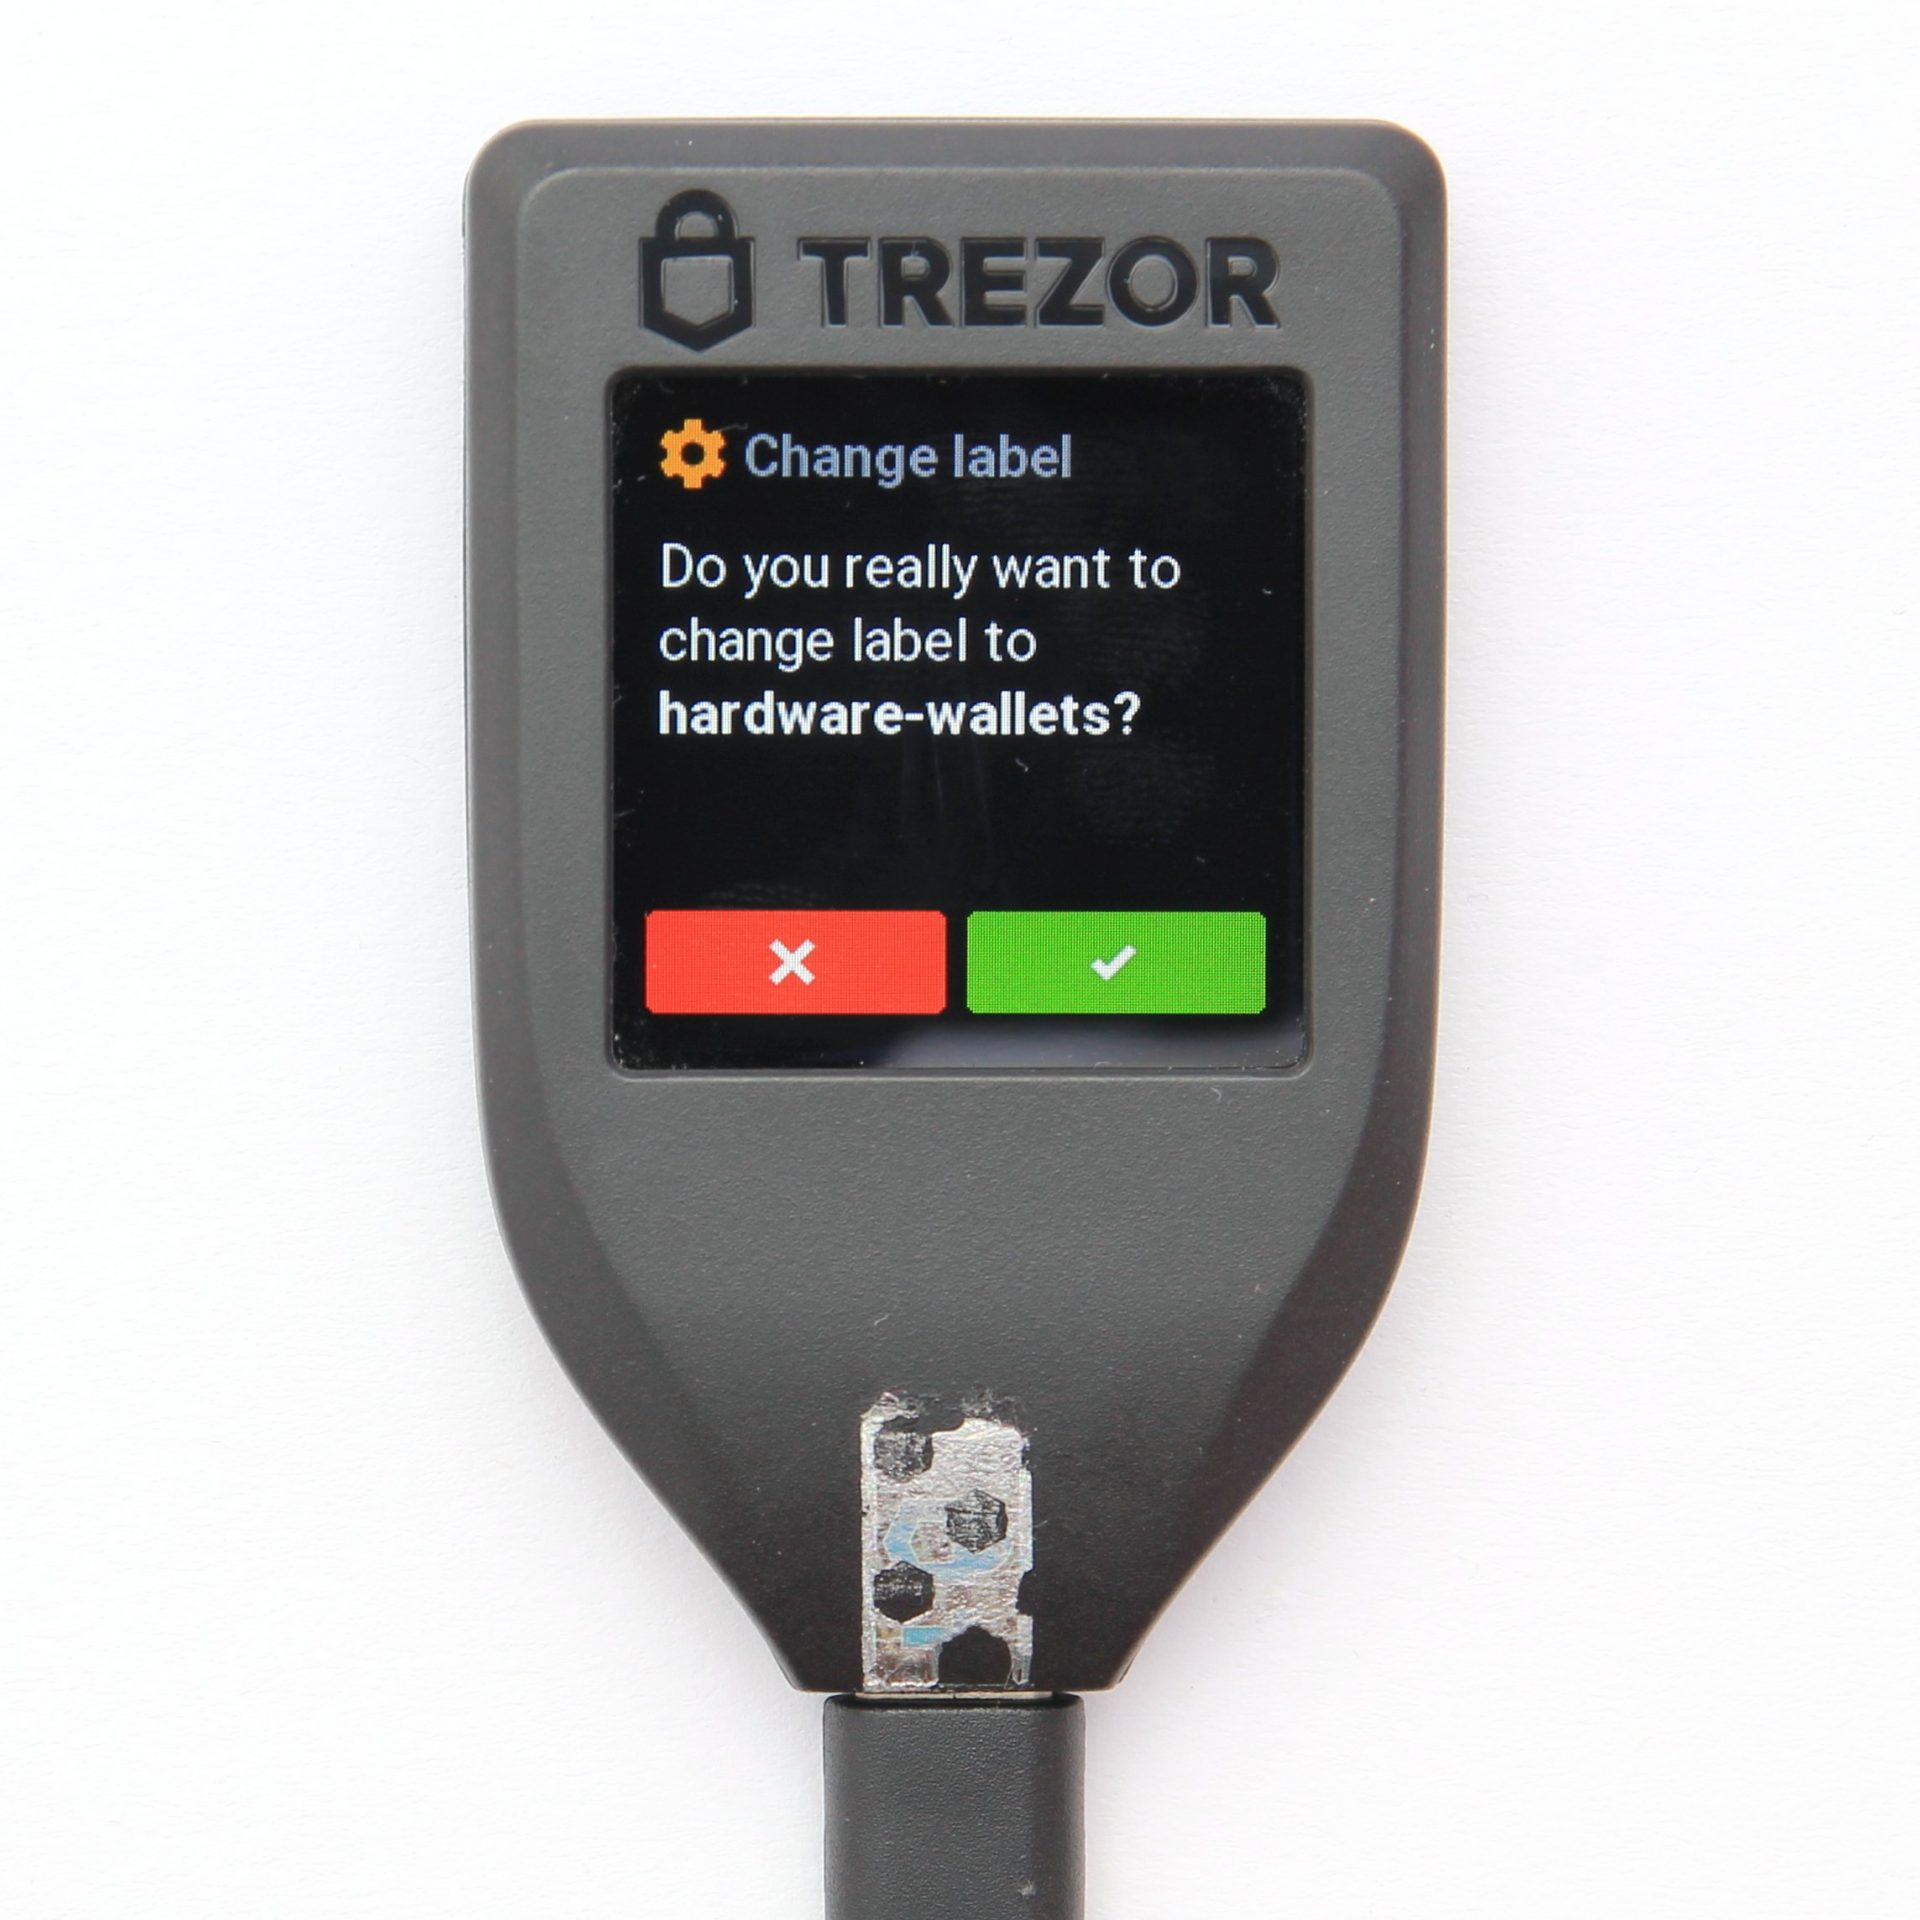
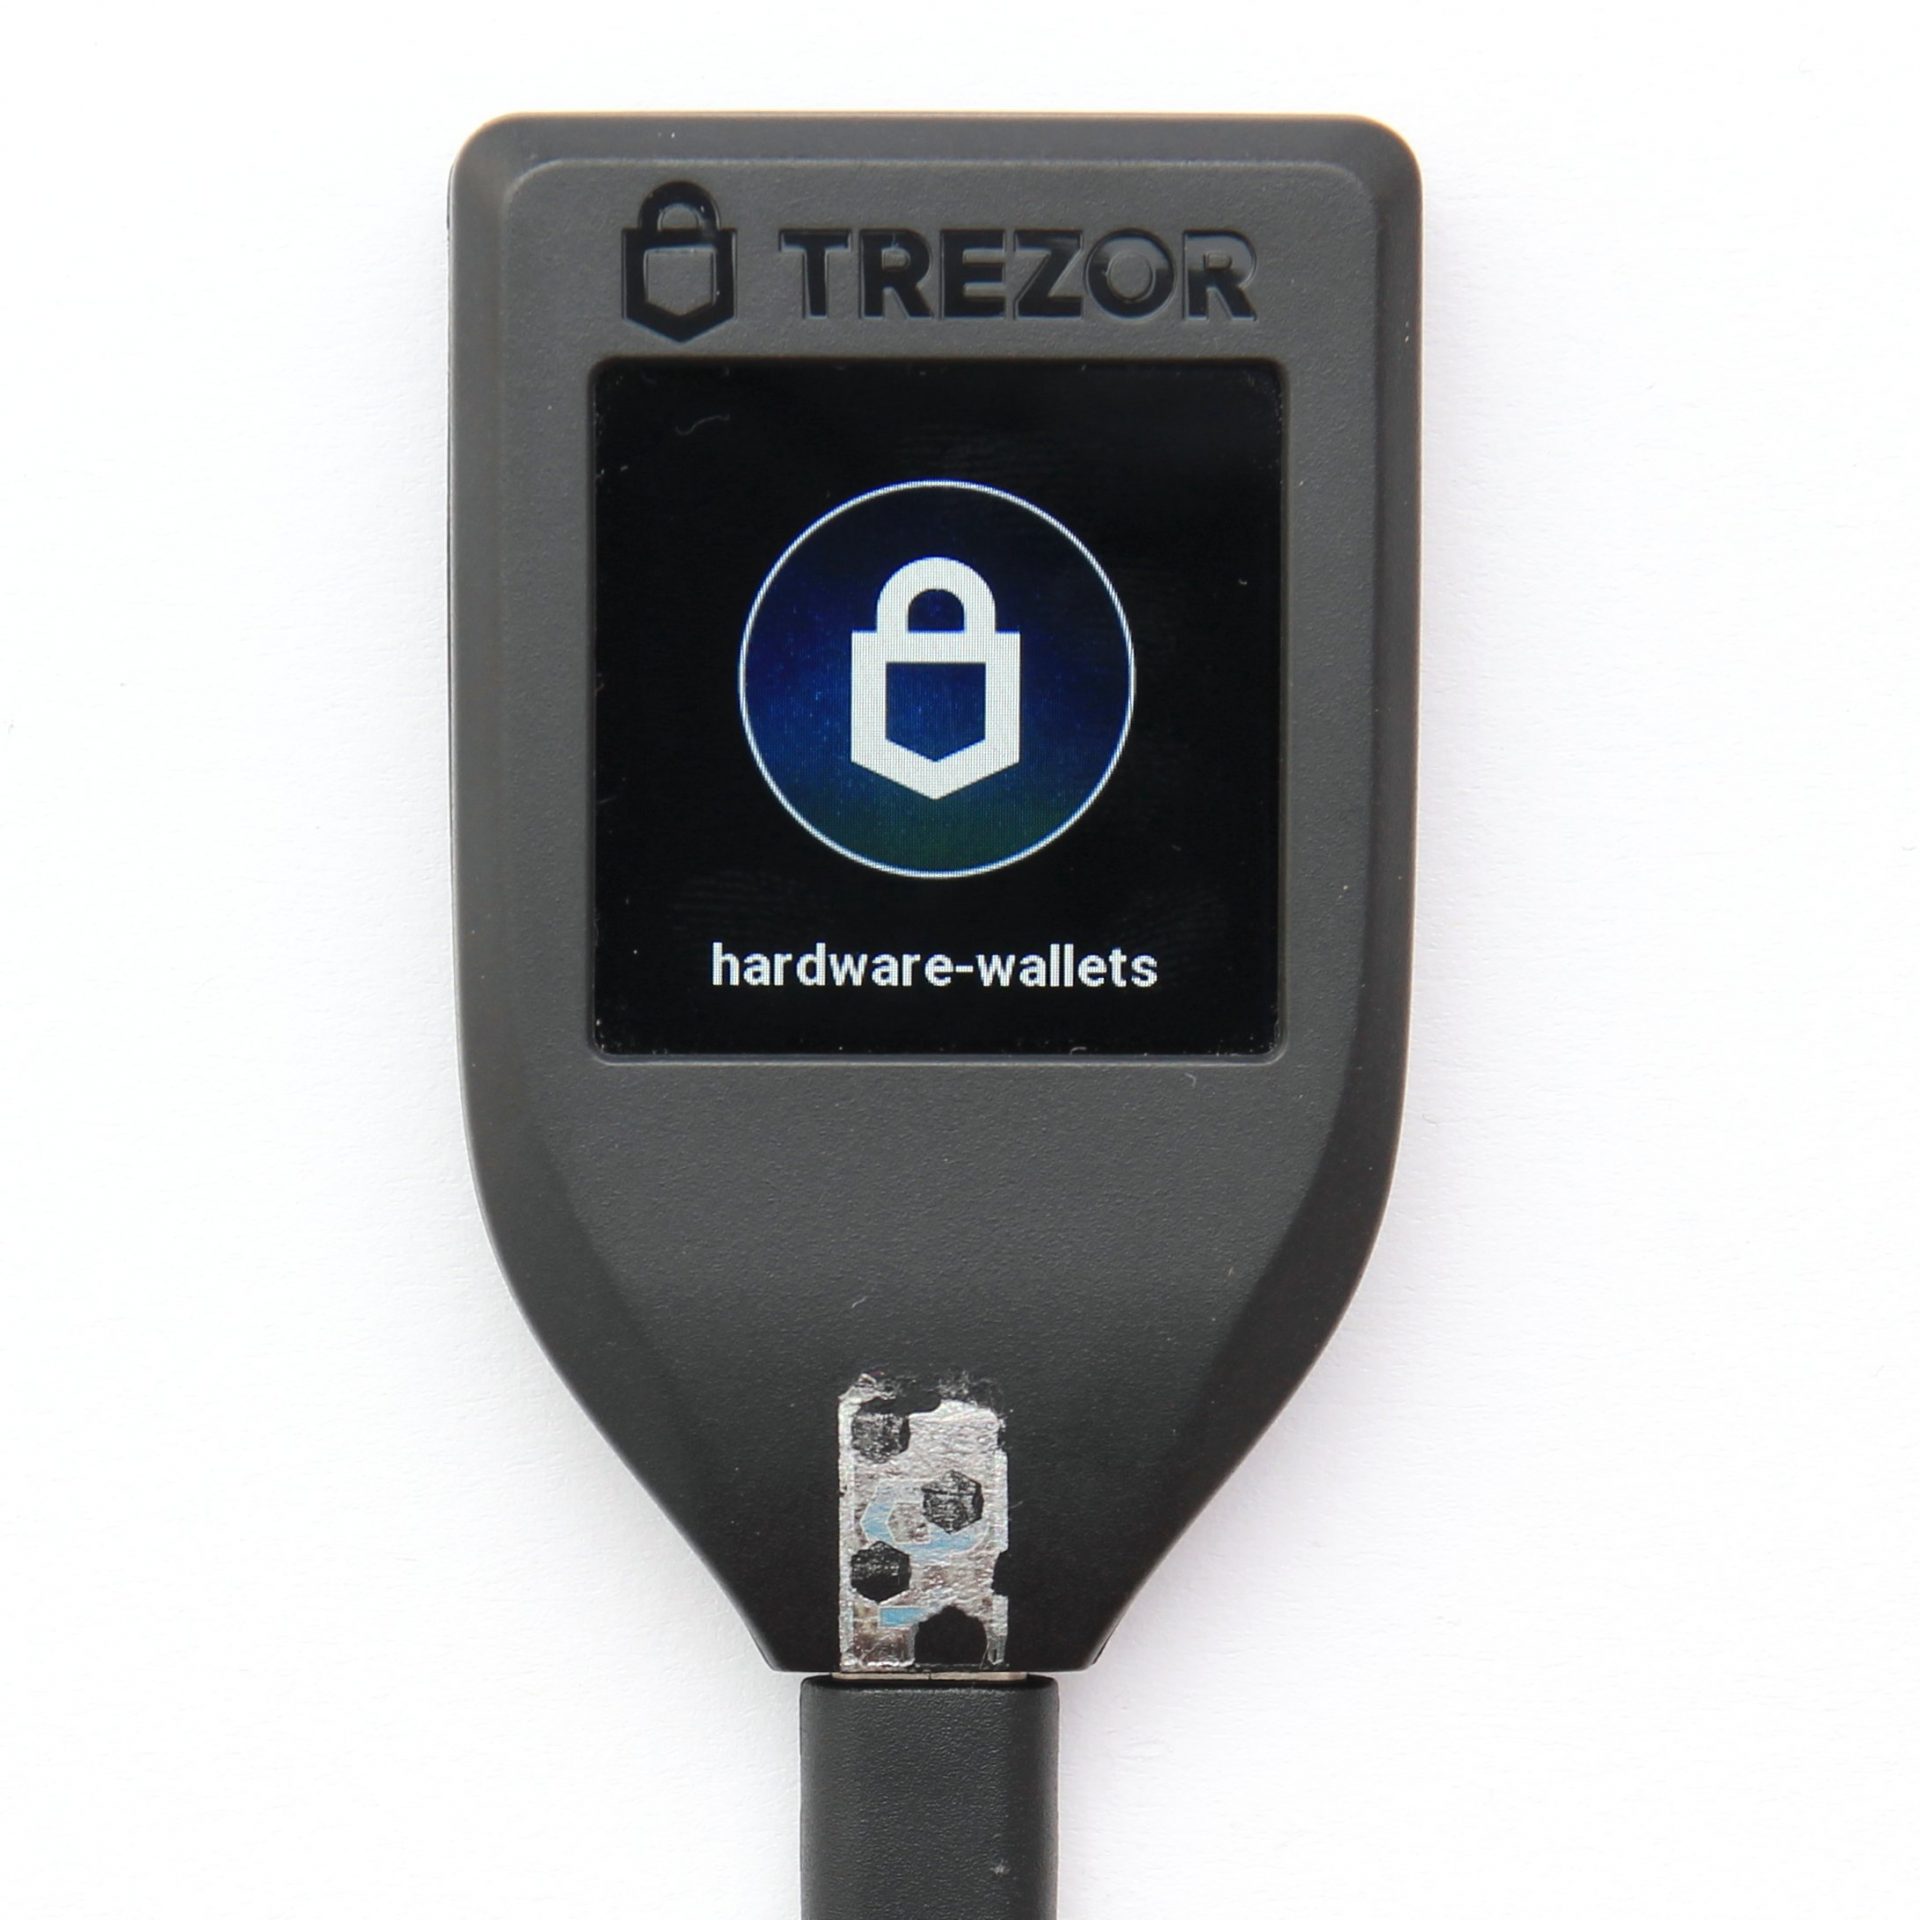
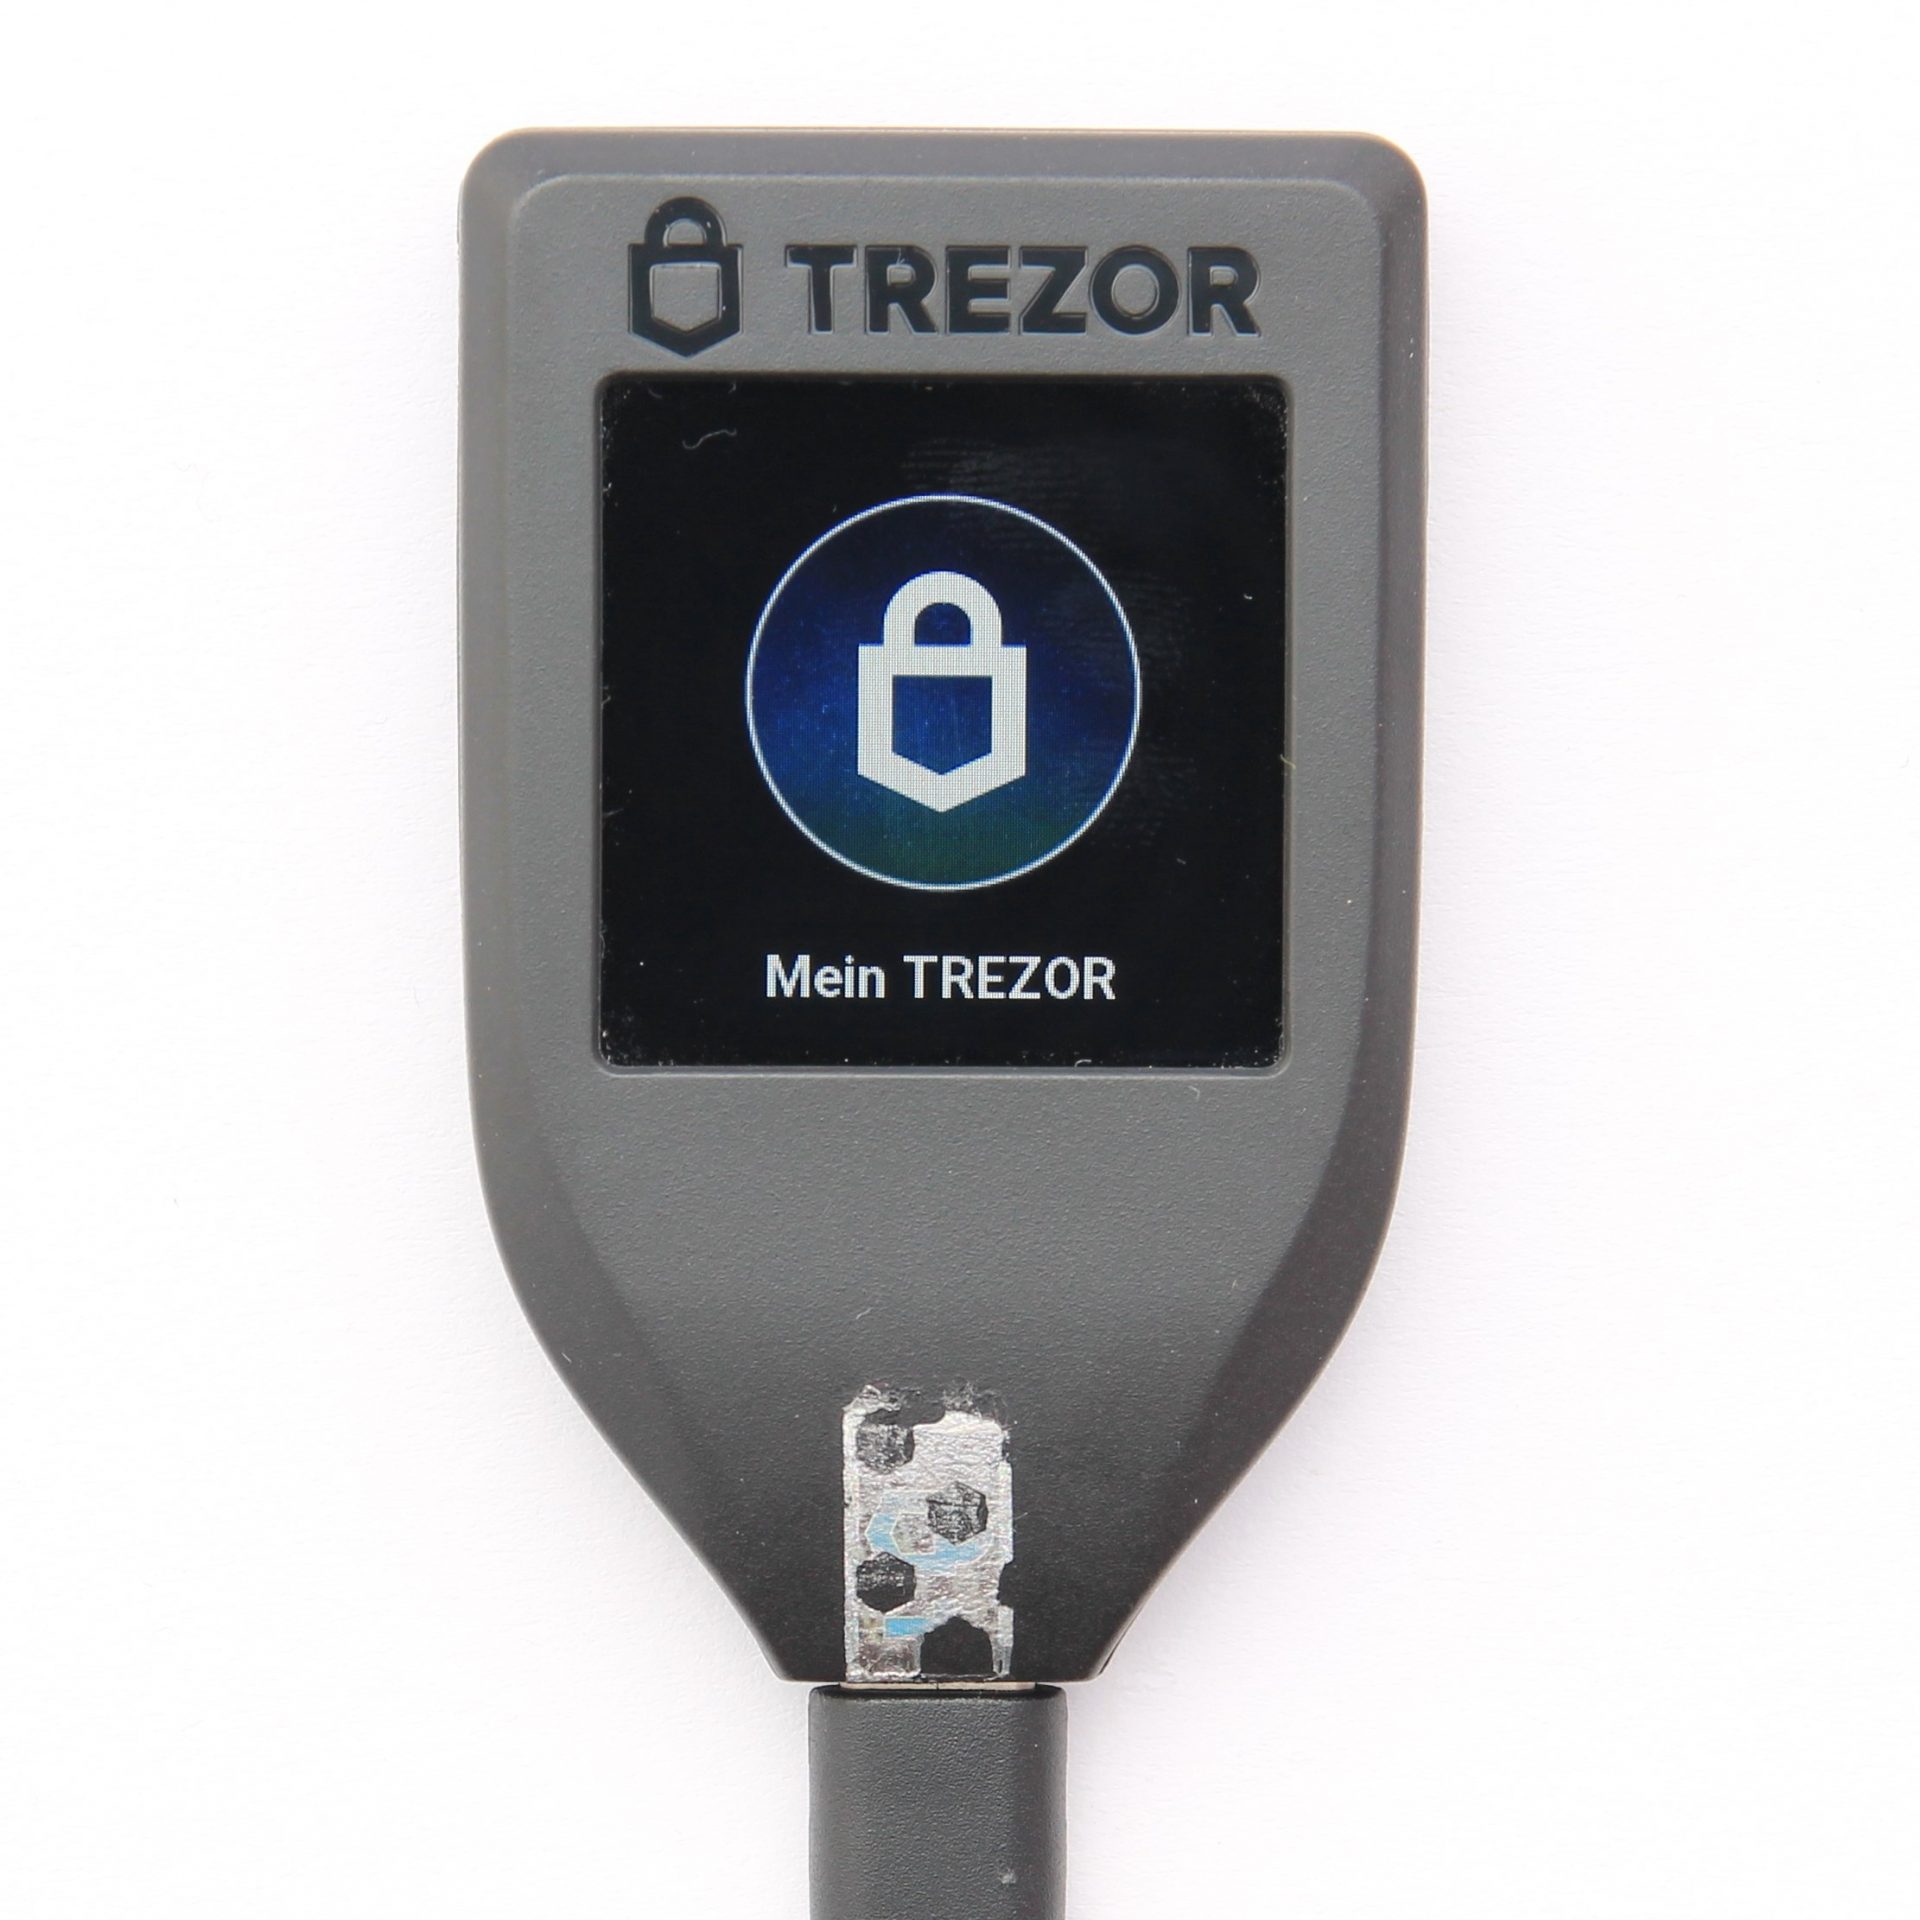
It is possible to choose your own name, which can be up to 16 characters long, or you can choose from predefined names. The action must then be confirmed via the hardware wallet. The new name now appears both on the display and in the web interface under the selected crypto currency.
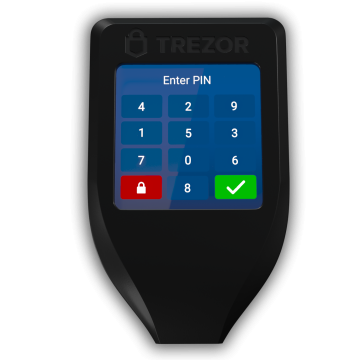
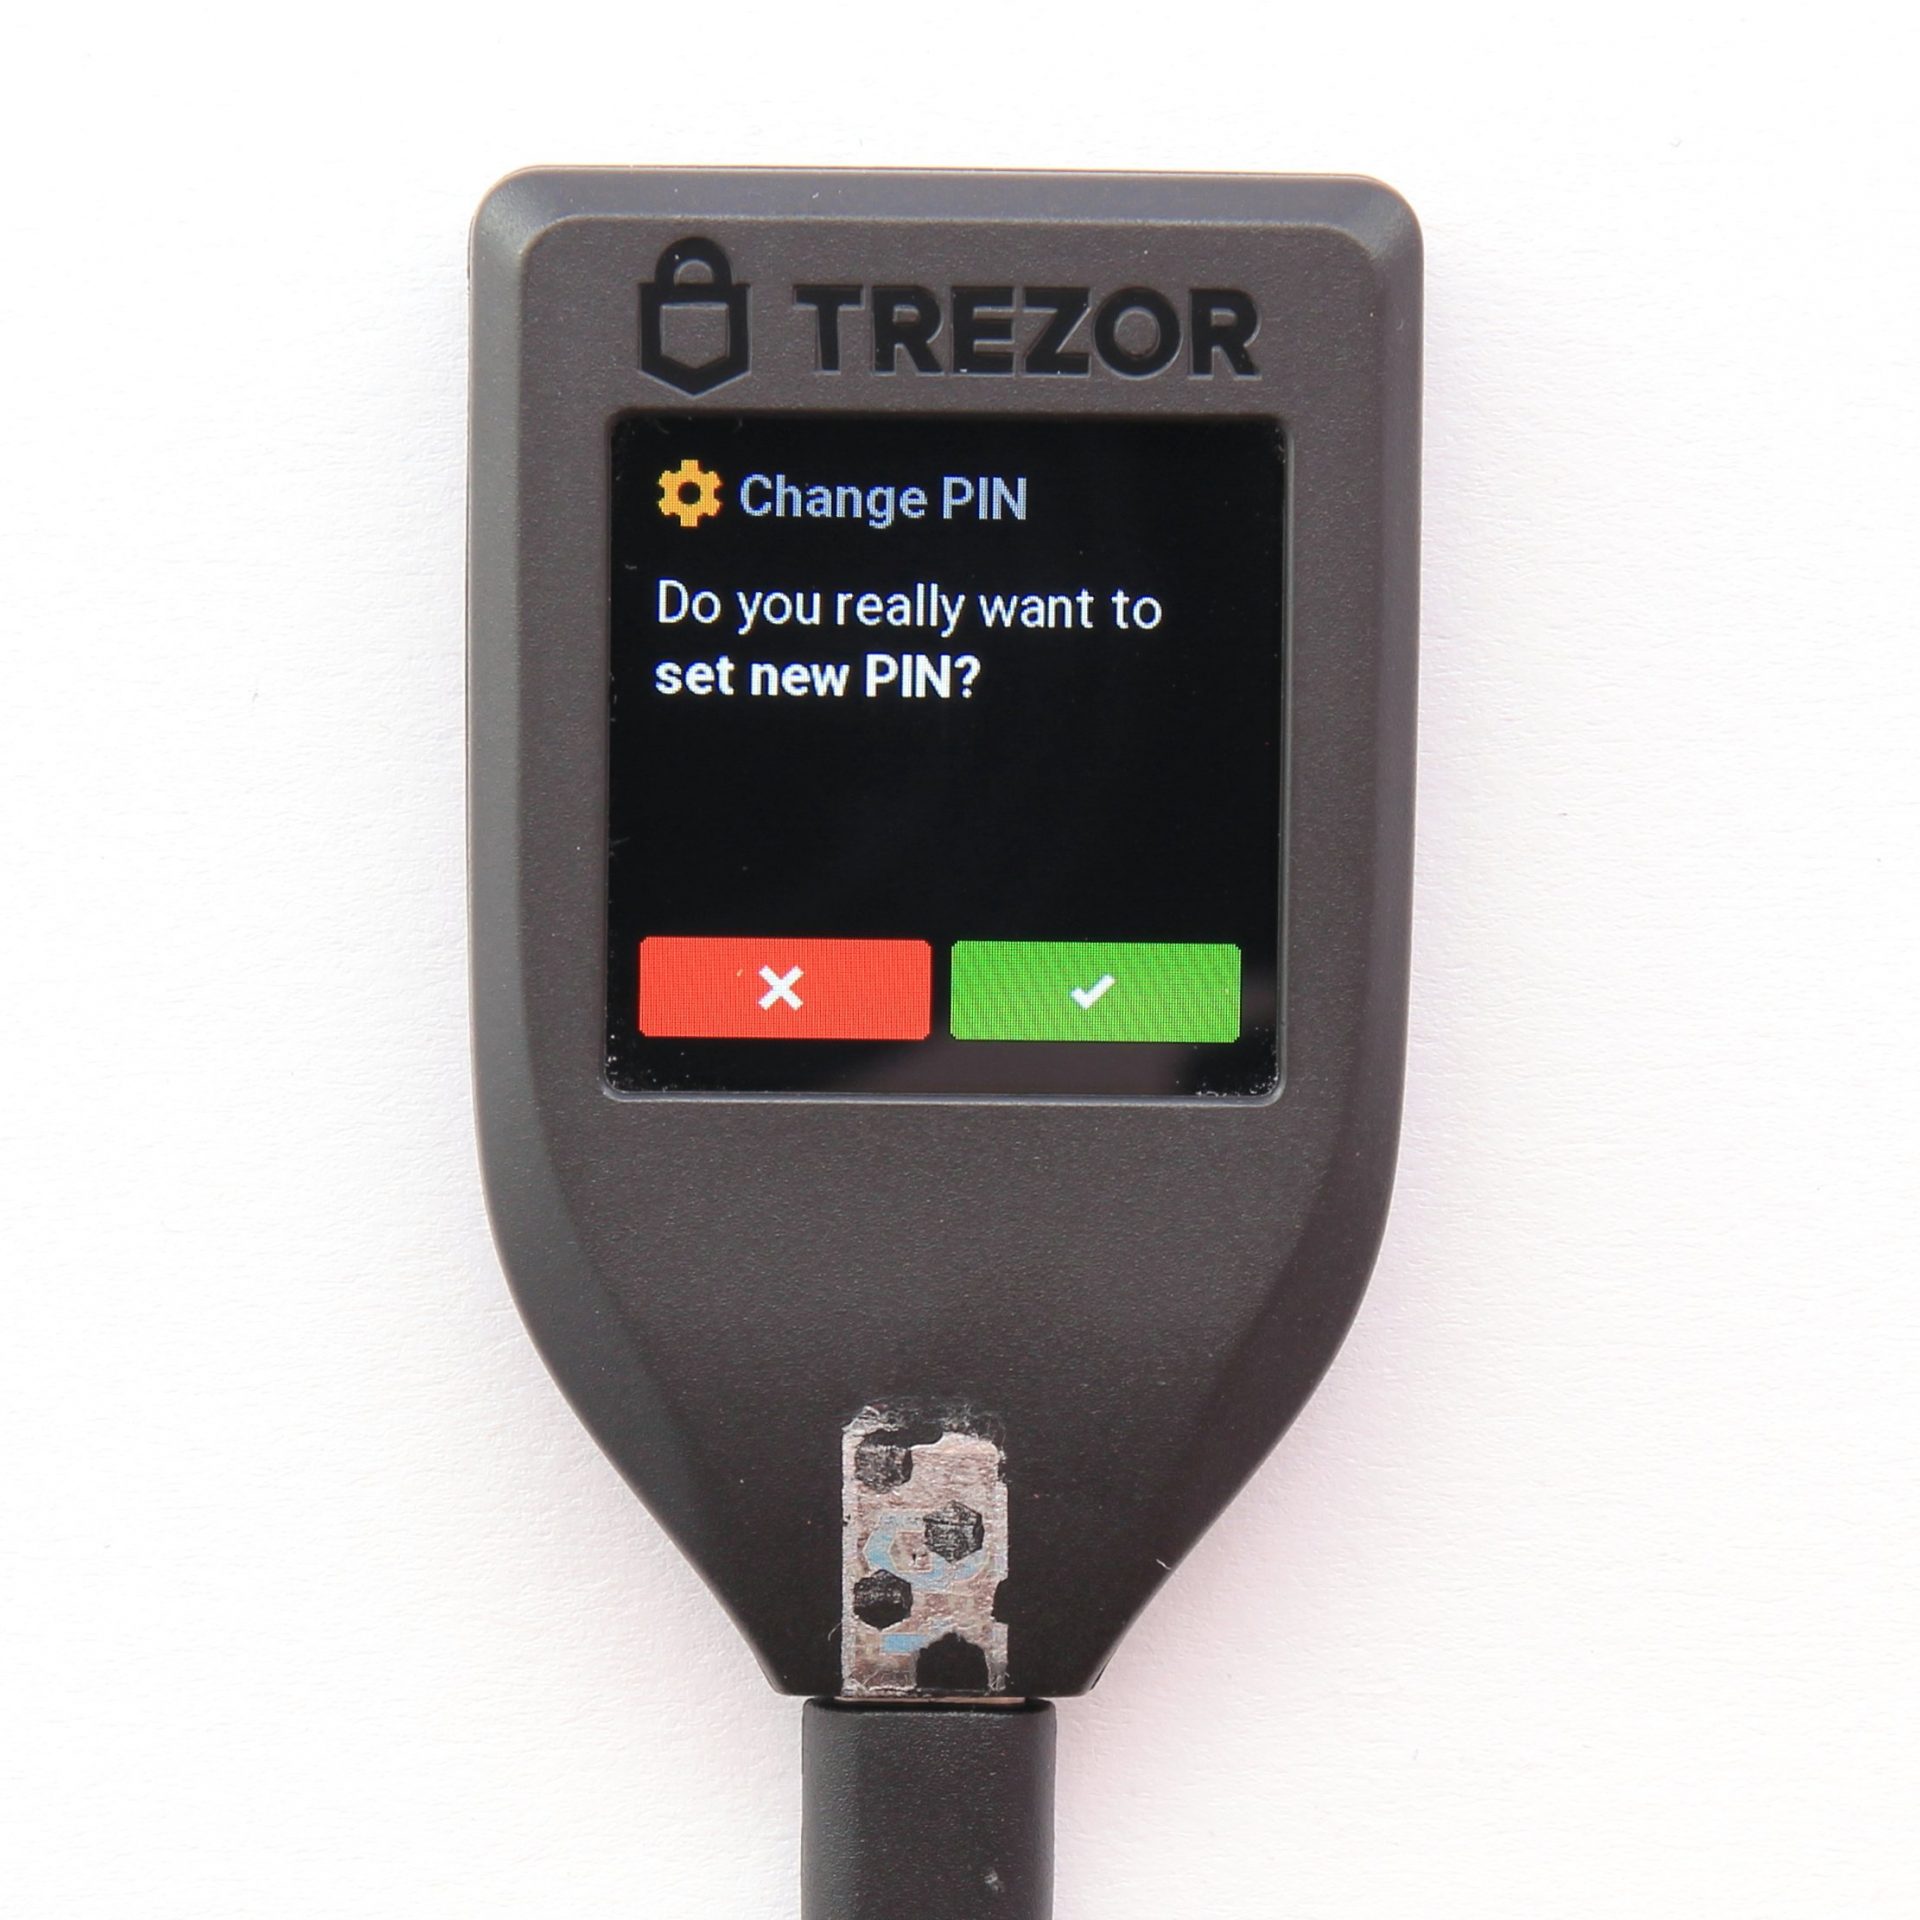
Set PIN code

A PIN is then set to protect the hardware wallet from unauthorized use. This ensures that only the owner can make transactions. The maximum PIN length is nine digits.
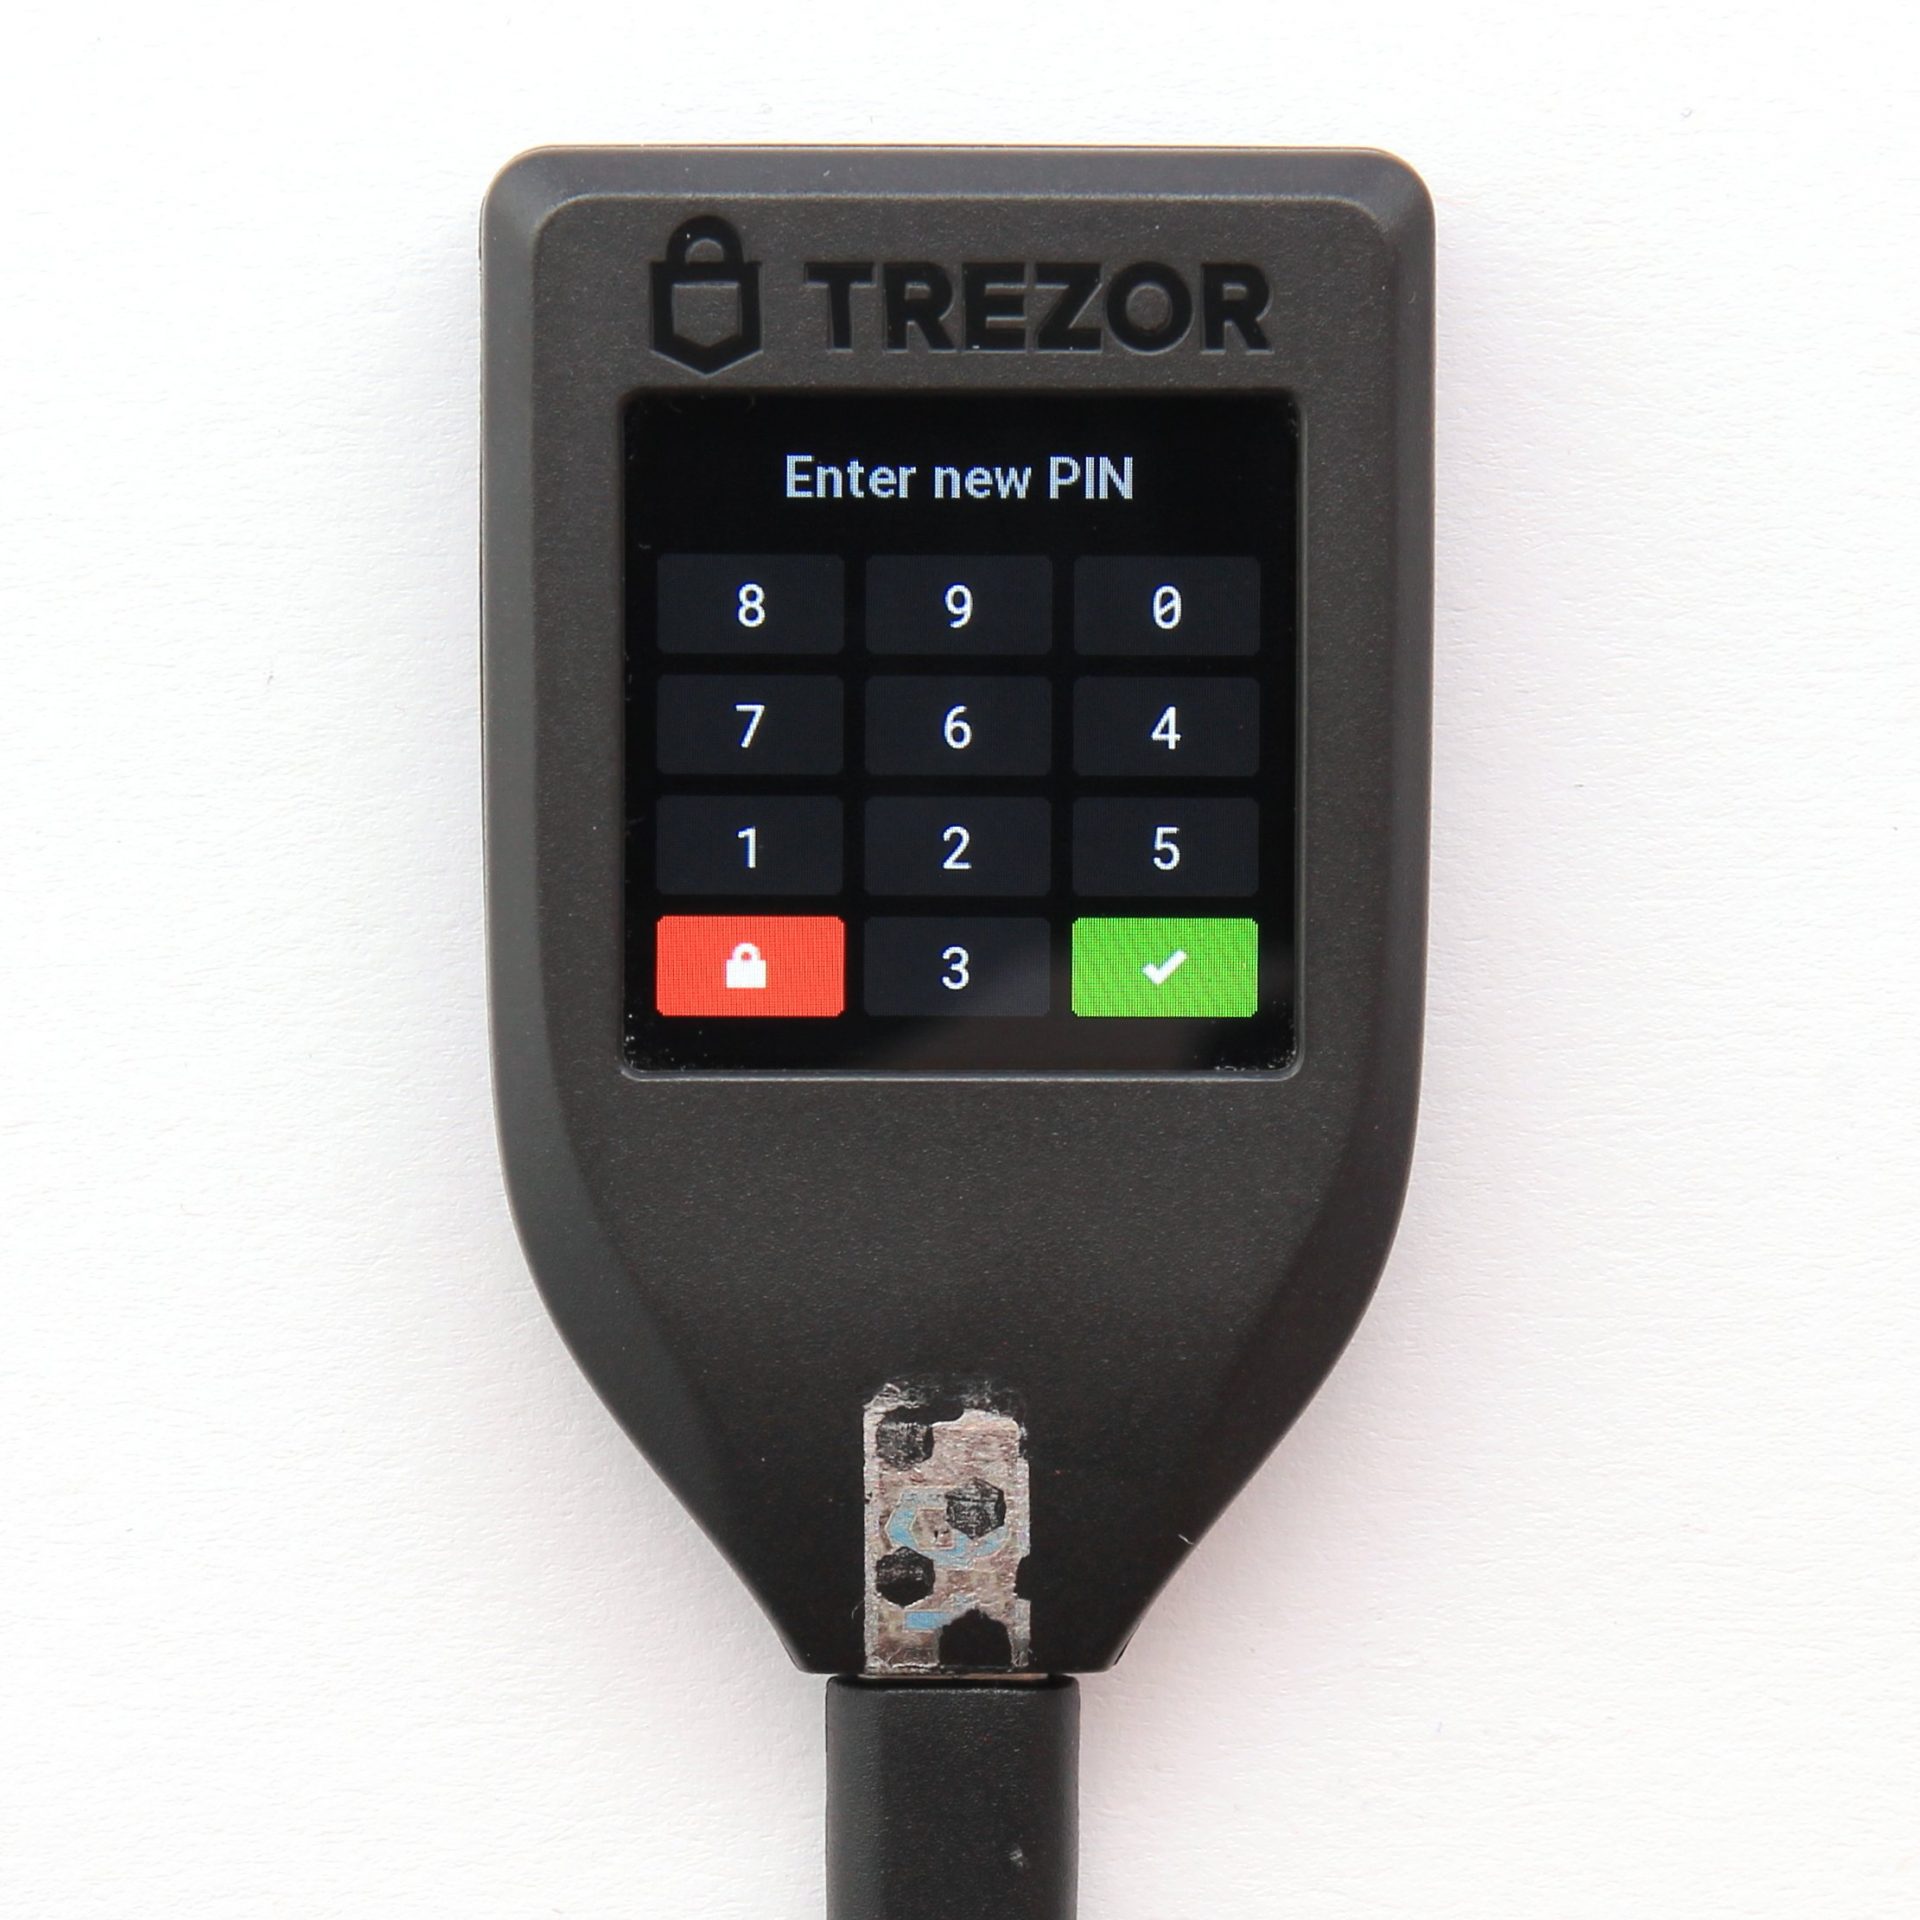
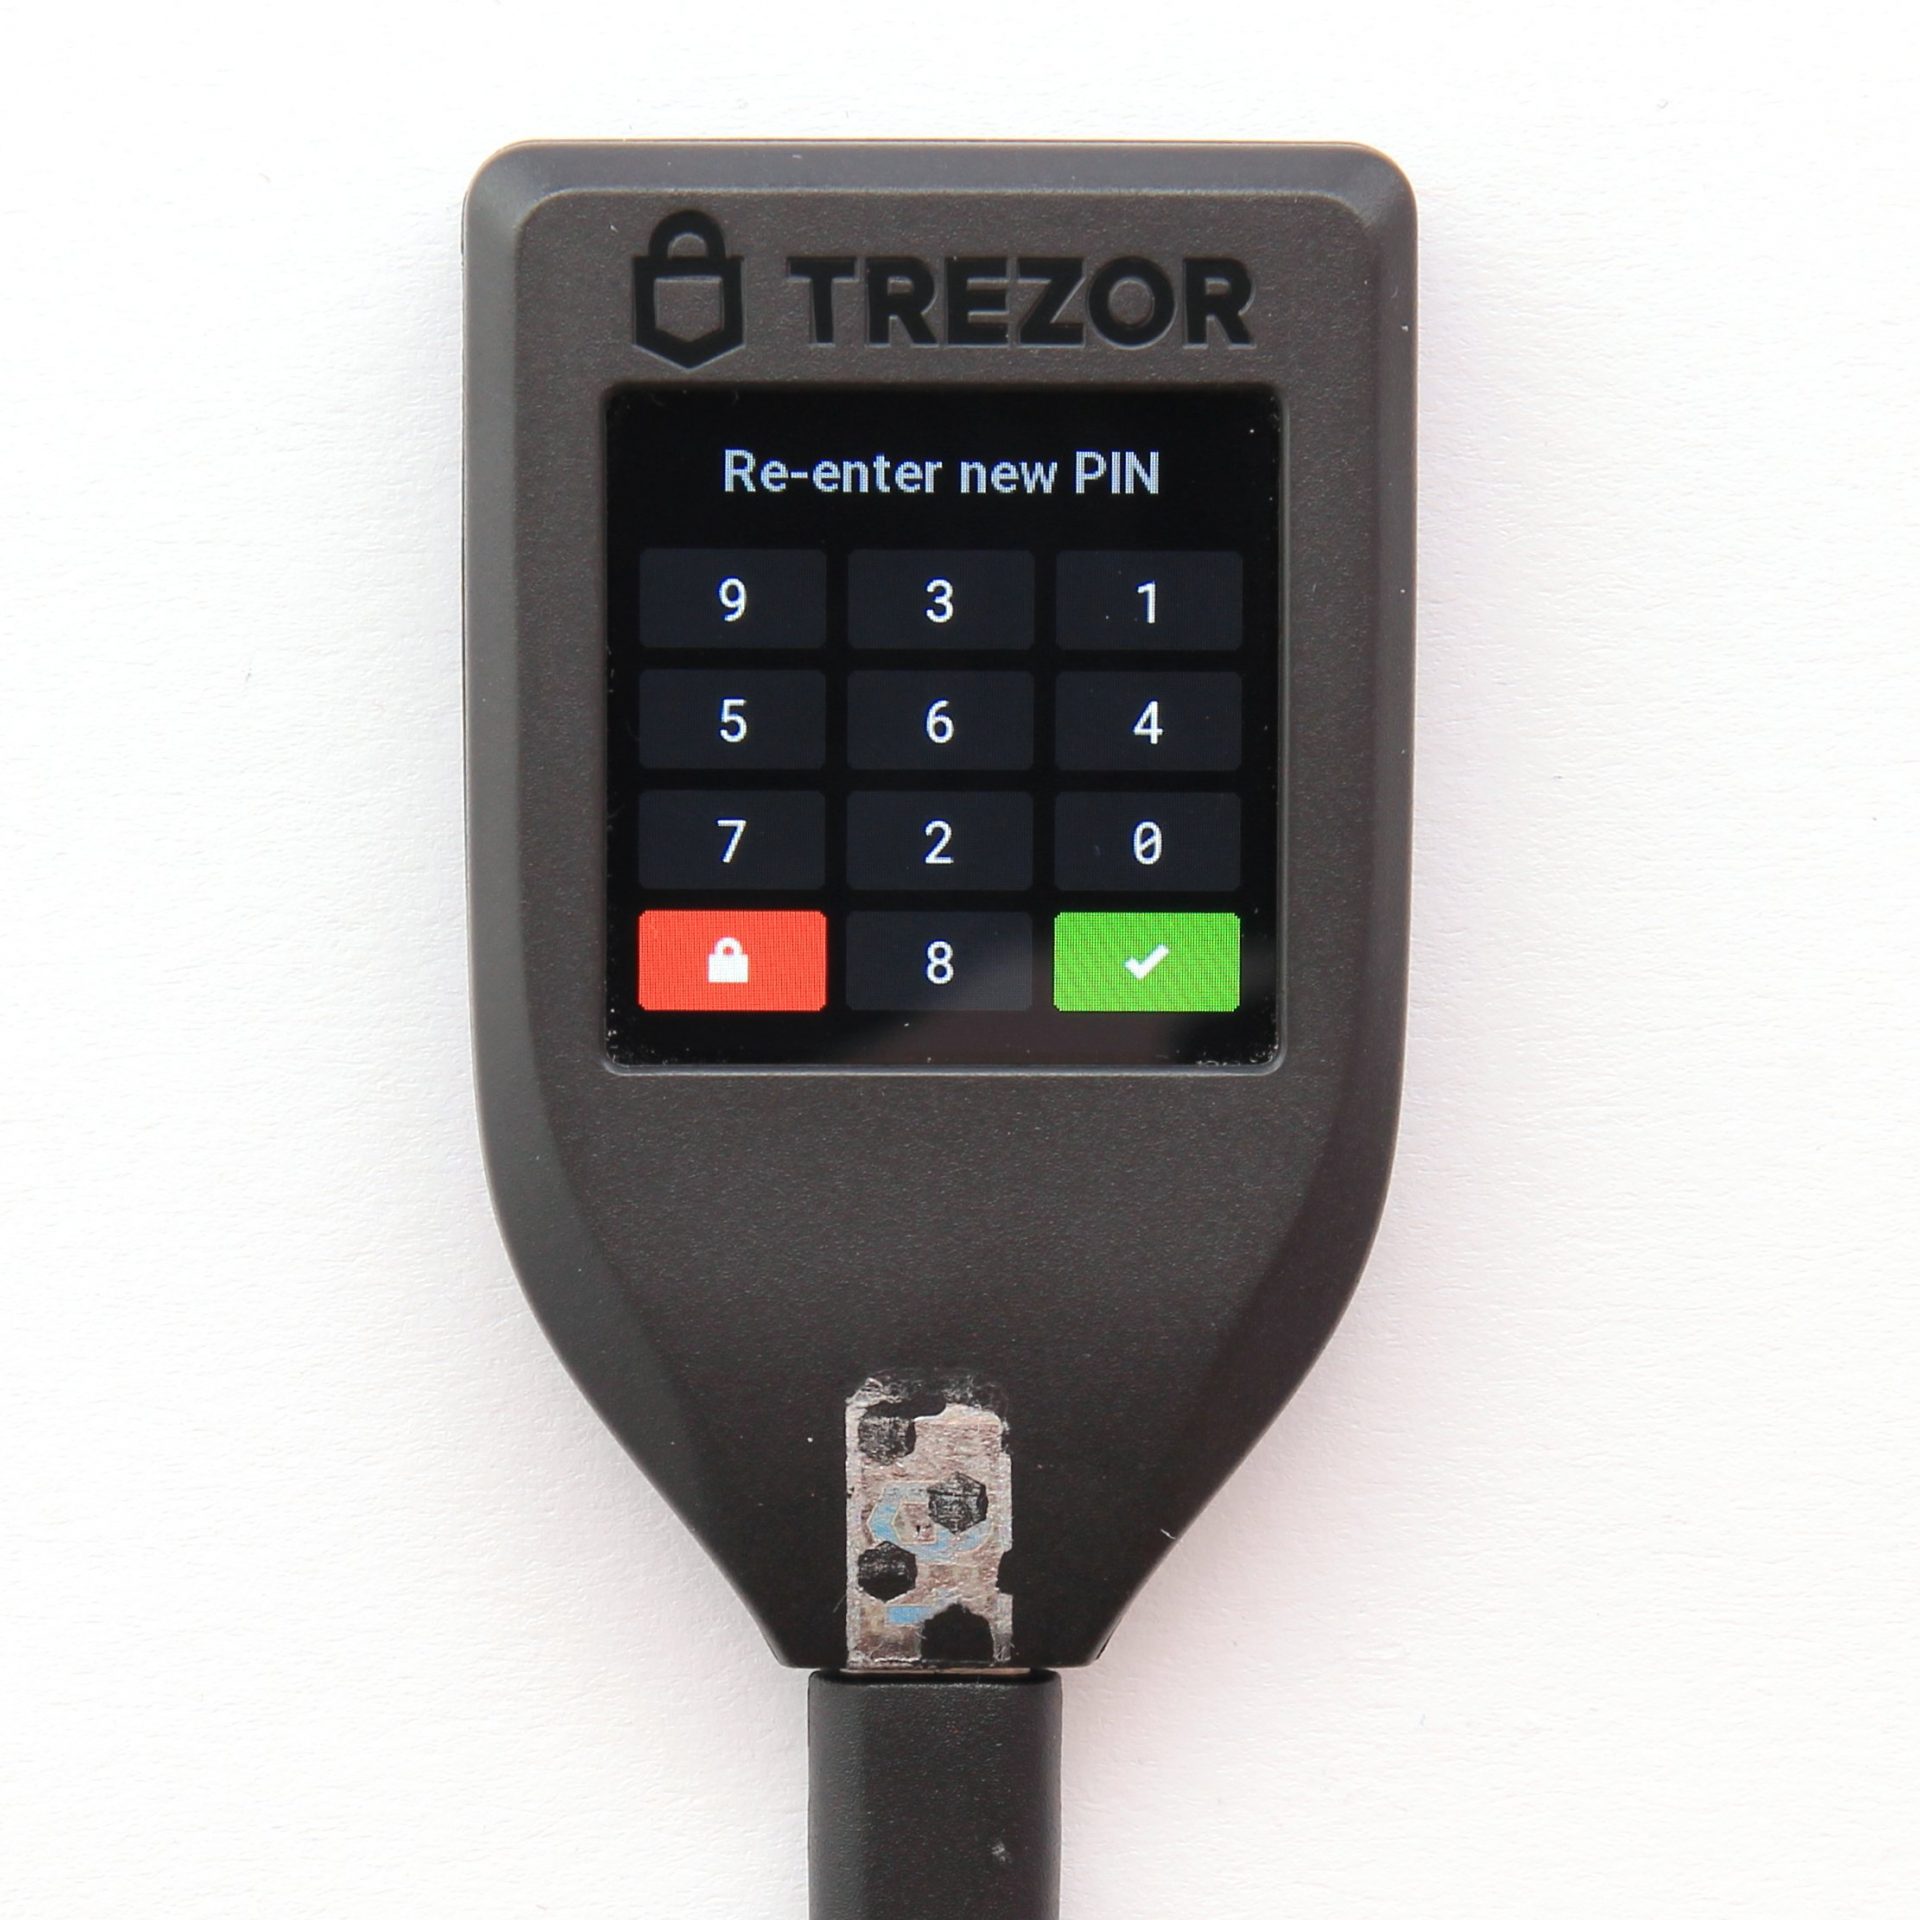
The second time you enter the PIN, the dial on the display of the hardware wallet changes. This prevents the PIN from being read.
Staying up to Date
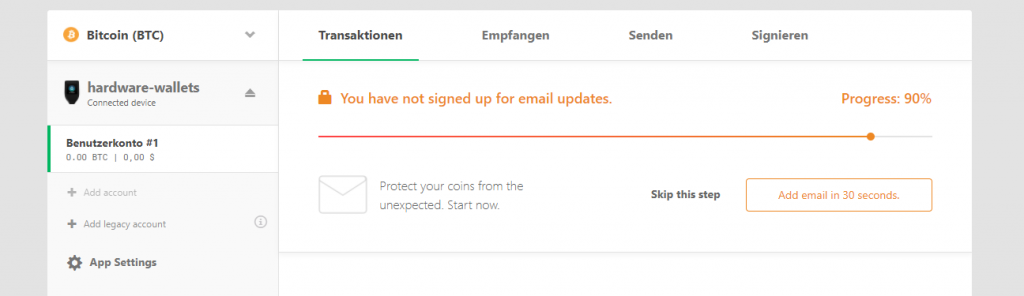
Finally, it is possible to register with his e-mail address. So you don’t miss any news, such as new updates or other important announcements. Subscribing is of course optional and TREZOR does not create a link between the wallet and e-mail address.
Once the last step has been completed, the installation of the TREZOR Model T is complete.
Conclusion of the facility
Thanks to the new TREZOR Wallet the setup is now much easier than with TREZOR One. The firmware now runs completely independently and the hardware wallet is then ready for use.
Nevertheless, you will be pointed out conspicuously enough to perform further steps like a backup. The individual steps are well described, so that hardly any questions remain unanswered. Confirming actions on the hardware wallet is better thanks to the color touchscreen, as more information can be displayed at once.
Handling of the TREZOR Model T
After the setup process, the TREZOR Model T hardware wallet is ready for its everyday tasks.
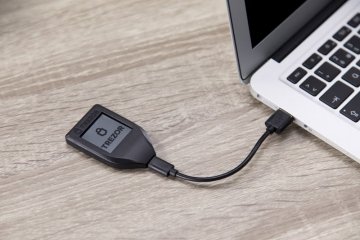
Establish Connection
In principle, the TREZOR Model T is connected to a computer on which the TREZOR Bridge is located using the cable supplied. Other USB cables could cause problems, as well as certain USB ports.
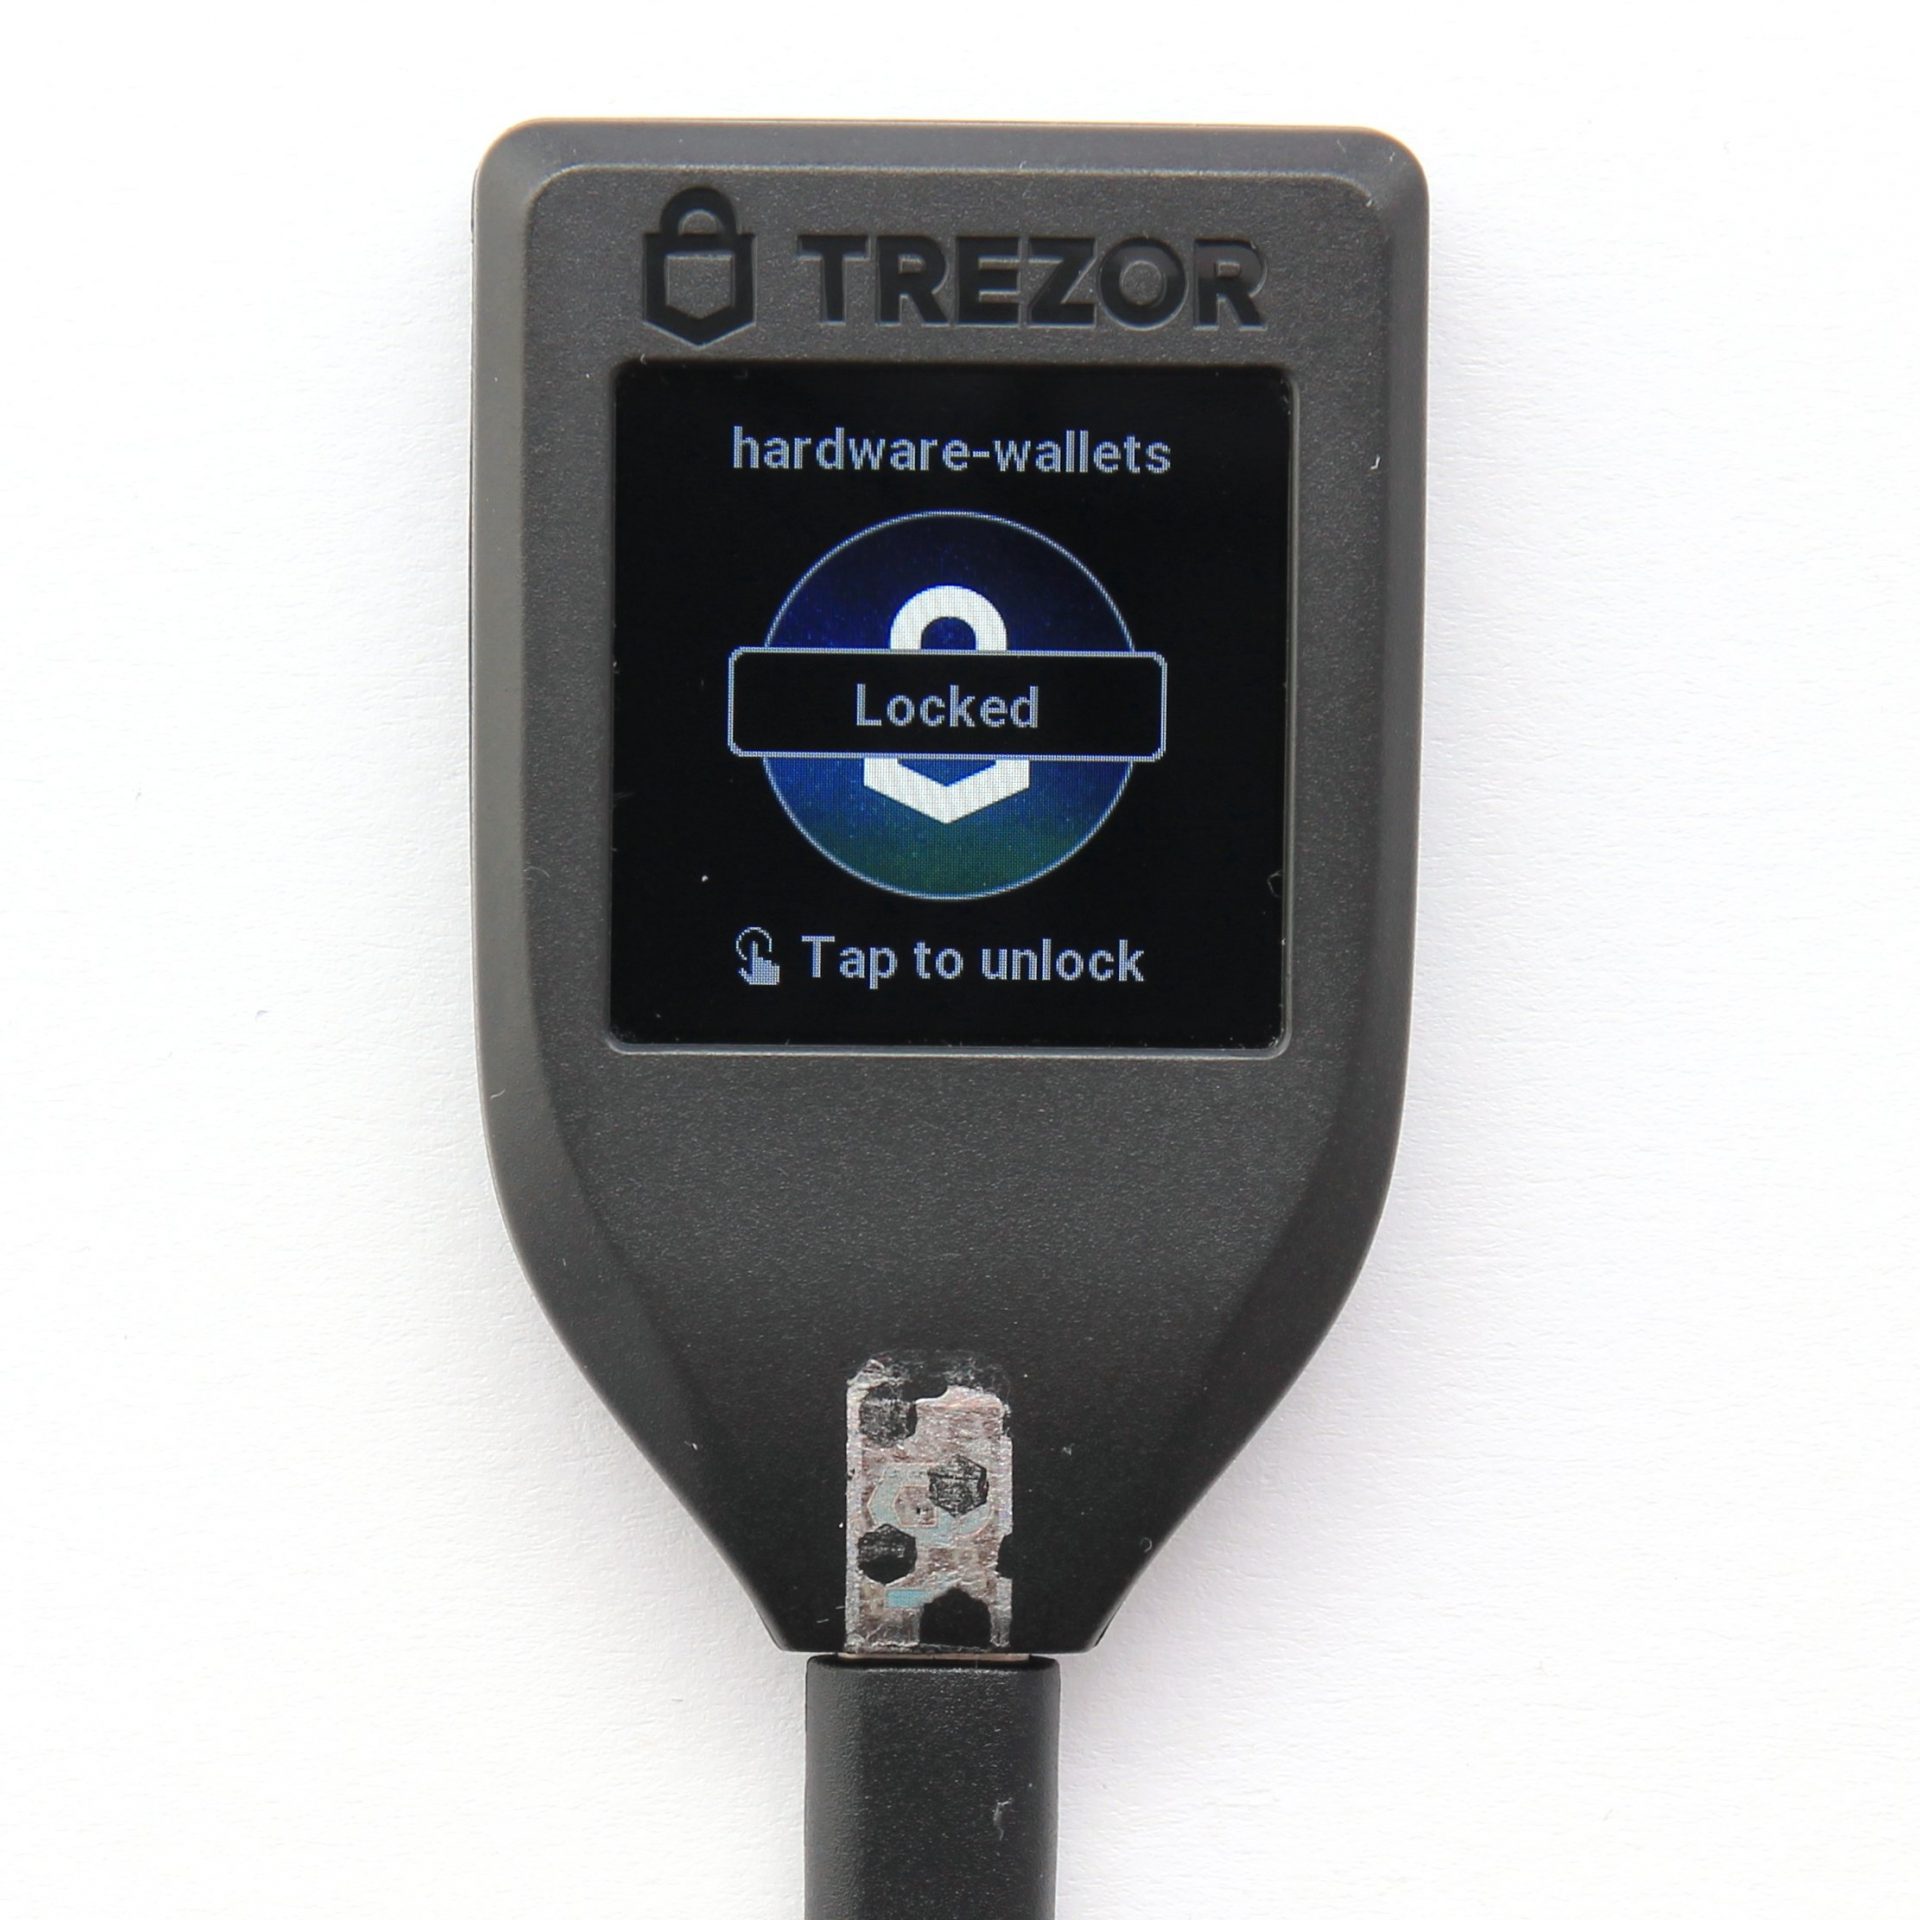

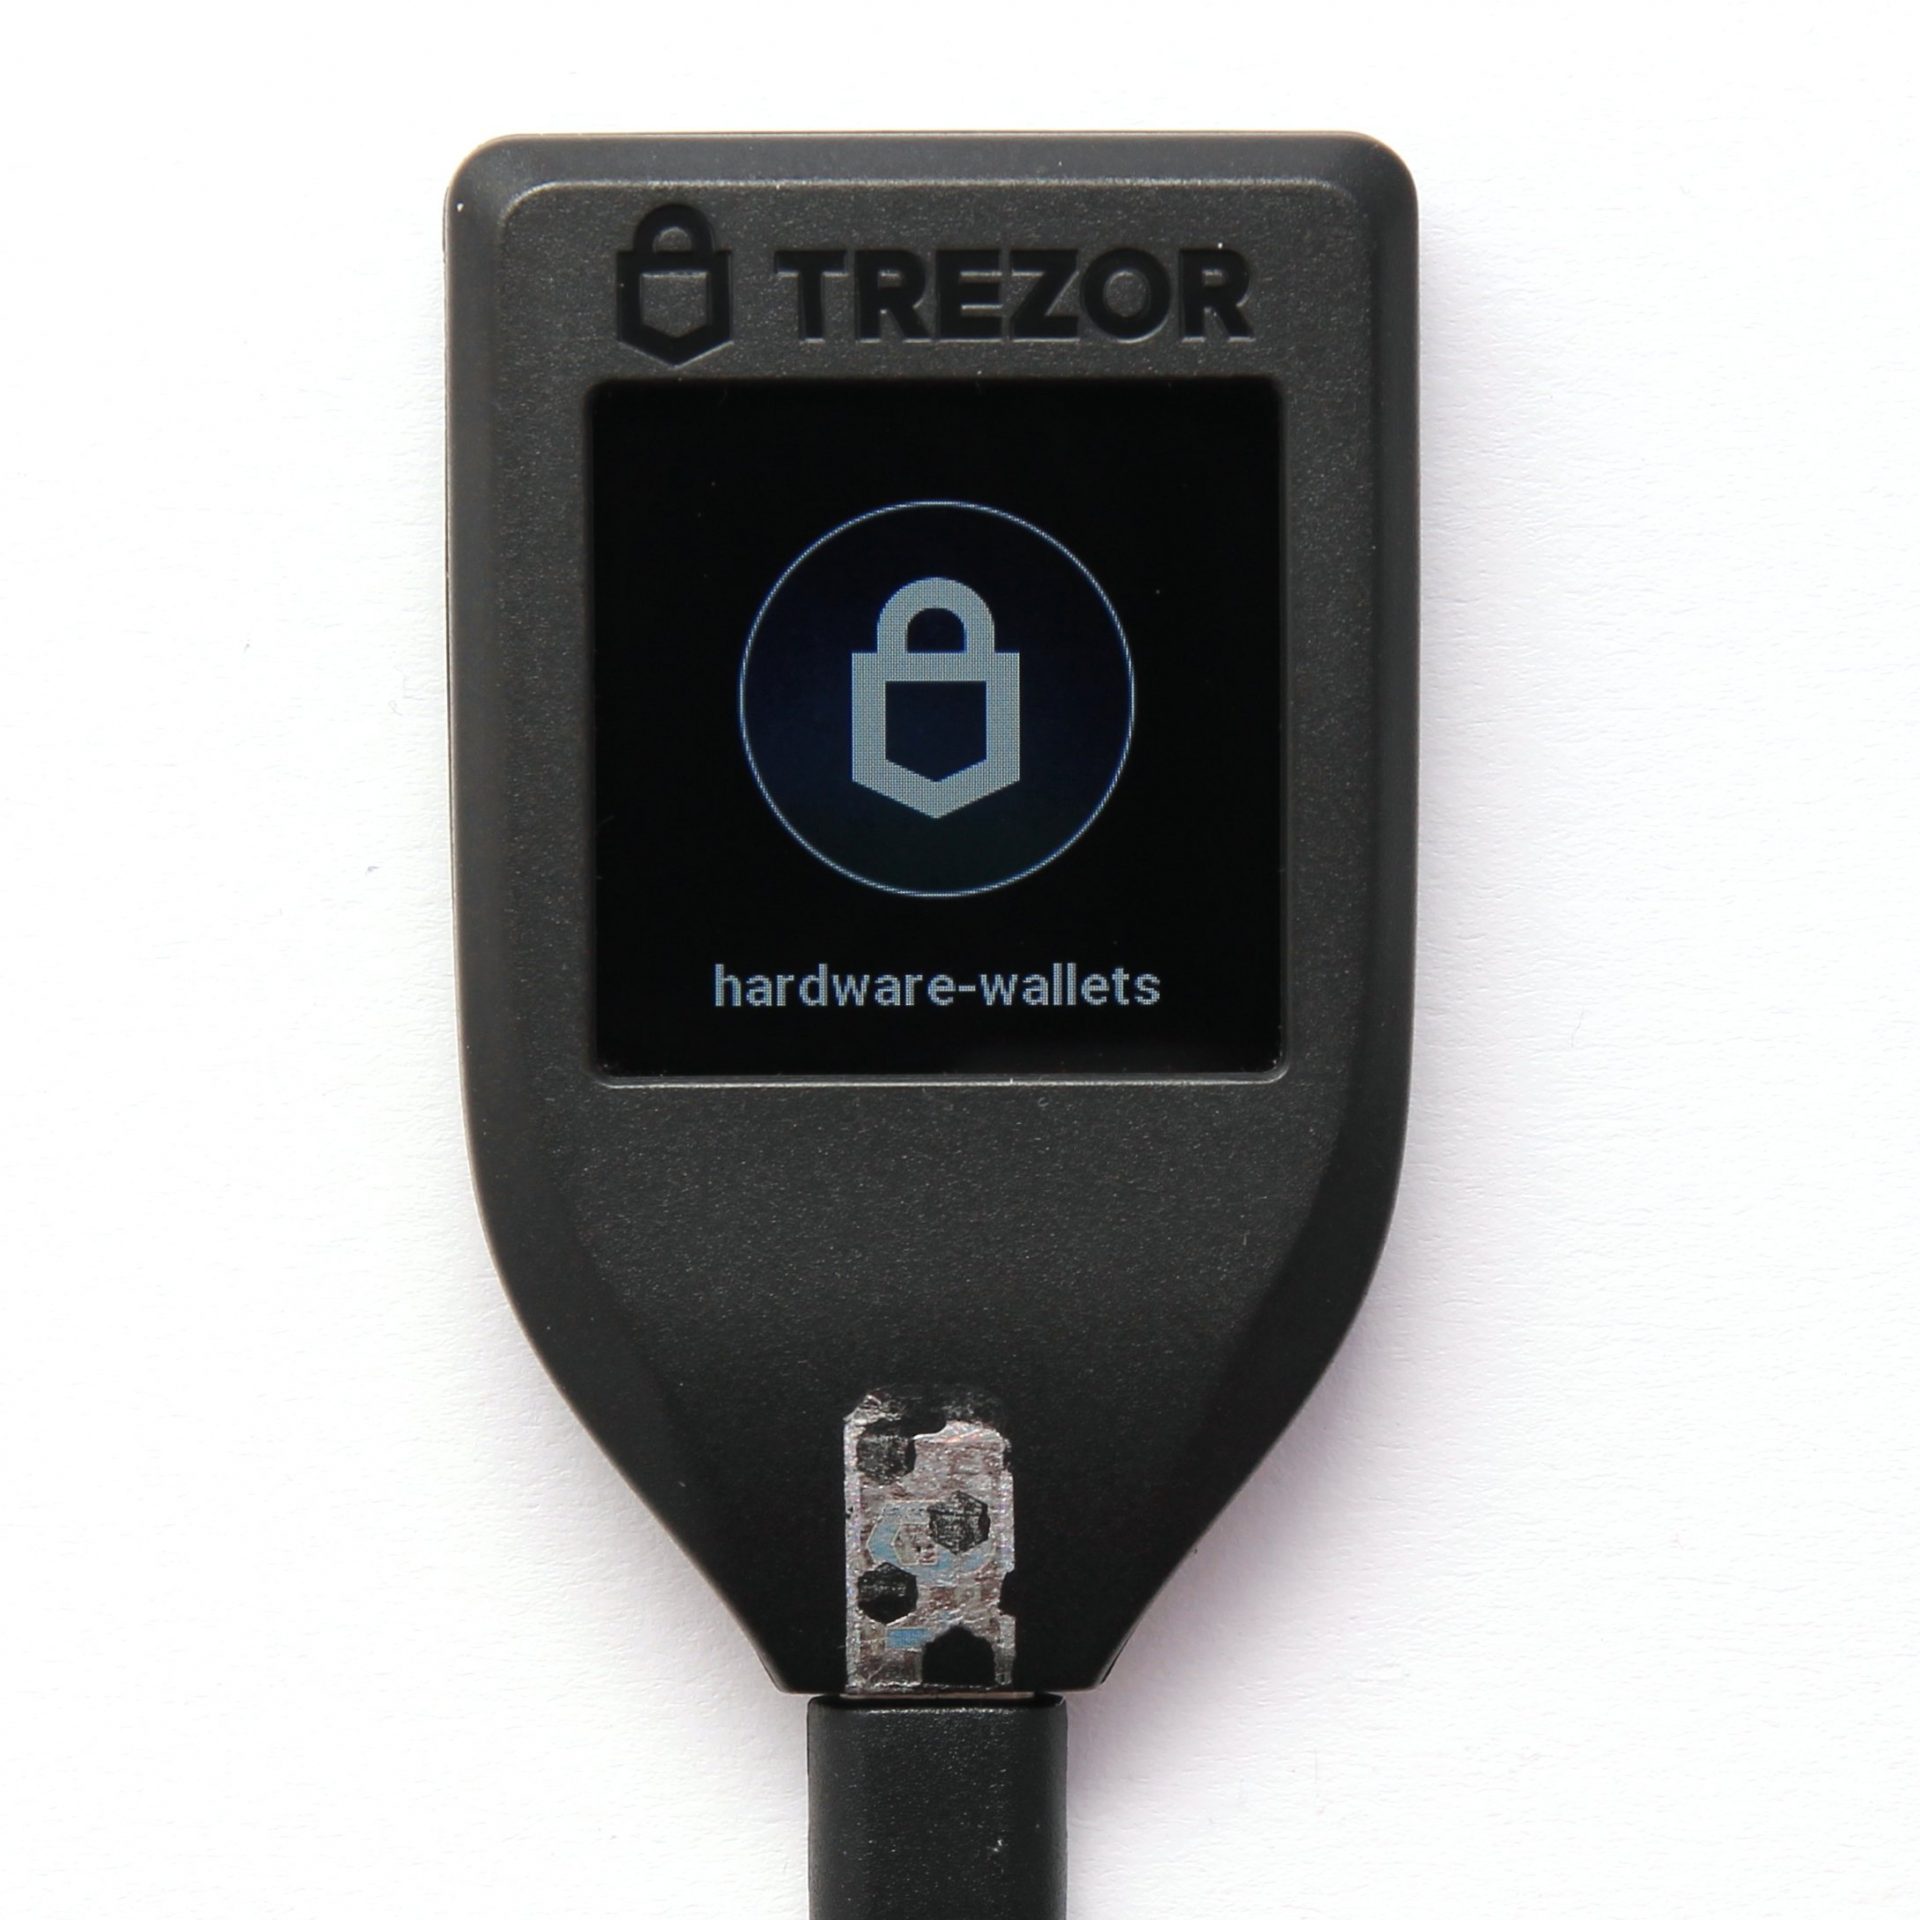
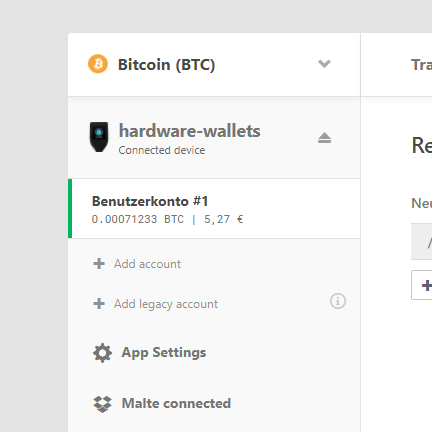
In this state, the hardware wallet is still locked. The hardware wallet is unlocked by tapping the display once and entering the PIN. Then start the TREZOR Wallet and you can access your cryptocurrencies. It is also possible to have read-only access to the data if the hardware wallet is not connected – more on this later.
Bitcoin is already selected by default, so you can get started right away.
Receive Cryptocurrencies like Bitcoin
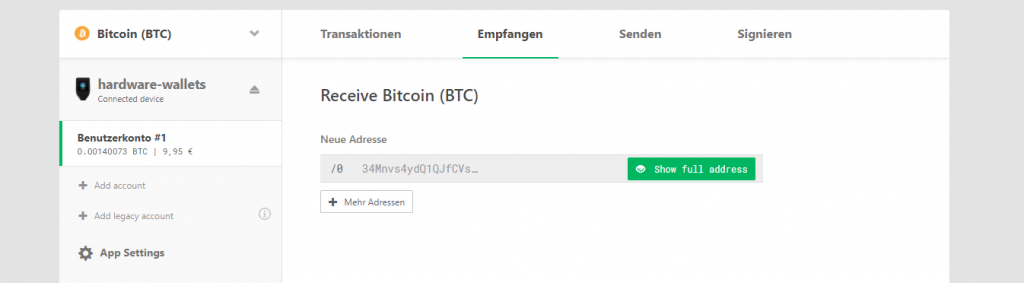
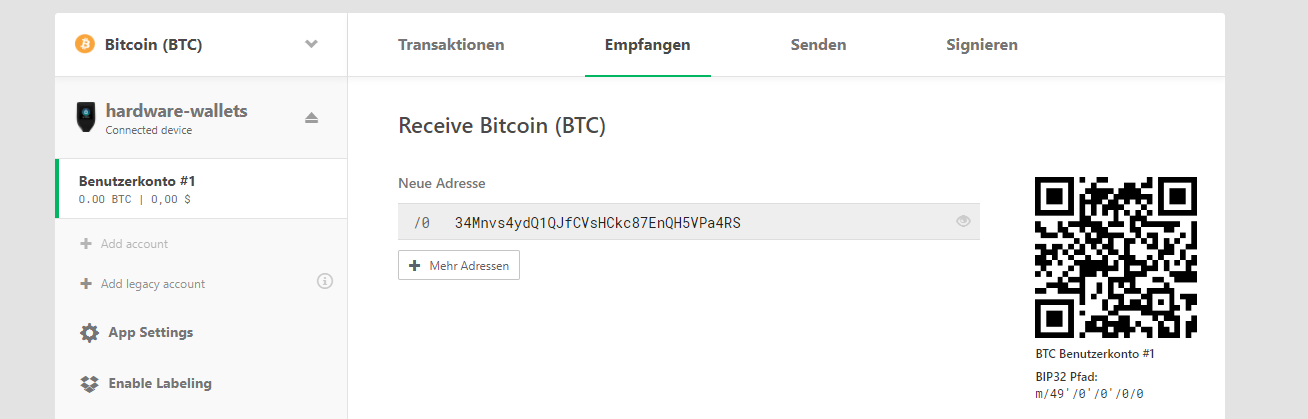
To receive coins with the TREZOR Model T, switch to the corresponding crypto currency and then to the “Receive” tab. For security reasons, the entire address is not displayed here. To do this, it must first be verified on the display of the TREZOR Model T in order to prevent manipulation.
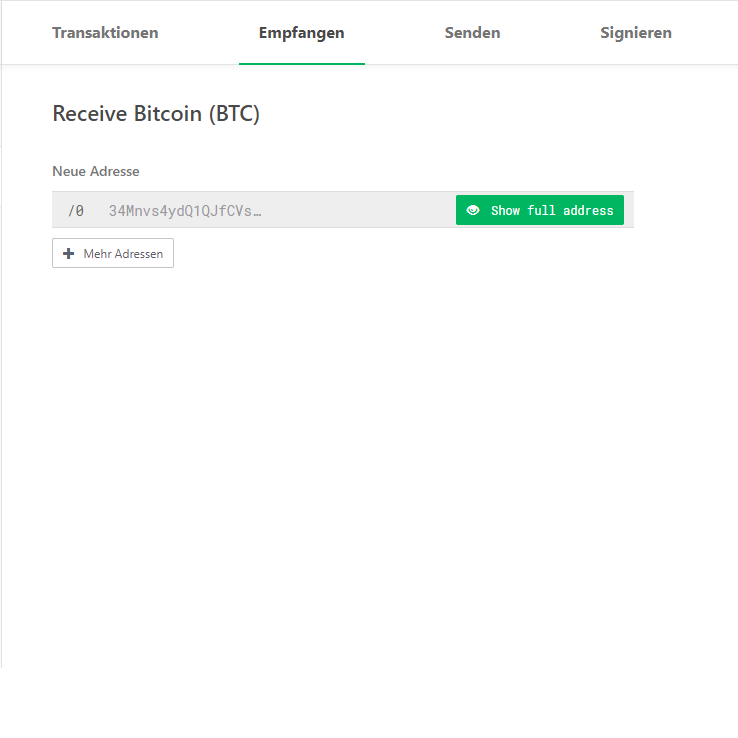

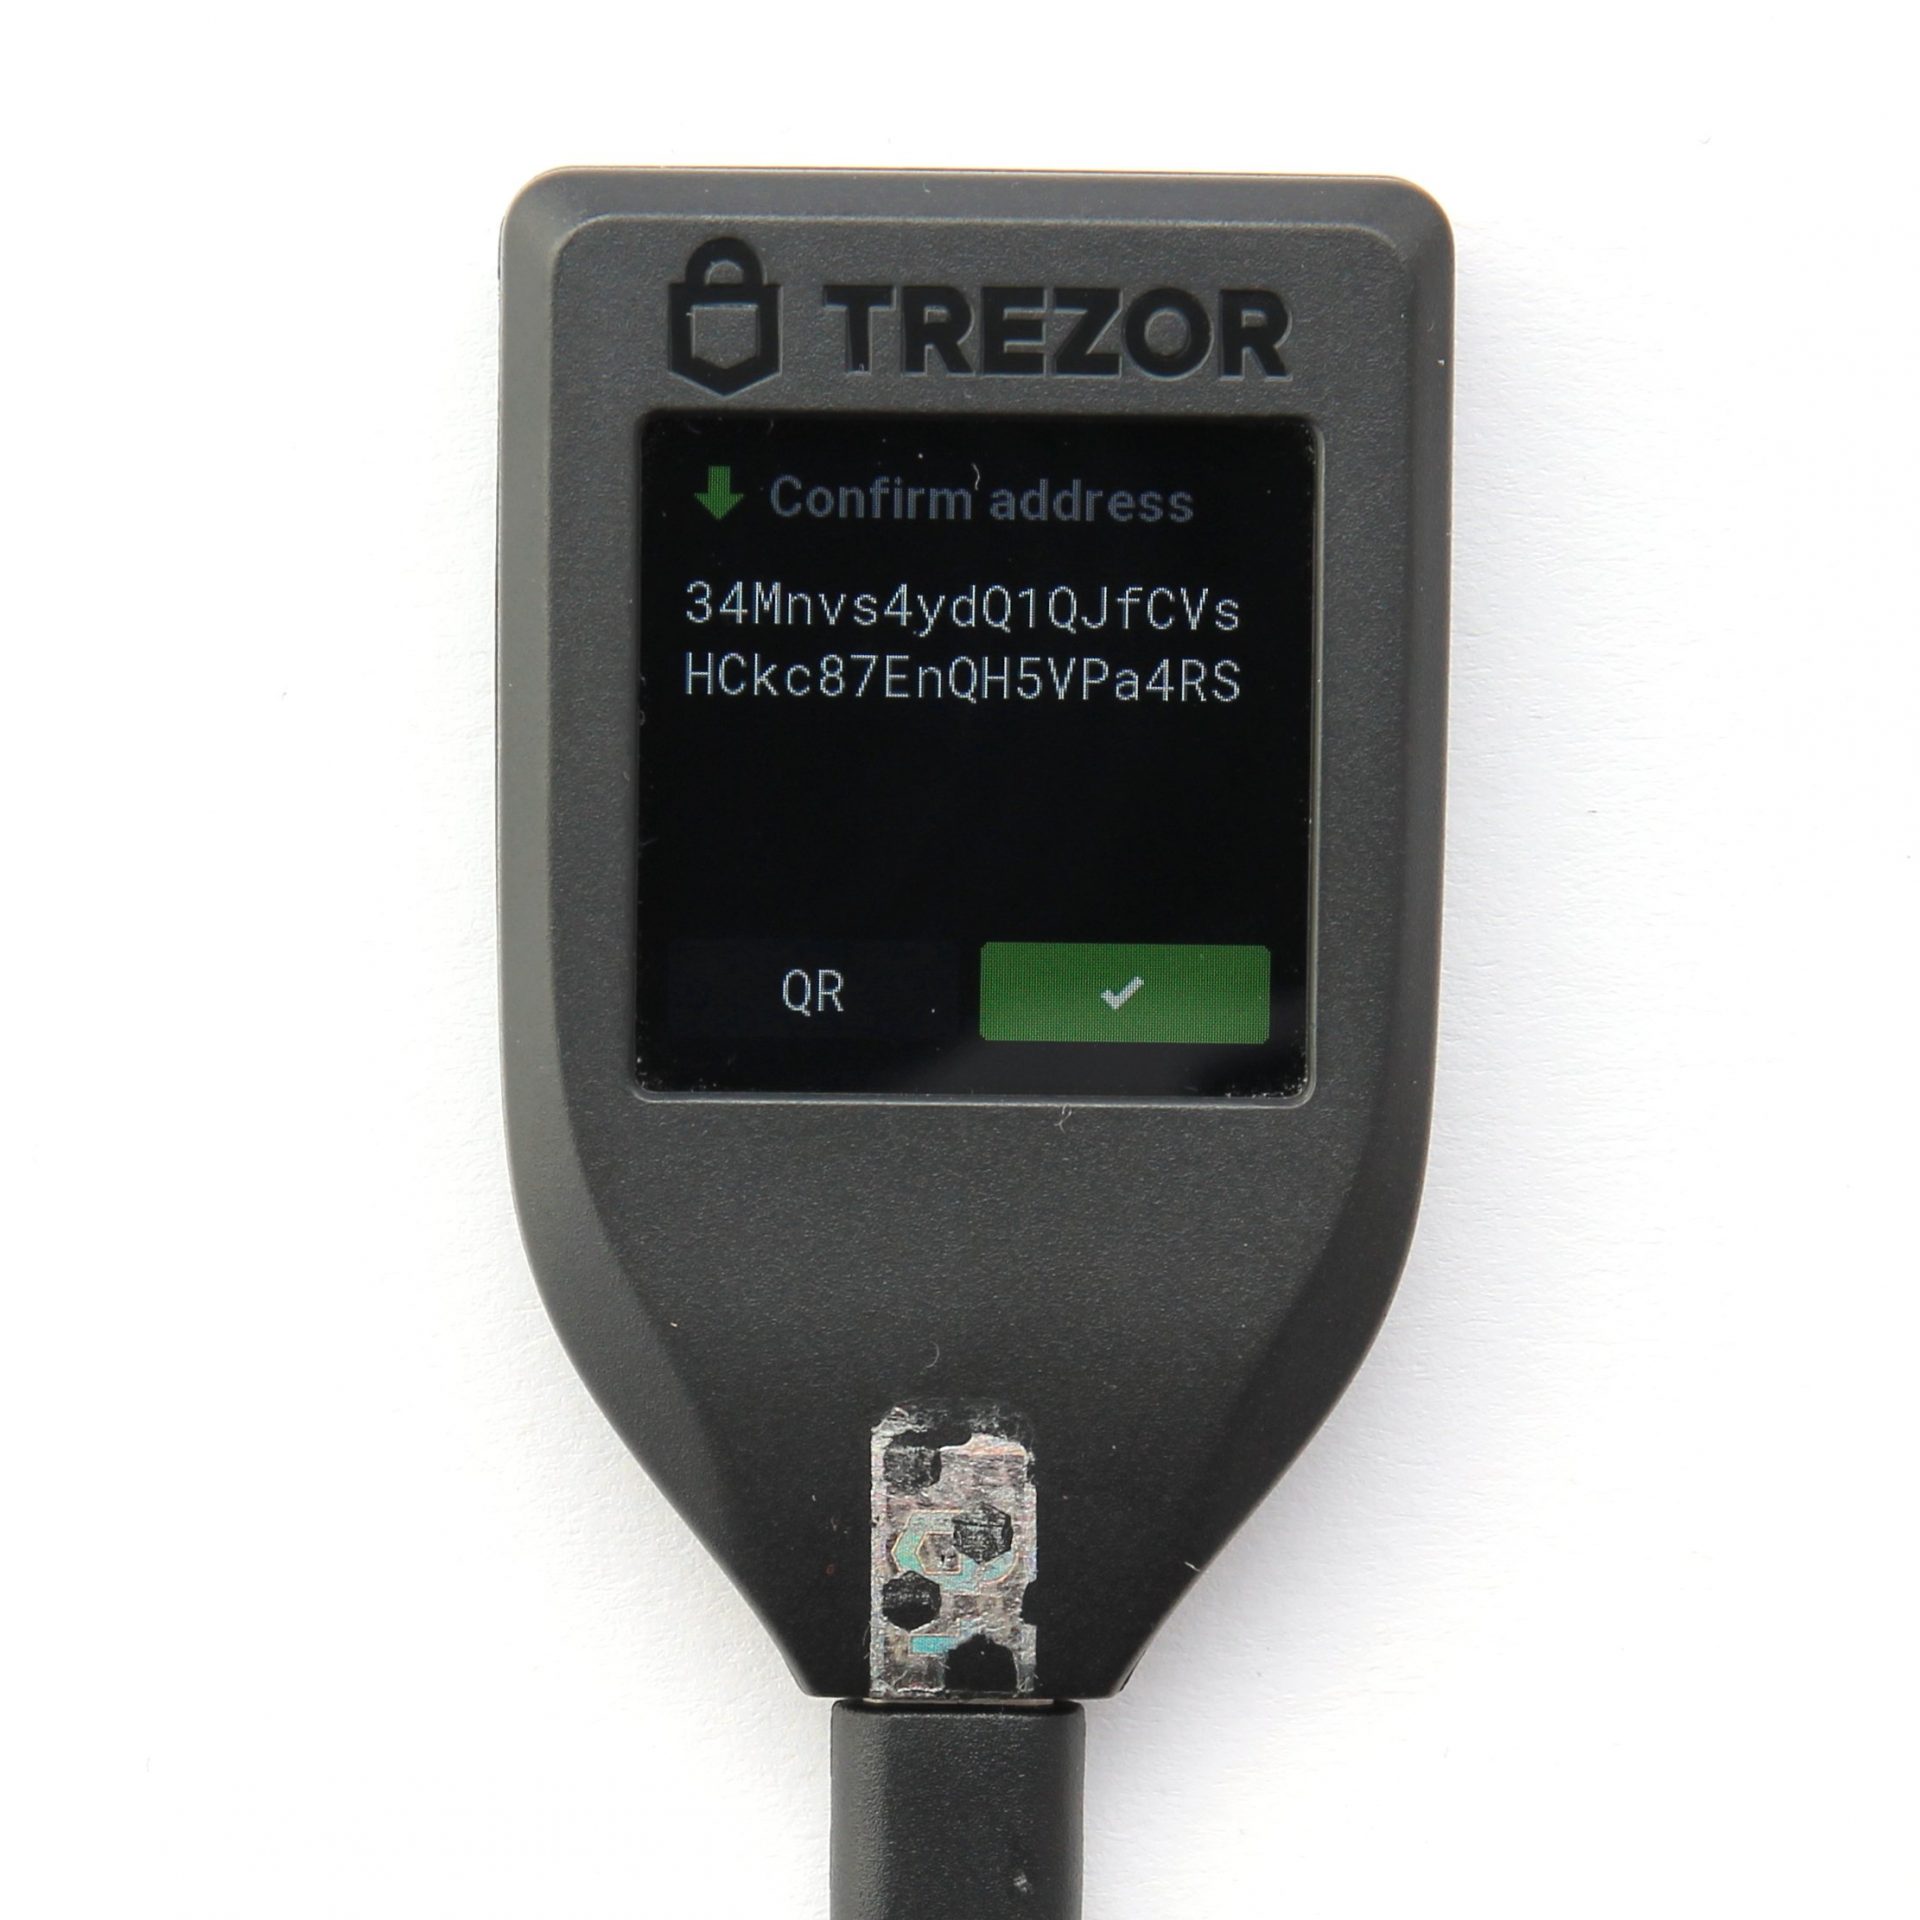

A click on the button “Show full address” starts the check. Only when you have compared both addresses and they match should you confirm the action by clicking on the green tick on the display of the hardware wallet. This process must be repeated every time you want to display a complete address. Then the address is also fully displayed in the TREZOR Wallet.
If necessary, you can verify an address again by clicking on the eye at the end of the address line The addresses can also be labeled when the dropbox connection is active.
the address is confirmed and now appears completely including QR code
Bitcoin can now be sent to this address. It was generated securely on the hardware wallet and the corresponding private key for this address is not known to anyone. It is now conceivable to send your Bitcoin from an online stock exchange to this address, or to pass it on in another way.
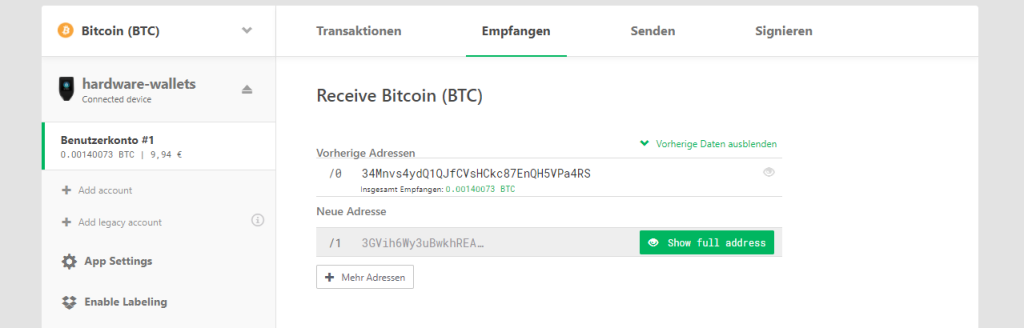
a used address appears under the previous addresses and a new one is automatically generated
As soon as a payment has been received at this address, the address is sorted out so that it is not used again. Because then it would be possible to trace several transactions back to one address. However, it can still be called up by displaying the previous addresses.
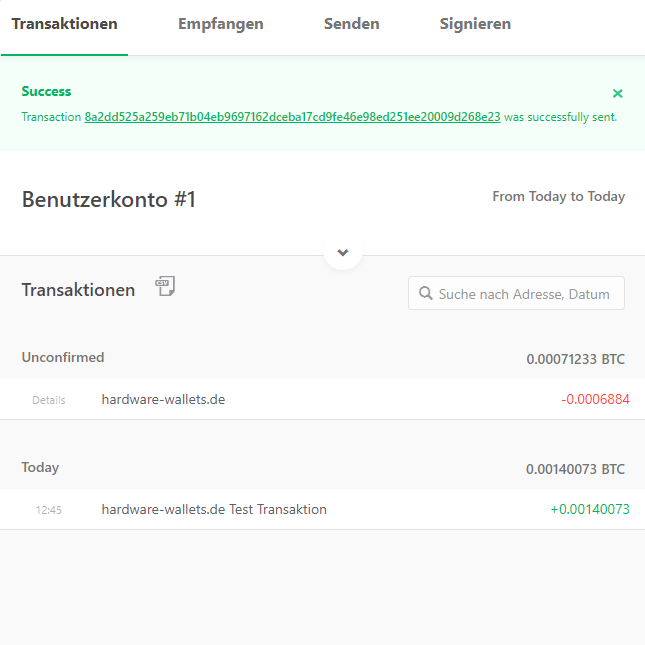
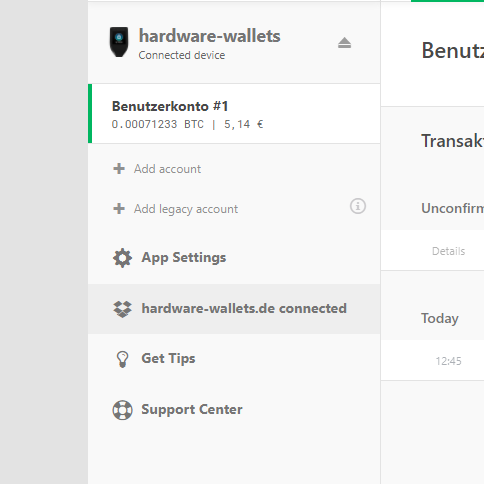
View Transactions
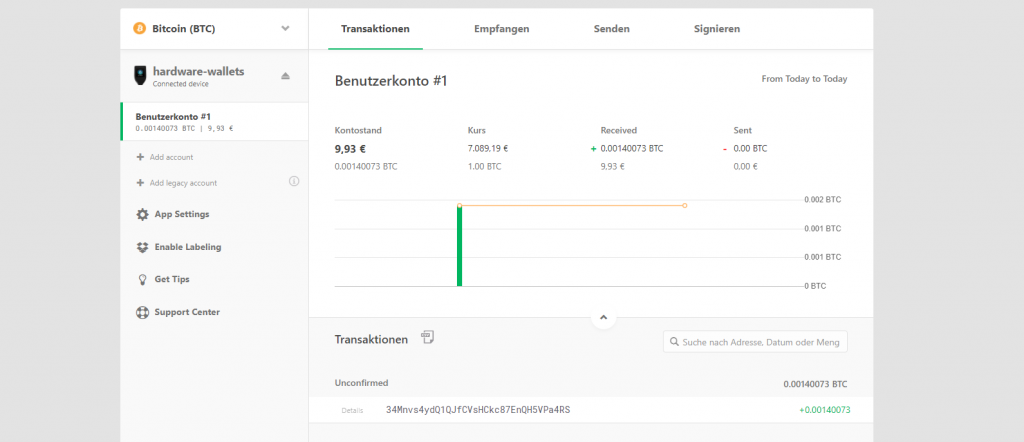
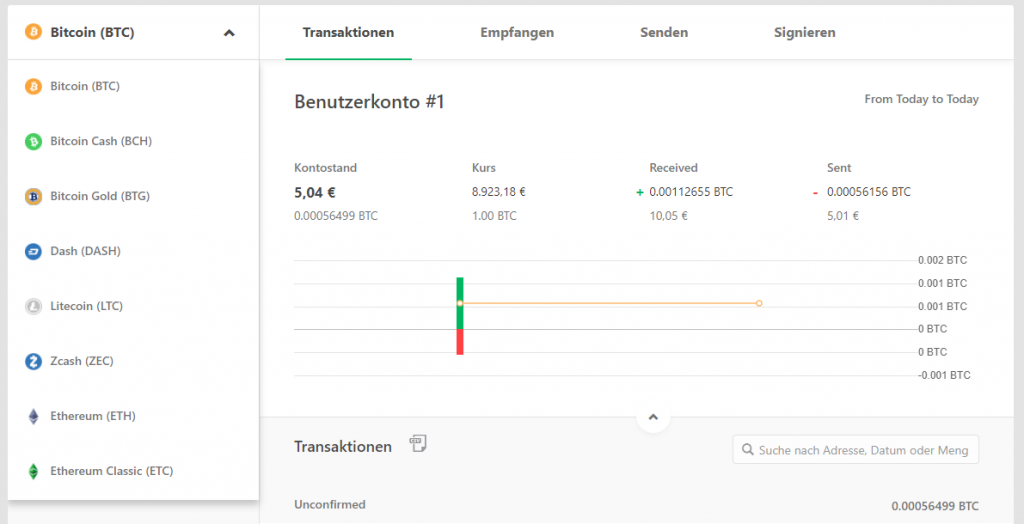
In the ”Transactions” tab, a kind of account summary is generated for each cryptocurrency account, listing all past transactions. It also includes a summary of all outgoing and incoming transactions, the current account balance and exchange rate, and a graphical analysis. It is also possible to browse its transaction history and export it via a CSV file.
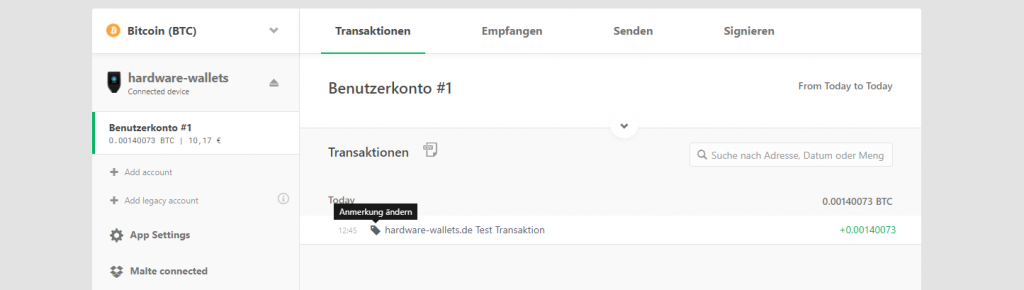
label transactions using the dropbox connection
If dropbox labeling is activated, you can also describe your transactions and search for these keywords.
Sending Cryptocurrencies
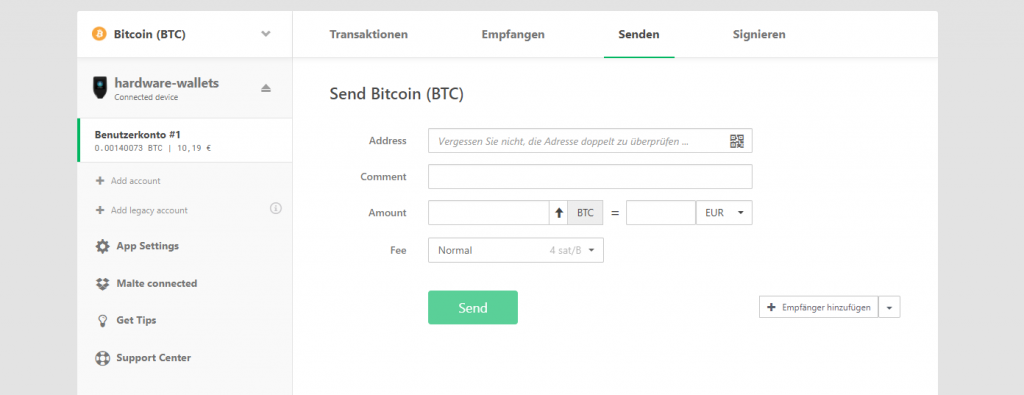
To send cryptocurrencies such as Bitcoin, switch to the “Send” tab. A form appears here in which the required data must be entered.
In the address field belongs the address to which you want to send coins. These can be retrieved from exchanges and traders who accept Bitcoin. Either you copy it in, or you scan a QR code via webcam. The comment field appears when the dropbox connection is active and allows you to add a label for this transaction. This appears in the transaction view. The amount can be specified either in a fiat currency or directly in the corresponding cryptocurrency. With the arrow it is possible to send all coins at once. The fee is finally chosen. This does not go to TREZOR, but “pays” the miners who make the transactions on the respective block chain possible. If you change the fee and choose to send all coins, the amount is automatically adjusted according to the fee. This leaves the wallet truly empty.
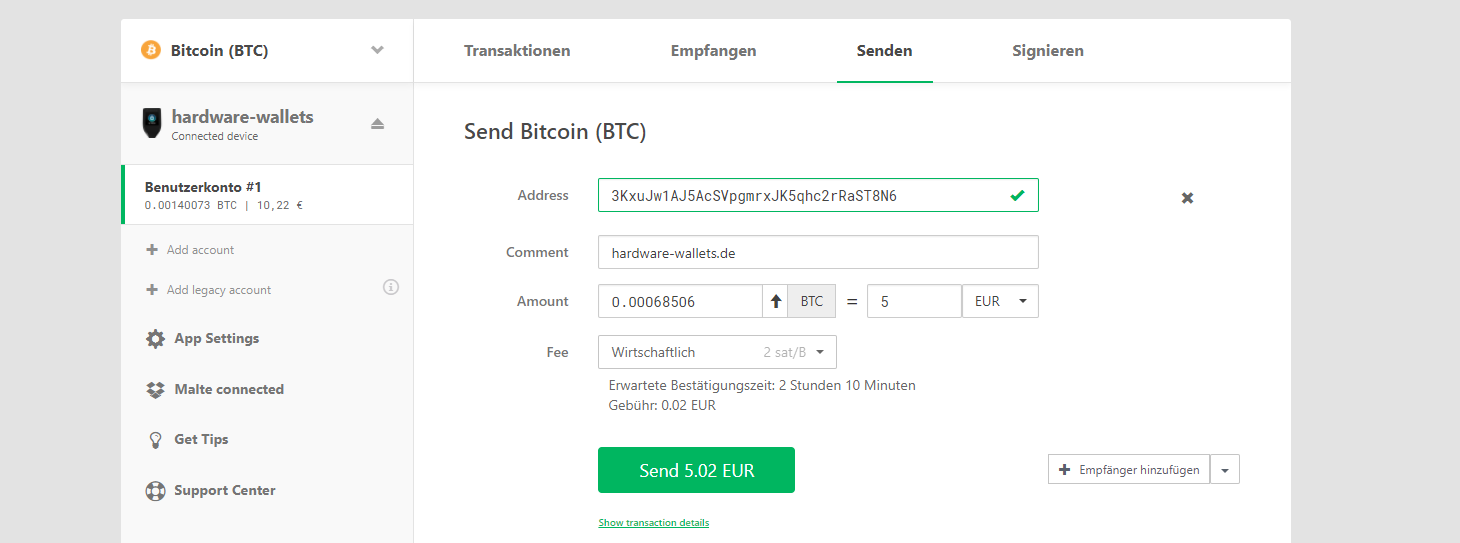
the completed form
If you have filled out the form completely, the send button shows the total amount. At the end of the form, you can display the transaction details via a link. Using the drop-down box on the right, you can add more recipients or schedule a time delay.


Of course, this action must also be confirmed by the hardware wallet after clicking on “Send”. Here the amount including fee and address are displayed again. These must match the values entered, only then should you agree to the transaction.
Settings
Some of the settings are explained below.
Device Settings
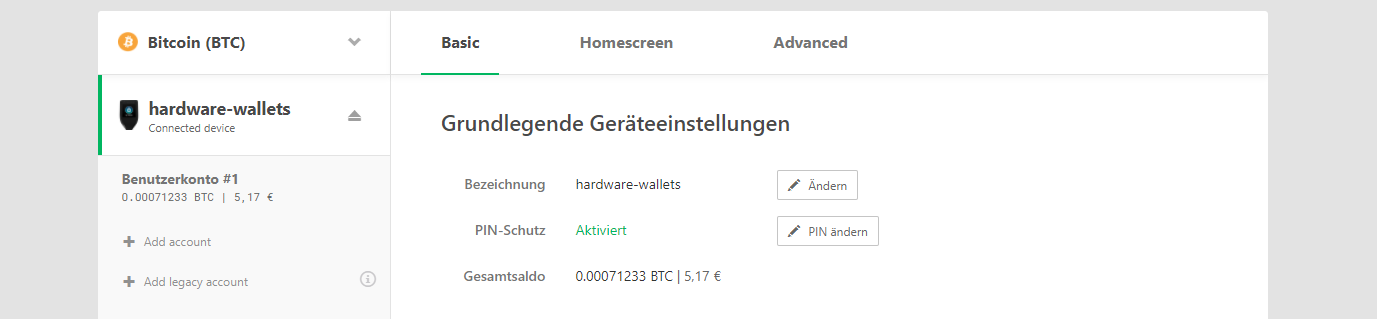
You can access the settings for the TREZOR Model T hardware wallet by clicking on the name of the hardware wallet. Here you can change the name and PIN but also generate a public key for each account. This allows you to view all transactions on this account and is good for importing into an app for your smartphone, for example.
Under the “Homescreen” tab you can change the background image, which then appears inside the circle instead of the lock. Either upload your own picture here, or choose one from the gallery. Here too, the action must be confirmed via the hardware wallet.
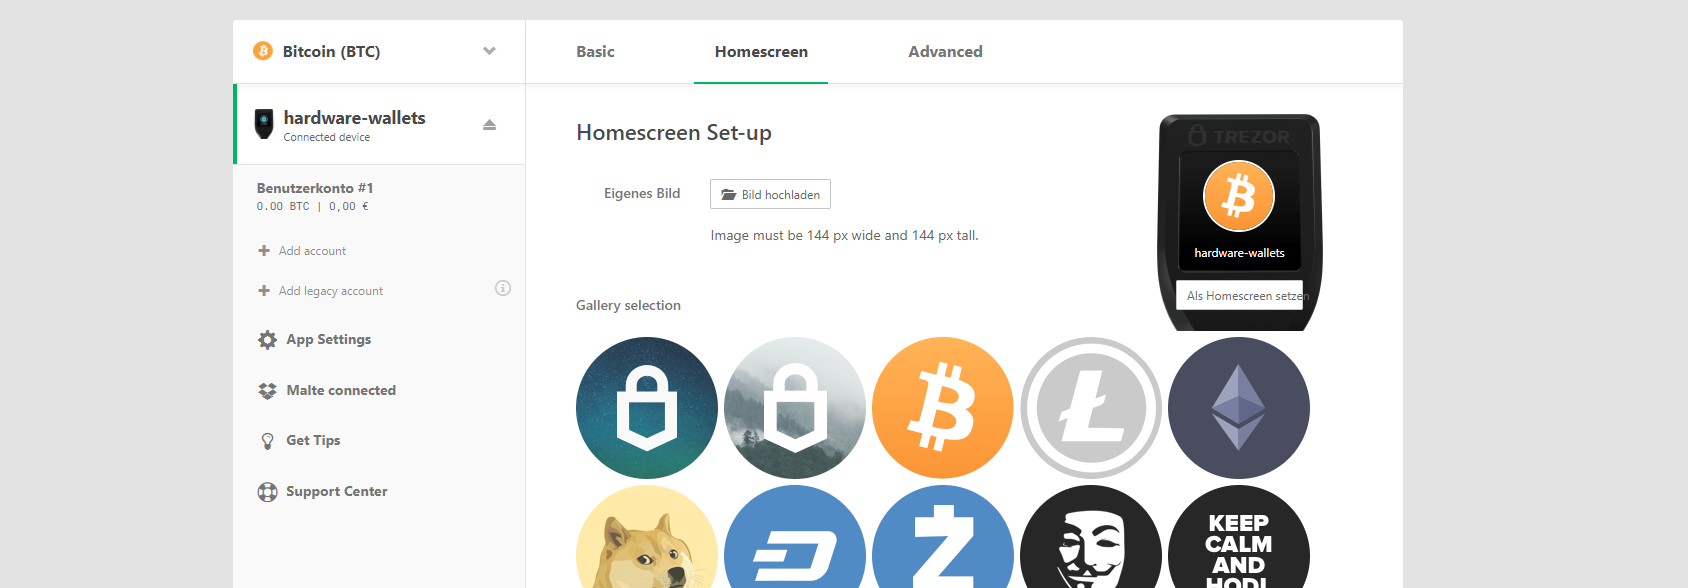
a simple change of the background image is possible
Under the advanced settings you can define a passphrase, which can increase the security even more. You can also deactivate the PIN or reset the device completely. A change of the home screen, i.e. the image on the TREZOR Model T Display, is currently not possible.
App Settings

In the app settings you can select a fiat currency into which the values of the coins will be converted. In addition, depending on the cryptocurrency, a different Bitcore Server URL can be specified from where the current information of the blockchain is loaded. Here it is recommended to keep the TREZOR servers.
Activate Labeling
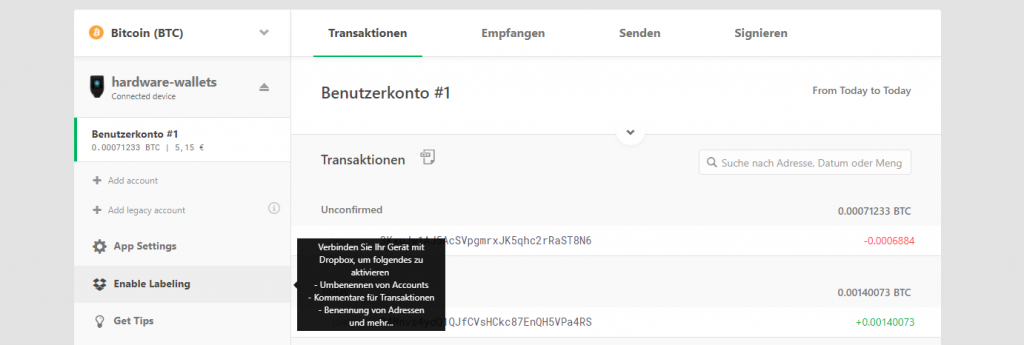
The labeling with the help of Dropbox allows one to give a label to addresses, accounts or even transactions. You can search them and find your way around better. To do this, click on “Enable Labeling” in the menu on the left under the app settings.
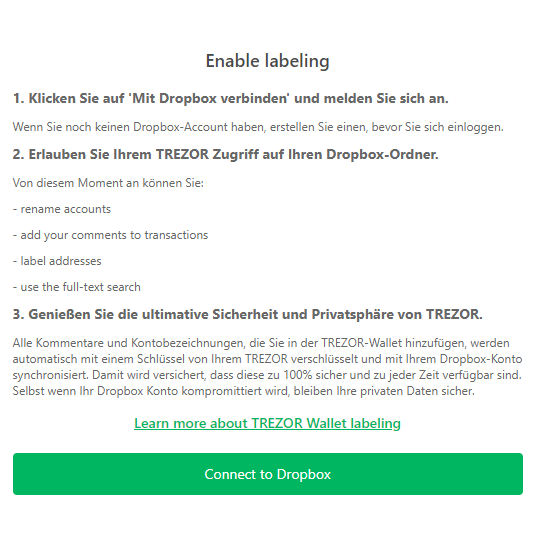

The data is now stored encrypted in the Dropbox. Even if someone had access to the Dropbox account, they could not evaluate the labels. The Dropbox storage is used because the TREZOR Model T itself does not have enough storage.
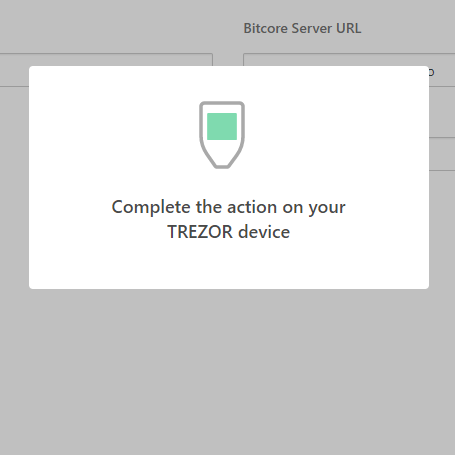
The labeling must be confirmed each time it is connected.
Rotate Screen
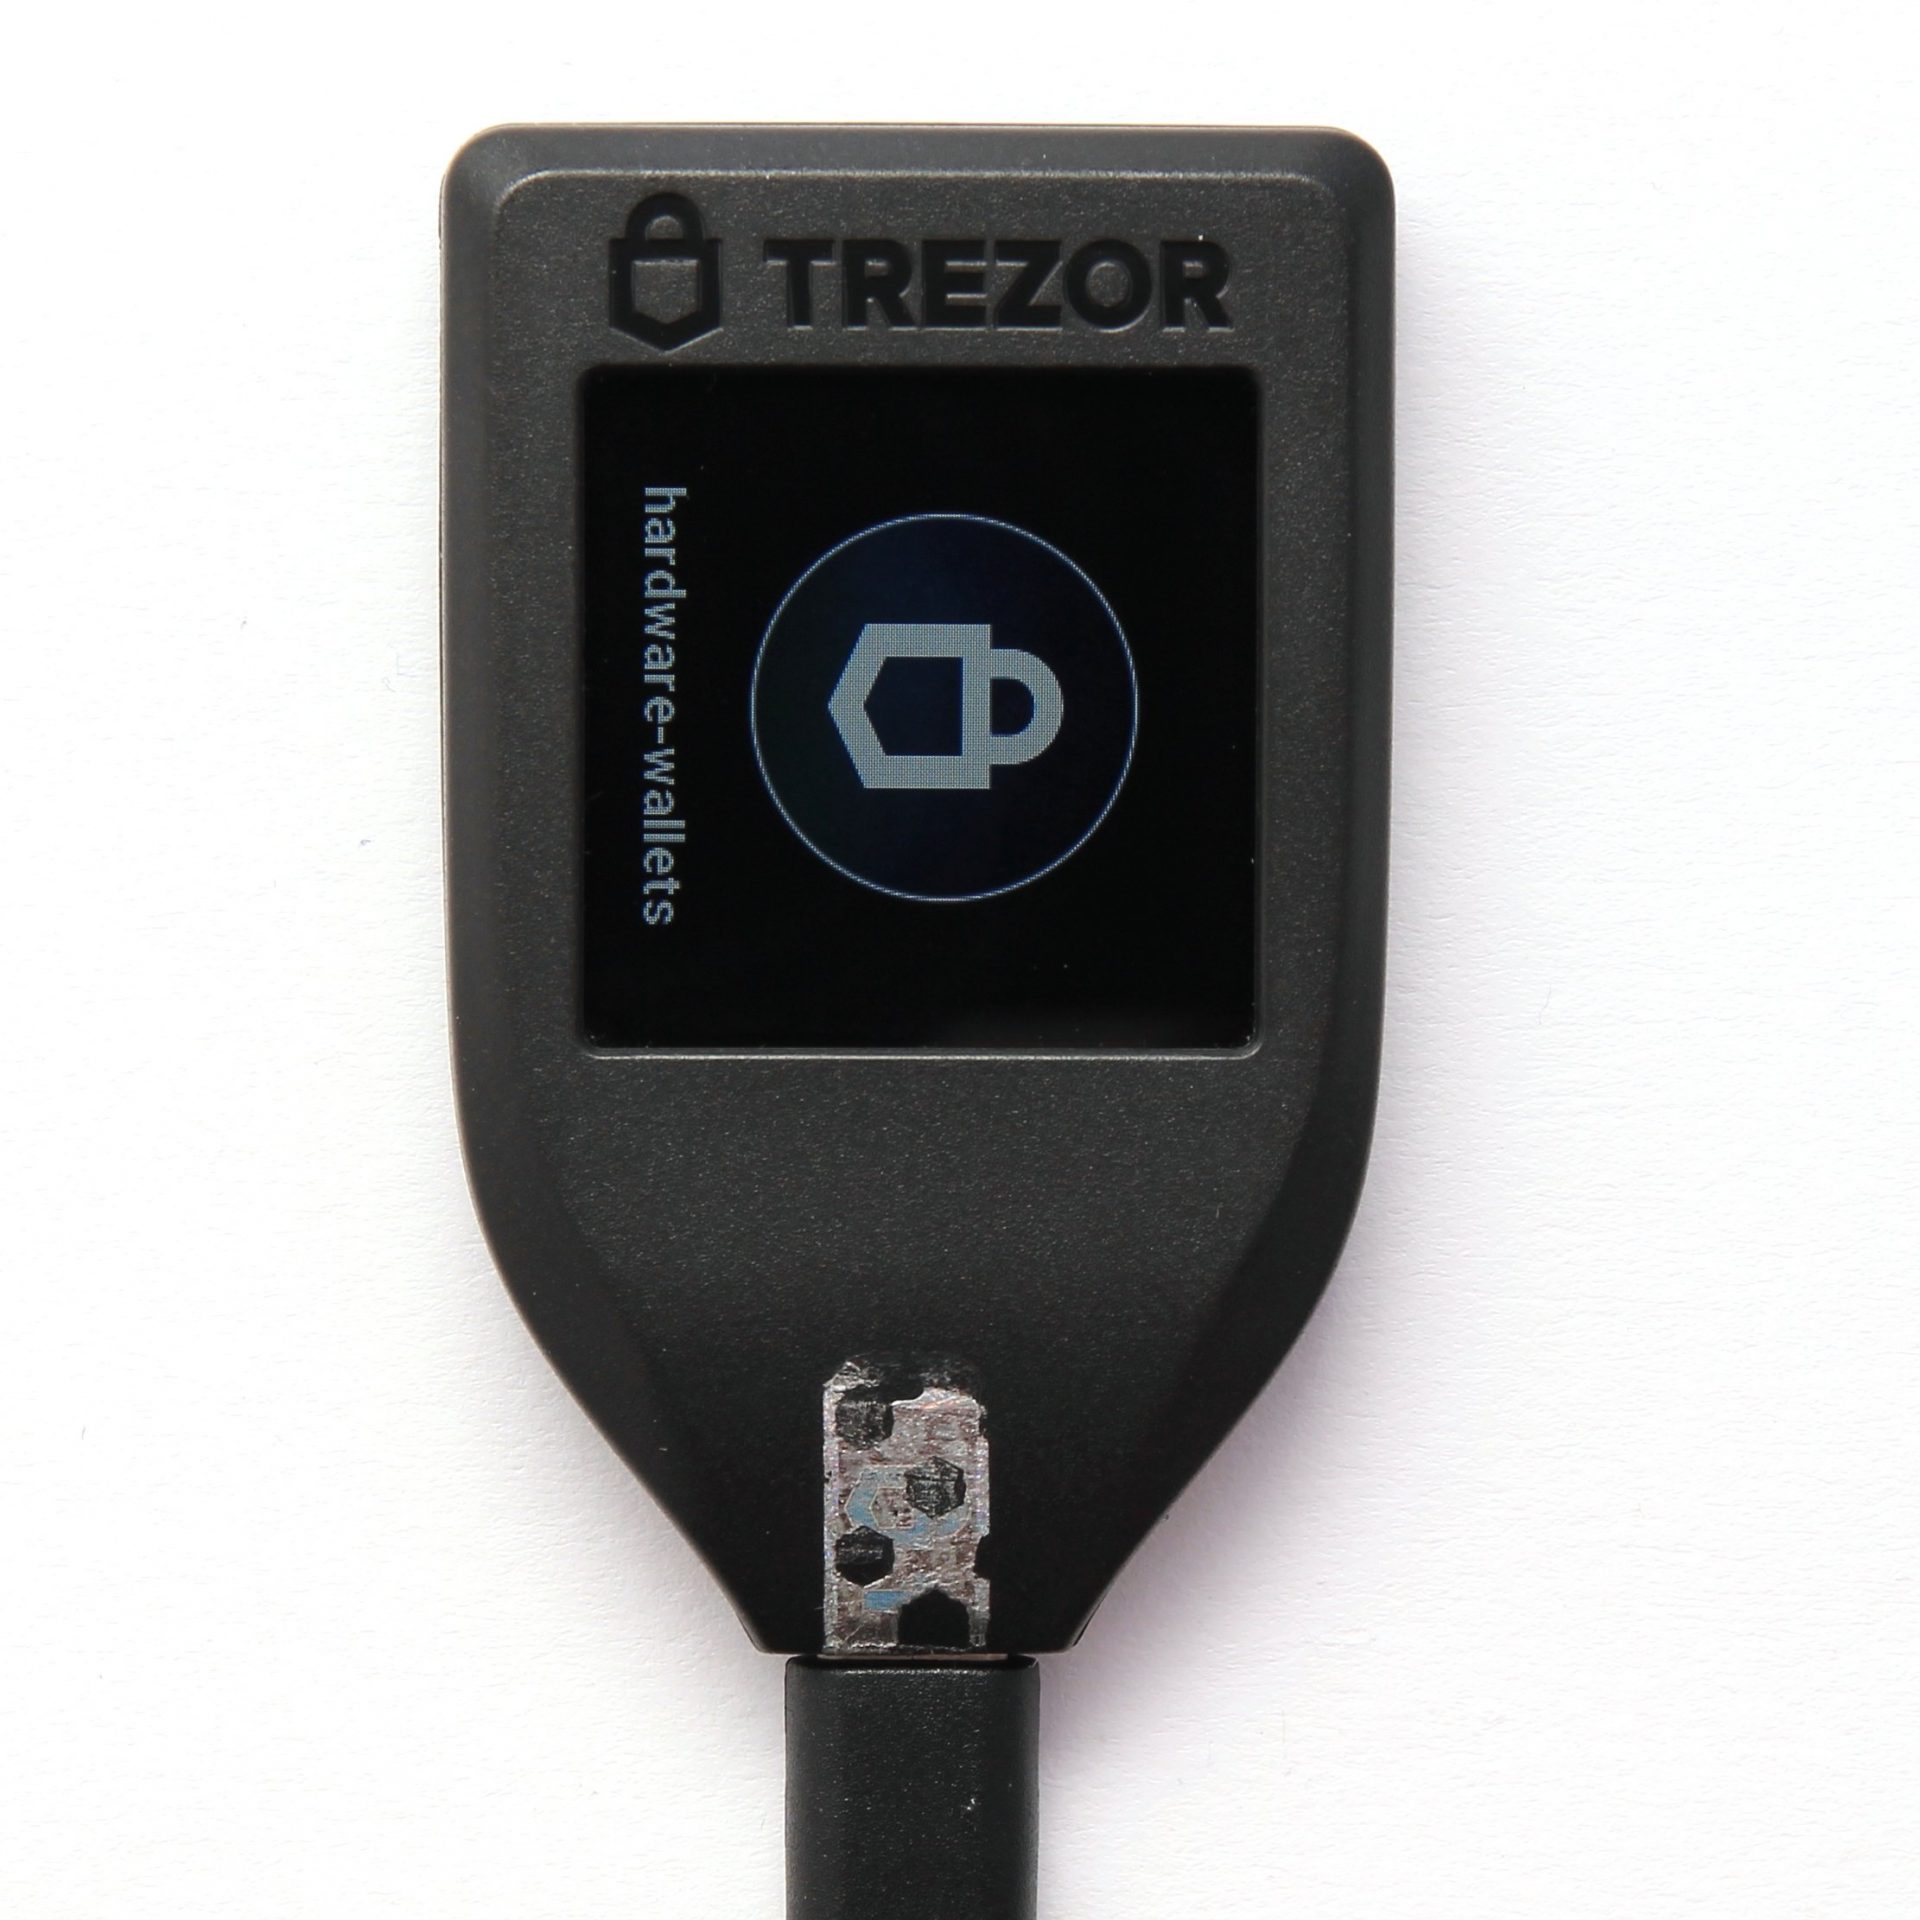
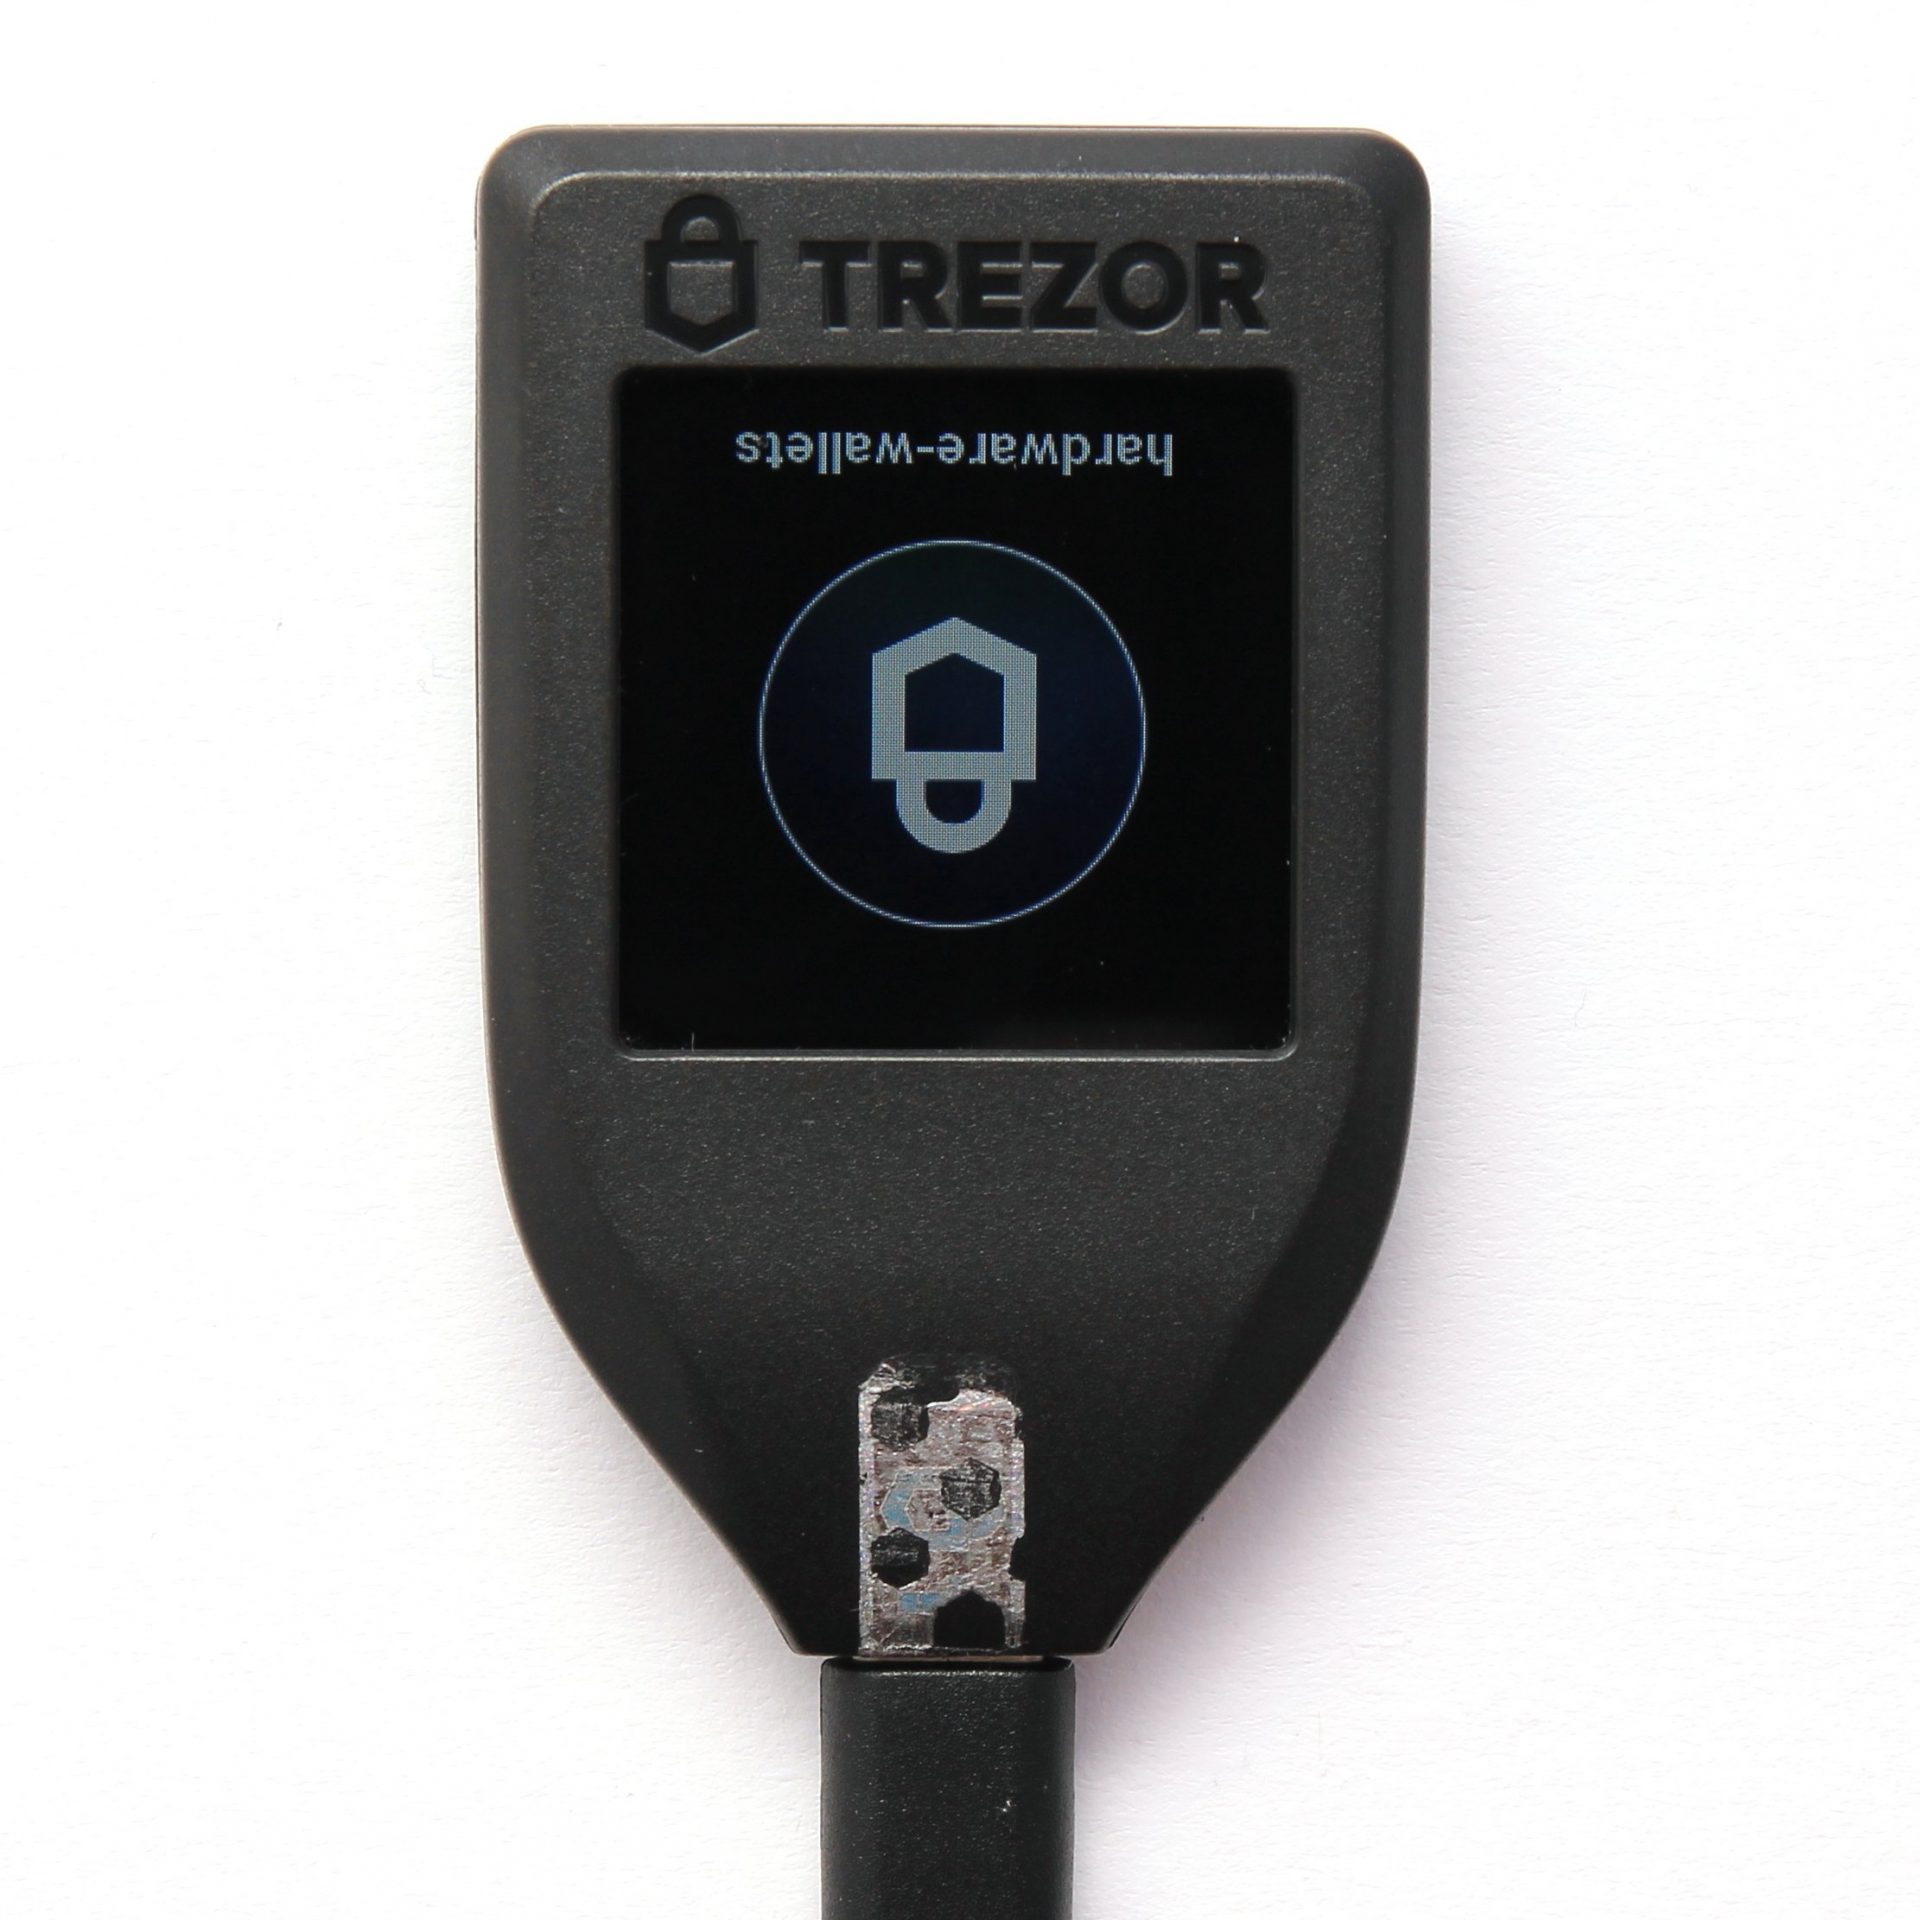
With the new model it is possible to rotate the screen in any direction. You only have to swipe with one finger in the corresponding direction.
Conclusion of the Handling
Handling the TREZOR Model T Hardware Wallet is very convenient thanks to the color touchscreen. The font is sufficiently large and sharp to be able to read everything well under normal angles. The colorful loading and waiting animations are fitting and beautiful to look at. The touch screen is also precise so that even the relatively small keys are always hit when entering the PIN. If you want to read the display from imperfect angles, the LCD display quickly reaches its limits and you no longer recognize certain colors.
The TREZOR Model T hardware wallet is easy to use thanks to the well-designed web wallet. The uniform interface for every cryptocurrency except for a few exceptions makes it especially easy for beginners. The possibility of labeling is also particularly noteworthy. Only a few wallets offer this possibility, but it is very practical to be able to still assign the transactions and addresses in the future.
Compatibility
TREZOR Model T can be used on the following platforms:
Mobile use via Android is also possible again with the TREZOR Model T. Thanks to the new connection, a modern smartphone with USB-C connection no longer even requires an adapter. The own TREZOR Manger App for configuring the TREZOR One did not work with the new model at the time of testing. Other apps such as WALLETH, an Android app for Ethereum, already works with the TREZOR Model T.
Supported Cryptocurrencies
The following cryptocurrencies are currently supported:
- Bitcoin
- Solana
- Ripple
- Vertcoin
- Viacoin
- Stellar
- DigiByte
- Bitcoin Private
- ZenCash
- Zcoin
- Monero
- Wanchain
- Pirl
- Akroma
- Atheios
- Ether-1
- GoChain
- Callisto
- Cardano
- Tezos
- Decred
- Lisk
- Monacoin
- SmartCash
- Bitcore
- Feathercoin
- DIMCOIN
- Myriad
- Flashcoin
- Musicoin
- QWARK
- Pesetacoin
- Ellaism
- Fujicoin
- CEFS
- Ethereum Social
- Koto
- MUE
- Rsk
- Ubiq
- Expanse
- Bitcoin Gold
- Ethereum
- Litecoin
- Dogecoin
- Zcash
- Dash
- Namecoin
- Bitcoin Cash
- Ethereum Classic
- ERC-20 Tokens
- NEM
Not all cryptocurrencies are supported directly by TREZOR Wallet by SatoshiLabs, but partly only by third party software. If you want to use the TREZOR Wallet to manage Ethereum for example, you only get a message that you should use another service, in this case the MyEtherWallet. Other compatible currencies are not listed at all. In this case, a look at the TREZOR documentation helps.
switch between cryptocurrencys with the TREZOR web interface
To switch between coins, you can simply click on the currently active currency in the upper left and then select from the list.
TREZOR Apps
In addition to the cryptocurrencies, there are also TREZOR apps for other uses. These are services or software that have built-in TREZOR integration. This means that you can interact with the hardware wallet on the Bitstamp online exchange directly via the website, for example, or use other software wallets such as Electrum or Copay. Currently the following software and services are supported:
- Mycelium
- Passwort Manager
- efolio
- Osclass
- Strip4bit
- Copay
- Electrum
- MyEtherWallet
- Bitstamp
- cashila
- coinpayments
- bitpay
- bitwala
- SSH Agent
- FIDO/U2F
- MultiBit
- ArcBit
- Coinmap
- Encompass
- wordpress
Under the hood is a micropython subsystem with the new model, which means that the device is much more programmable – so there are significant changes to the ecosystem that are possible for third parties. As a result, much more services and applications can support TREZOR in the future.
Documentation and support
An enclosed manual is non-existent, only a short English quick start guide is available. This means that you are fully dependent on the TREZOR documentation. This includes the following areas:
- a list of frequently asked questions
- an operating manual
- instructions for the TREZOR apps
- and a guide for developers
Unfortunately, it is currently the case that all articles of this documentation are available in English only. The setup and operation of the hardware wallet is also largely in English.
If you can’t get on your own, there’s an extra support area. This one is already trying to help you automatically. If this fails, you end up with a contact form: general question to TREZOR.
The TREZOR support team usually answers all support requests within 24 hours on weekdays, but this deadline cannot be guaranteed during peak periods. Even on weekends and holidays, capacities for priority cases are planned.
Security
PIN input
The PIN protects the hardware wallet against unauthorized use in the event of loss or theft. Thanks to the relatively large touchscreen, entries can now be made entirely via the hardware wallet so that no malware on the computer can read them. In addition, the PIN input field changes every time, which means that it is also not possible to read the tracks on the display. All numbers from 0 to 9 are also possible. If the PIN input is incorrect, the input will be delayed, so trying multiple combinations would take several years.

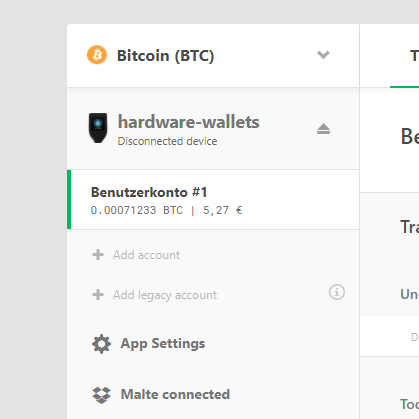
The PIN must be entered each time the hardware wallet is connected. Nevertheless, you can still access your account on trusted devices without a connected hardware wallet if you wish. To do this, select the “Remember device” option when disconnecting the hardware wallet. This means that the wallet remains open and the hardware wallet only needs to be reconnected for critical actions such as sending coins.
Passphrase Encryption
Also with the TREZOR Model T it is still possible to activate a passphrase encryption. Passphrase encryption allows you to access new wallets. Each wallet is hidden behind a specific passphrase. The old accounts remain accessible behind an empty passphrase. That means there is no right or wrong passphrase, each combination opens a new wallet.
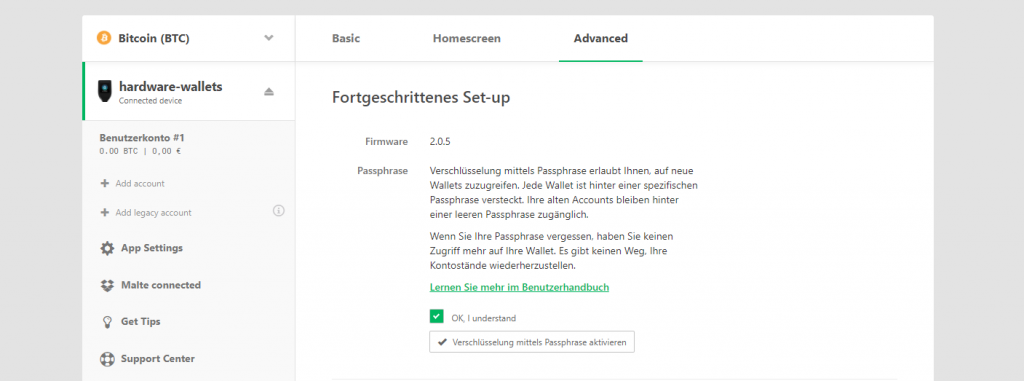
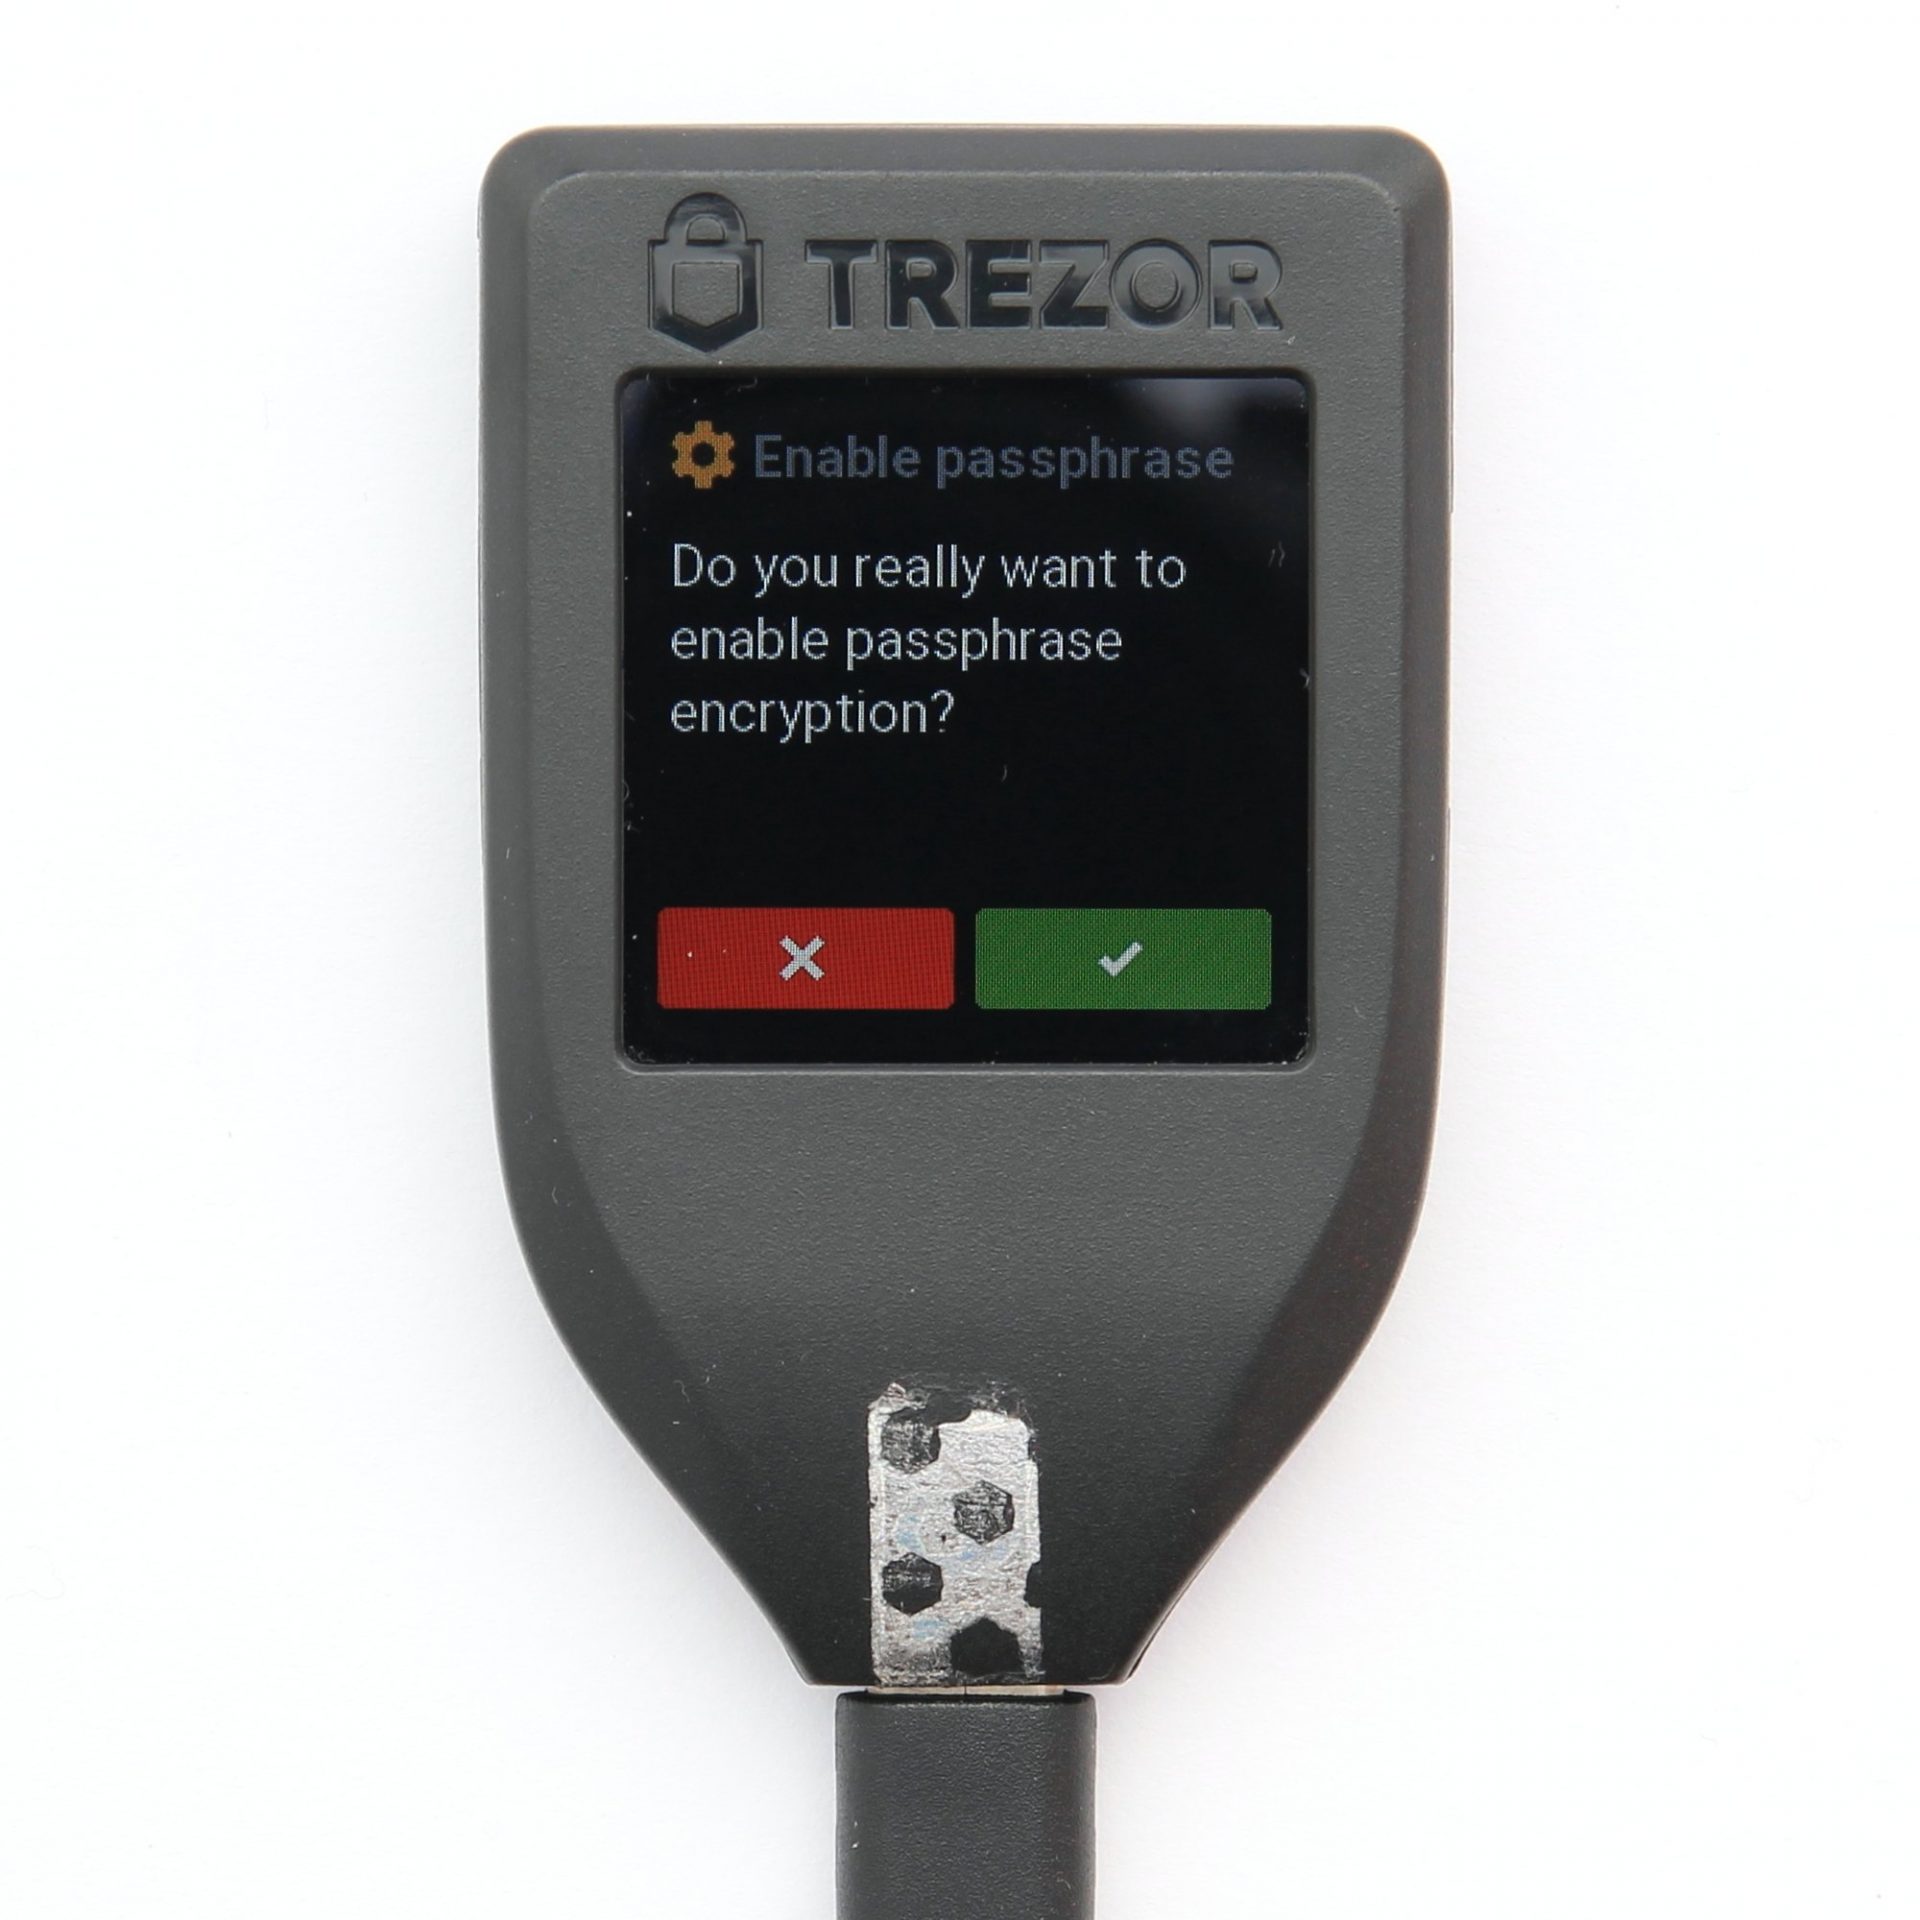
Passphrase encryption can be enabled in advanced device settings. The action must then be confirmed on the hardware wallet. If you disconnect the device and re-connect it, the encryption by passphrase is activated.
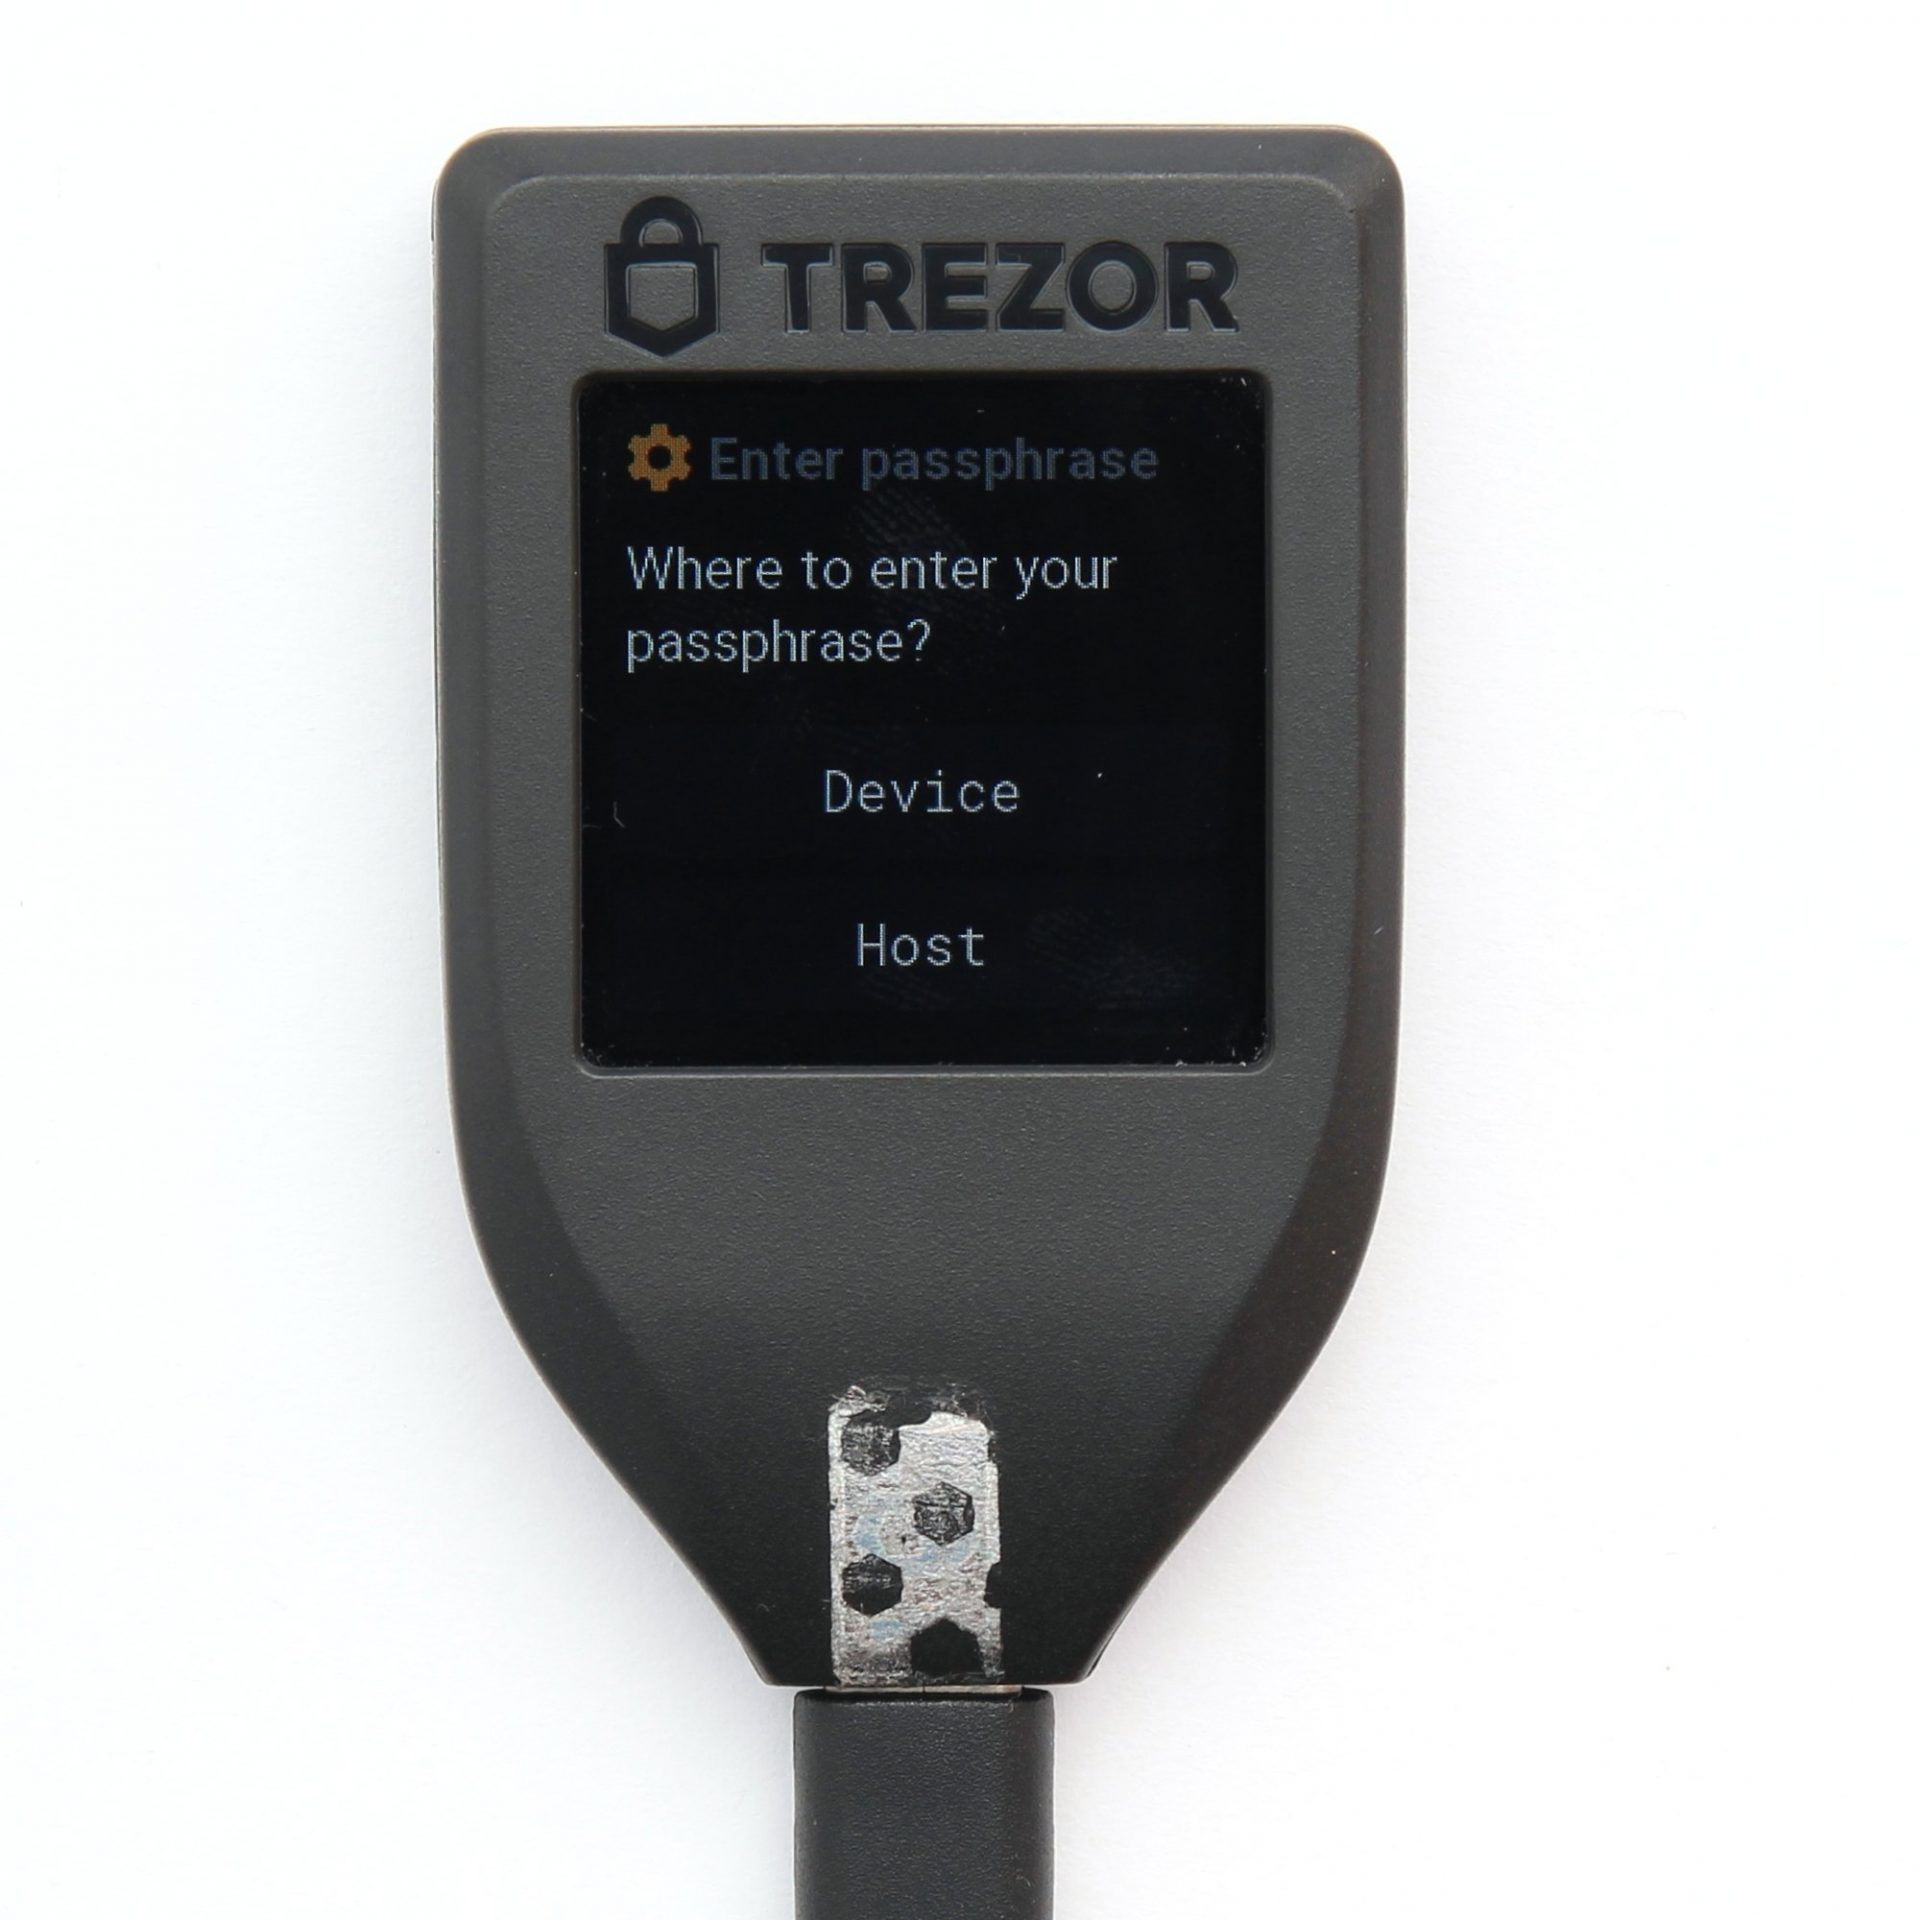
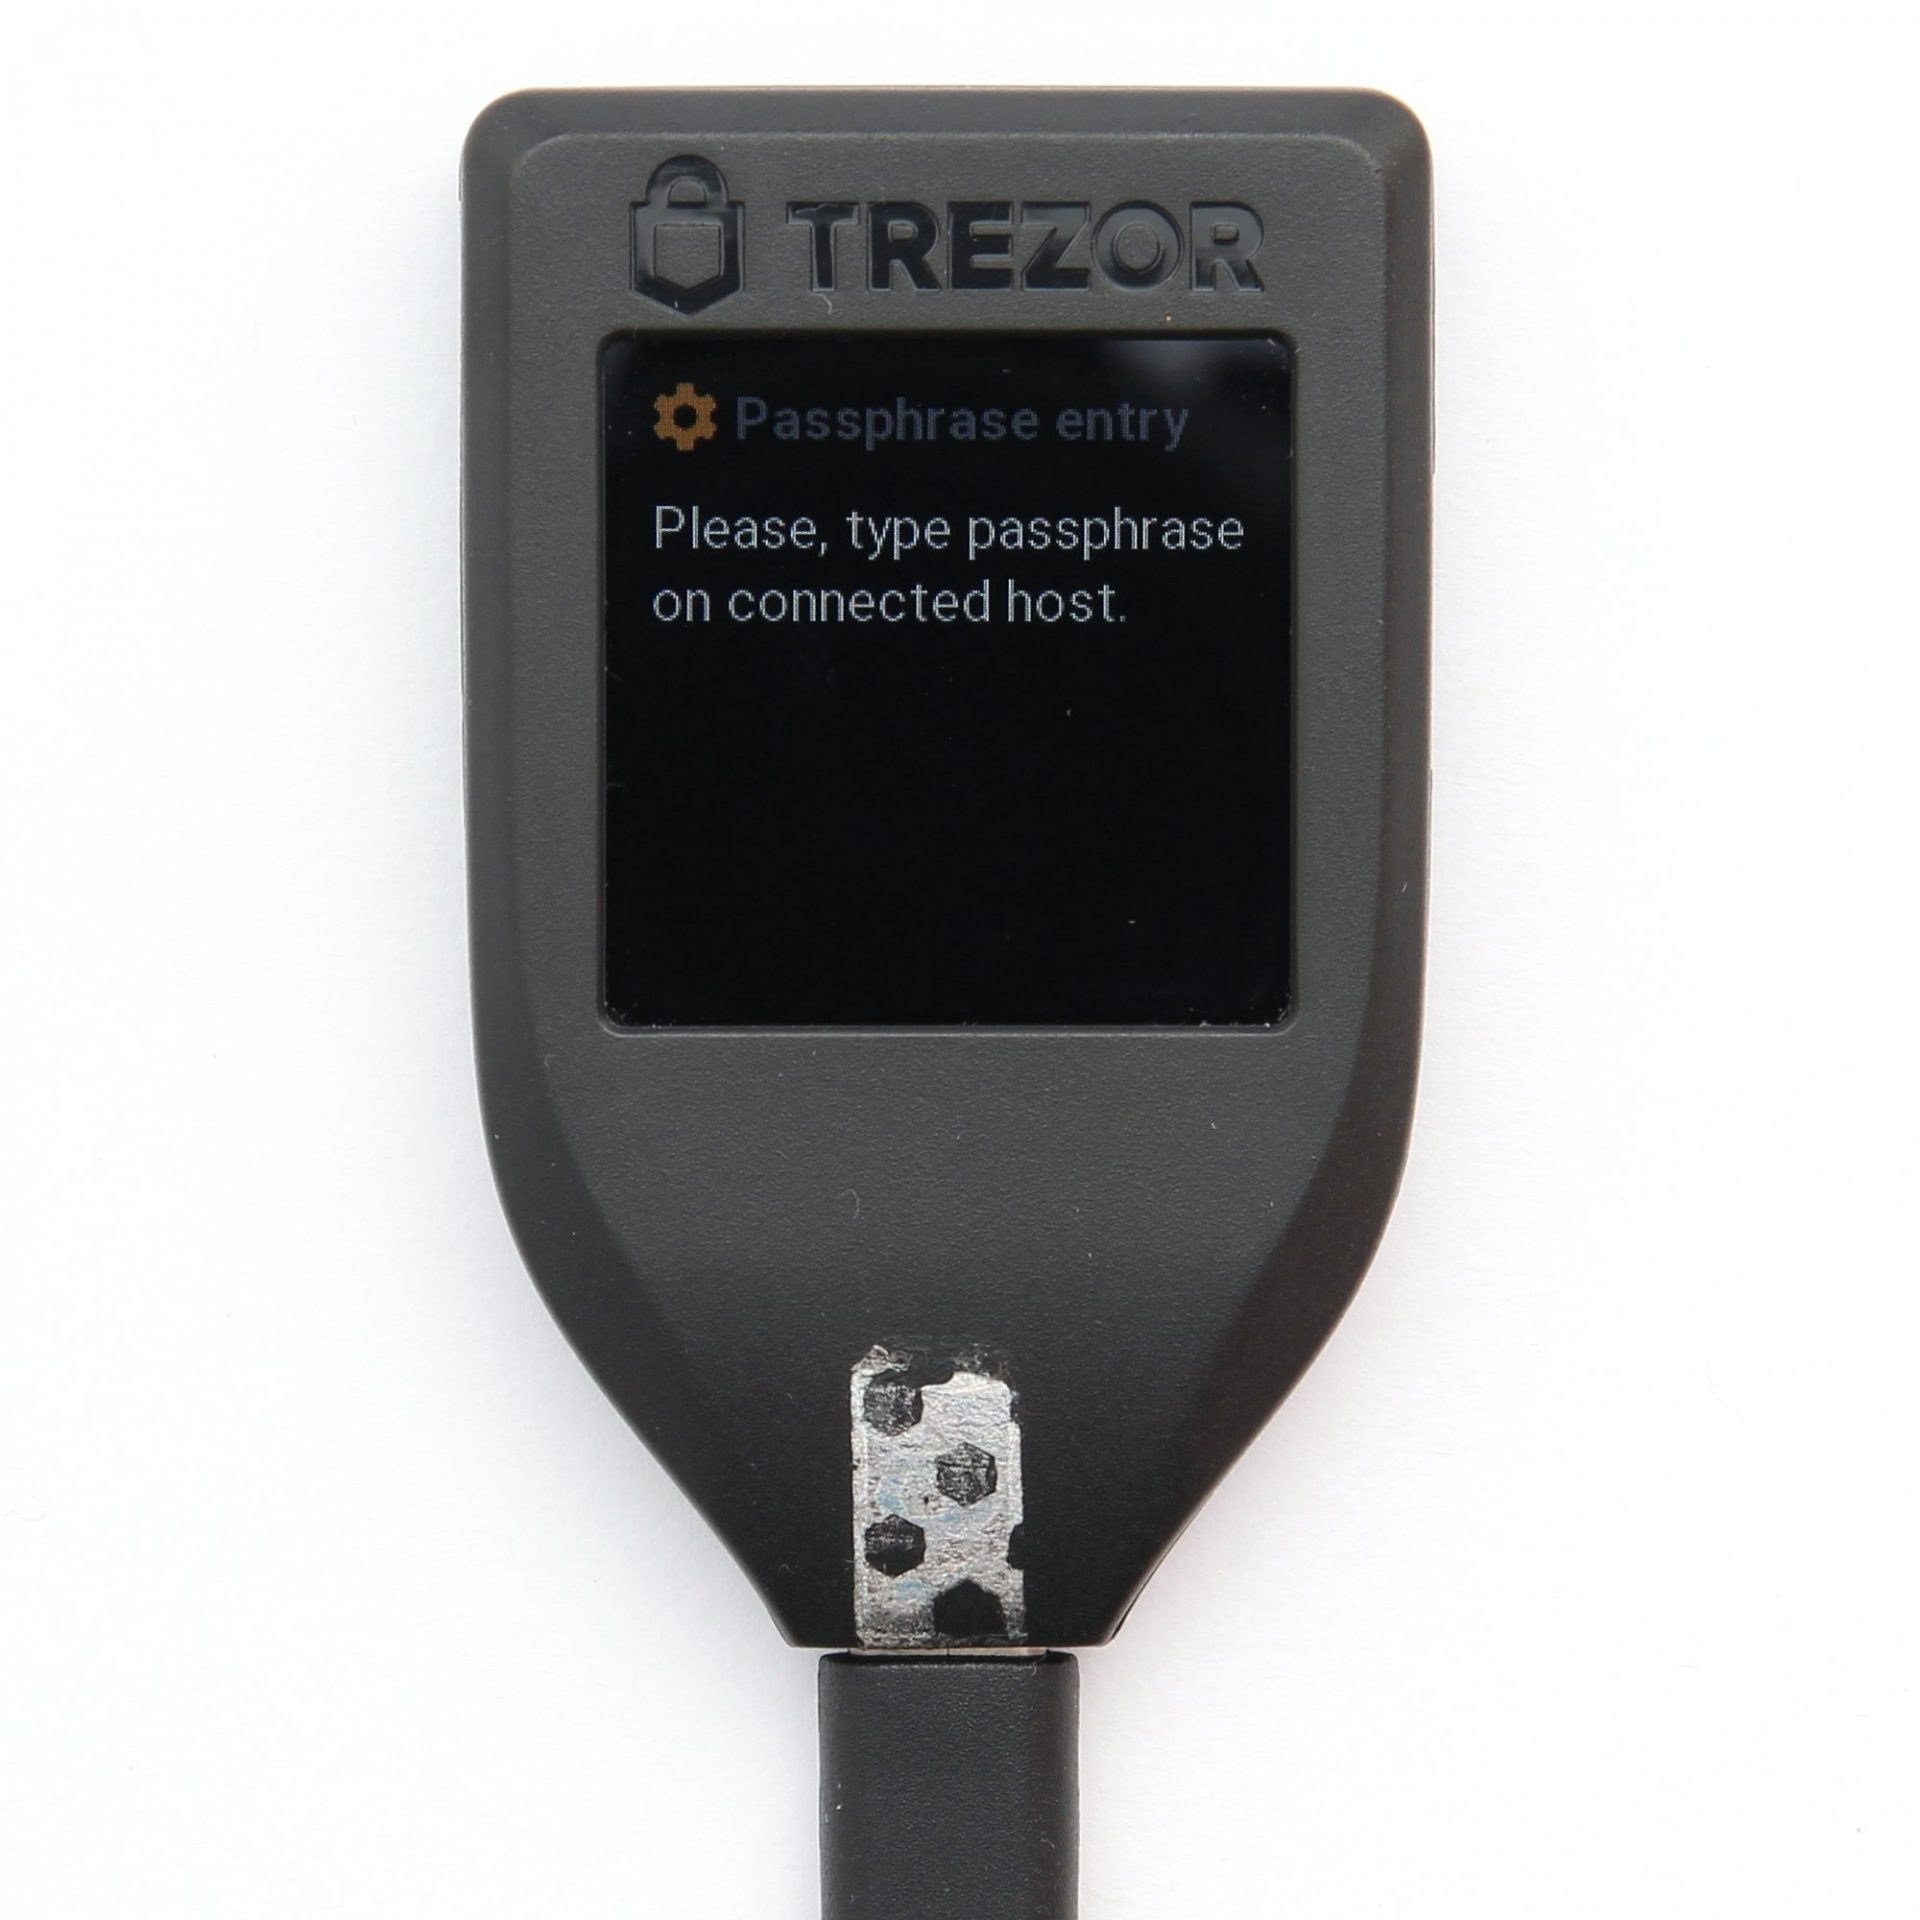

You are then given the choice of either entering the passphrase using the keyboard on the computer or using the touchscreen of the hardware wallet. Here you can switch between numbers, special characters, uppercase and lowercase letters by swiping. This can be very tedious for long pass phrases, but it increases security immensely. As a result, the secret key may not be read by strangers through malware such as keyloggers on the computer.
Recover Recovery Seed
The TREZOR Model T uses a 12 words long seed, while TREZOR One uses 24 words. According to TREZOR, the new model does not require a long seed, as all sensitive operations, including the recovery of the recovered seed in the TREZOR Model T, are done via the touchscreen of the device. Therefore, only 12 words are generated in the new hardware wallet.
restore a wallet
For the restoration you can of course import all BIP39 recovery seeds, also those with more than 12 words. For the recovery process you start again on trezor.io/start and now select “Recover Wallet” on the right side.
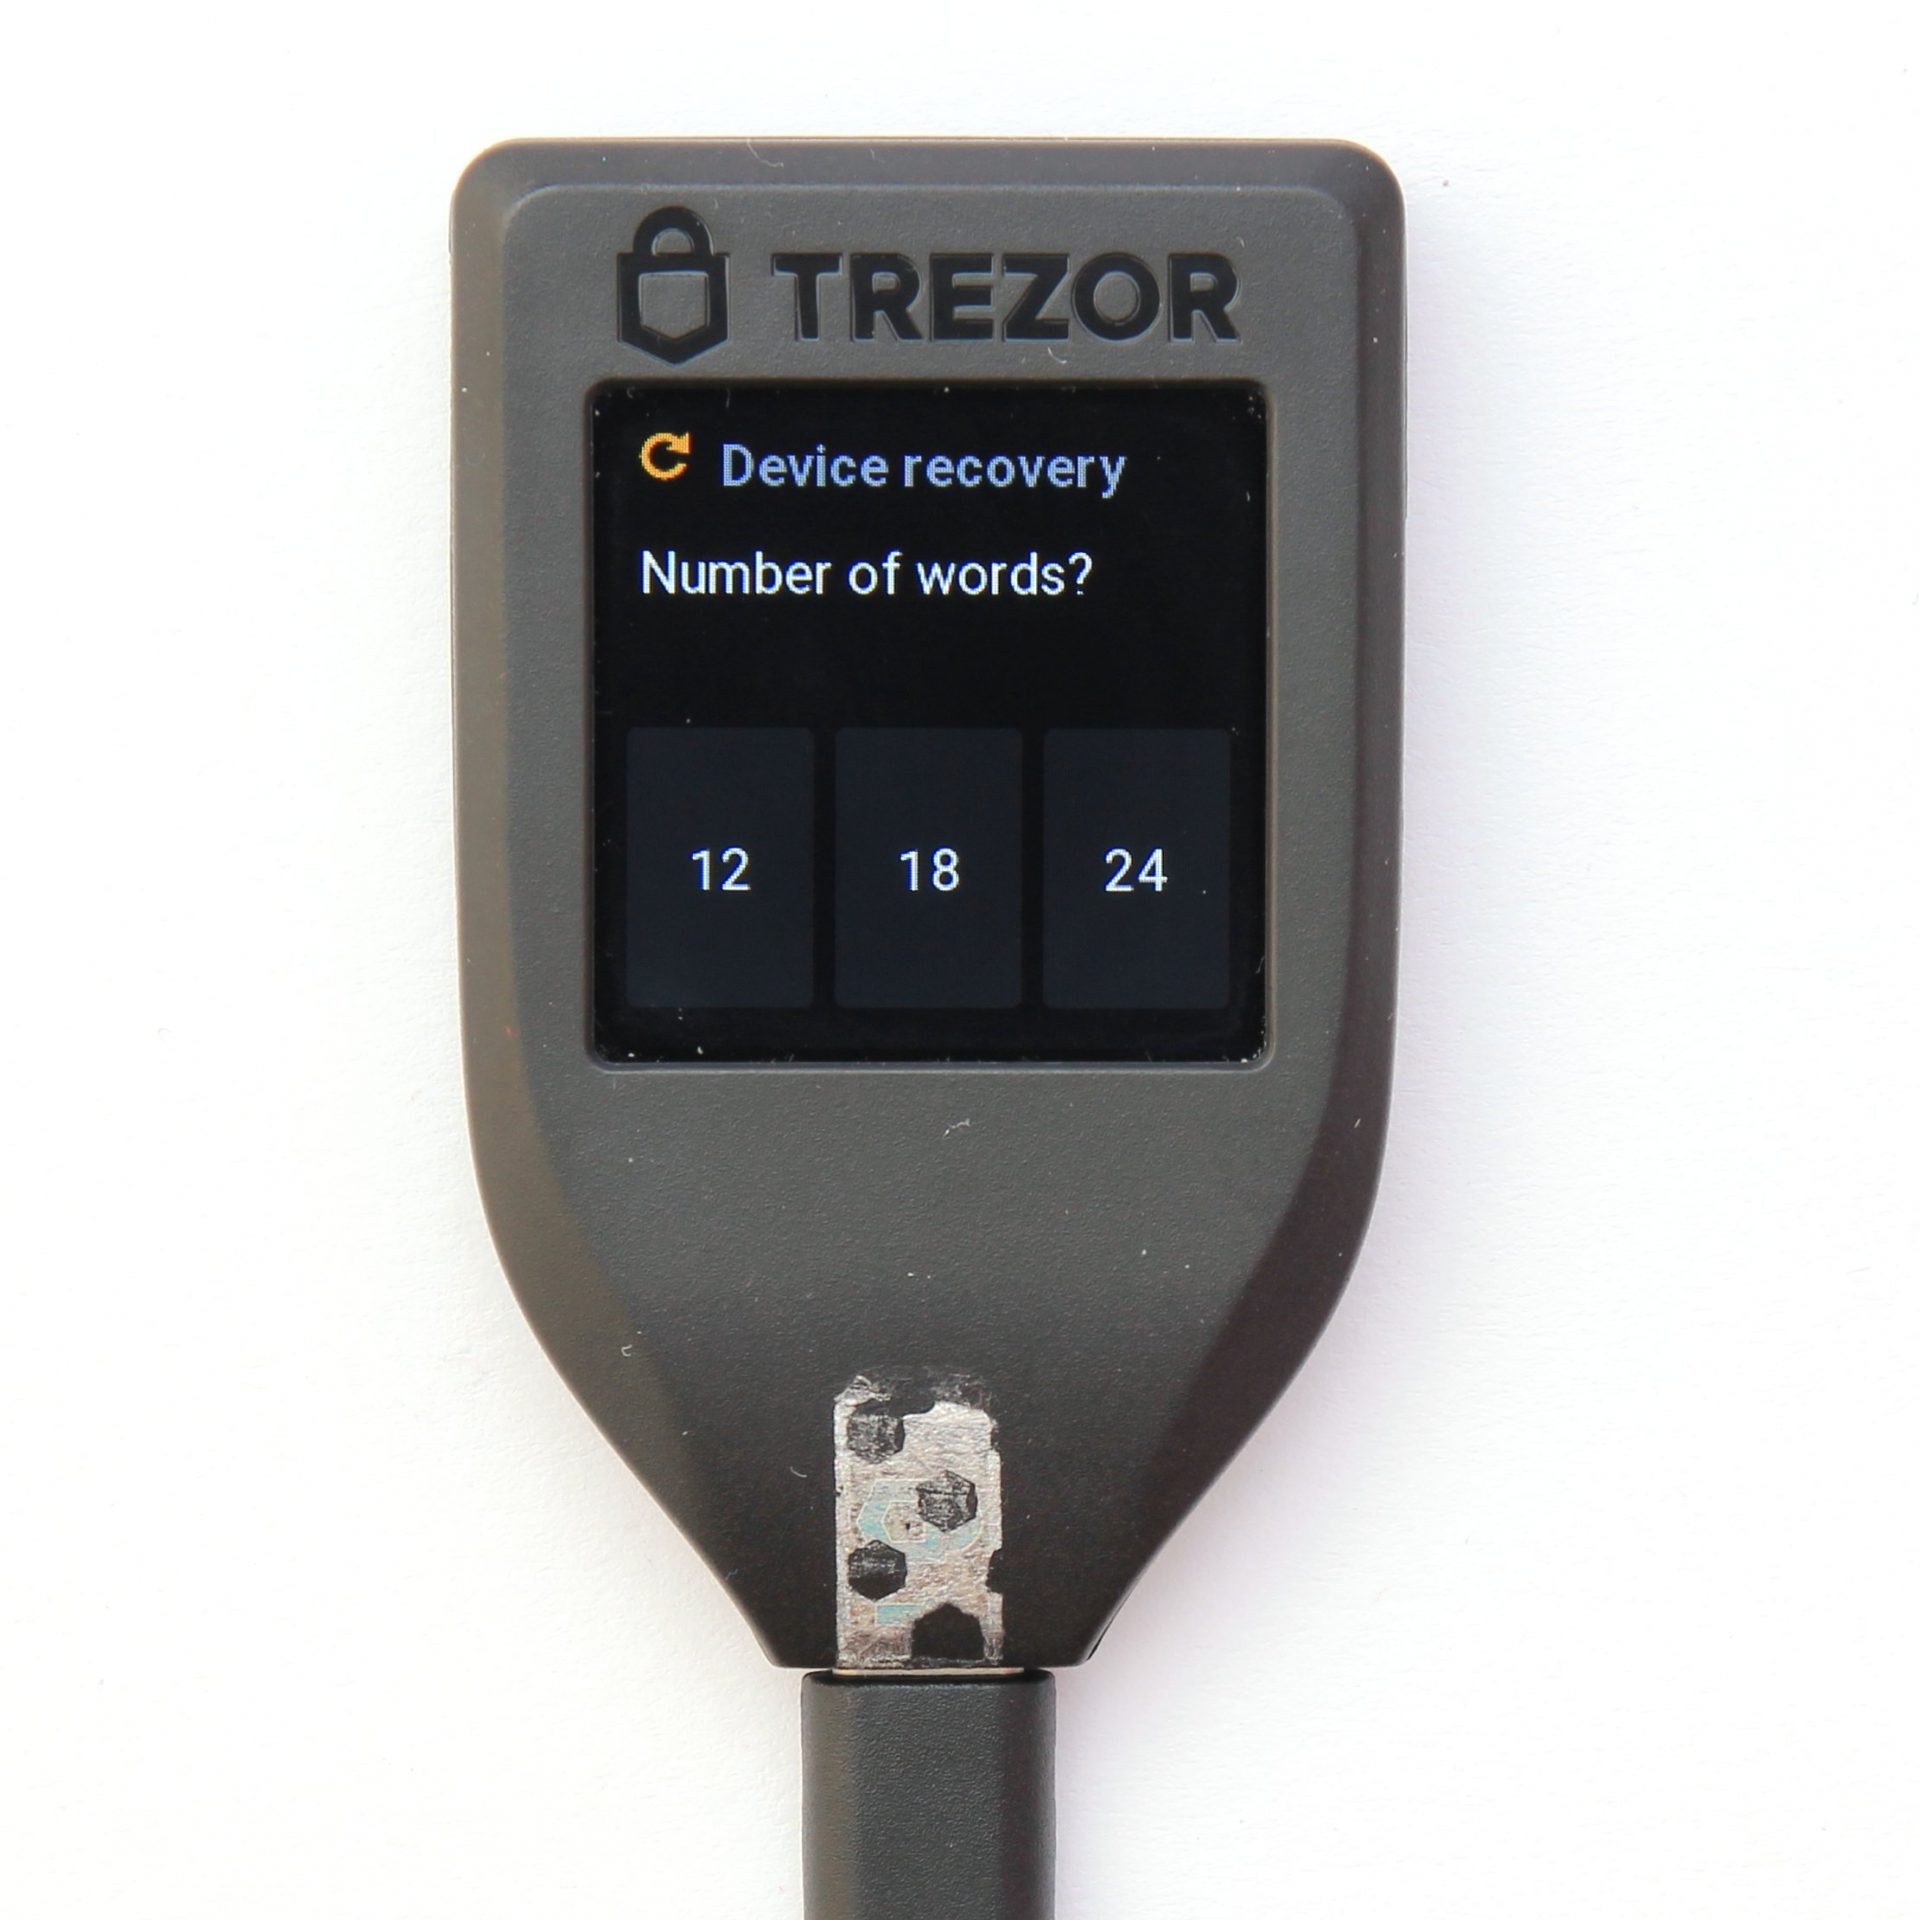

Now read the other notes and start the process. First, the number of words must be selected via the hardware wallet. Then you can type in the words directly via the touch display. After the 12th word, the wallet is opened immediately and you can proceed with the setup process.
Open Source
Just like the predecessor, the TREZOR Model T is completely open source. This means that both the wallet software and the firmware of the hardware wallet itself can be viewed: Github TREZOR.
Conclusion: Security
The hardware wallet generates its seed in isolation on the device and makes it available as a backup in the form of 12 words. This principle makes the TREZOR Model T so safe, since no one can read the seed. Only the backup could get into the wrong hands.
All security-relevant actions are carried out on the hardware wallet thanks to the larger touchscreen: PIN entry, entering and displaying the recovery seed and the passphrase. There is no exchange with the computer for these security-critical actions, because only after the operations is USB communication enabled.
The new TREZOR Model T also uses a micropython subsystem, which makes the whole system more easily extensible for developers, but can also increase the attack area. So far, however, no security vulnerabilities are known.
The new wallet also prevents man-in-the-middle attacks by requiring generated addresses to be verified each time via the hardware wallet. Other security features, such as passphrase encryption, can provide additional security for experienced users.
Product Specifications
User Reviews 14
I bought a Trezor model T about 6 weeks ago and to be honest I’ve never owned one so I went through the trezor.io nonsense as there is still no clear instructions even with the youtube videos. OK I admit I’m in a serious battle so I thought go Trezor what a mistake, how I’d love to return this product but can’t because I cannot guarantee they can’t extract my seed phrase from it. I’ve found four faults after a switch off attack and today I have proof that my seven digit pass code has been breached.
the proof is when you switch the device on two pages appear, the plug in connection and the Trezor suite display also you cannot access the feature to change the import wallet feature.
on the plus side they have not managed to extract my seed phrase nor the funds but they might. I have to come on here because Tresor support is rubbish and let’s not talk about their automated system.
got to go and buy something else now as when I bought this I did think this was a little bit cheap, boy I was right.
can I use the touchscreen to see the wallet contents without plugging it in?
Hello, I have recently bought a trezor wallet and would like to know if once i transfer whichever coin i am trading with onto my Trezor, Does the price of that said coin then stay at the price it has been transfered at, Or does it rise up & down with the market still?.
Hello…Please excuse my question as it may be basic but I am new to the hardware wallet game. When you transfer coins to the wallet does it still grow revenue or profit while in the wallet or does it just hold the coin at the current value.
Yes, your coin will either grow or shrink. The value will increase or decrease depending on the day/time. When you access/connect your Model T via USB and open the Trezor Suite your value will update. You’ll see.
TREZOR HORRIBLE CUSTOMER SERVICE… I bought a Trezor Model T but it arrived with a deformed usb port and it can’t connect to the computer. I notified the company and a week later they still haven’t contacted me. Now I am stuck with a worthless $170 hard wallet. I never had this issue with my Ledger Nano.
Trezor T is superior to trezor one, since your passphrase is not compromised since it is entered directly on the device and not in the host computer in plain text, and when using u2f it supports a pin, and it is easy to use, from a security point of view coldcard mk3 seems to be the most secure bitcoin wallet.
Will windows 32bit support Trezor Model T? I have a Trezor 1 and it works fine, unsure about the model T. Some wallets only use the windows 64bit. Thanks Harvey
I have an older version Trezor and know its limited to about five or six different coins it can hold before it runs out of memory and can hold no more without first deleating a wallet.Please can you tell me how many different coins the Trezor T can hold before you have to do the same.Many thanks.
I really don’t like the ERC20 handling of Trezor’s wallet. It forgets the tokens every time. E.g. I sent TUSD to my trezor. If I go to the ETH wallet and manually type in TUSD, then it shows the balance. If I disconnect and reconnect – gone! Shows zero balance. If I add the token manually again it will re-appear. So, if I put my trezor into cold storage and reconnect months later I may well forget what the heck is on it, if I have to go thru searching for everything manually. Nice hardware, but extremely disappointing wallet. for ERC20 handling.
how to use microSD, can i encrypt the data on microSD using trizor model T?
What, exactly, is the recommended practice for distributing multisig passwords to friends. Can Trezor T generate them and with a voting trust defined by the user. For example:
a) I would like any 3 of 8 trusted friends to unlock my wallets, if they combine their passwords
b) …But, if one of them is my daughter, Alice, then only 1 other friend on my list is required
c) …But, the wallet can be accessed only if I have not used it nor made a transaction for 3 months
This would be helpful, because it ensures that an individual’s wealth does not evaporate with death or incapacitation. (e.g. failure to remember -or- inability to communicate).

FAQ 9
Ask your own question